I needed a break from painting my Germans for Chain Of Command, so starting this past Thursday, and finishing today, I worked on terrain. I planned on making some bocage, but after a trip to the hobby store, I ended up with some strip styrene to make tank traps with. Then, I saw some great 15mm stone walls on Brookhurst Hobby’s site, so I ordered those.
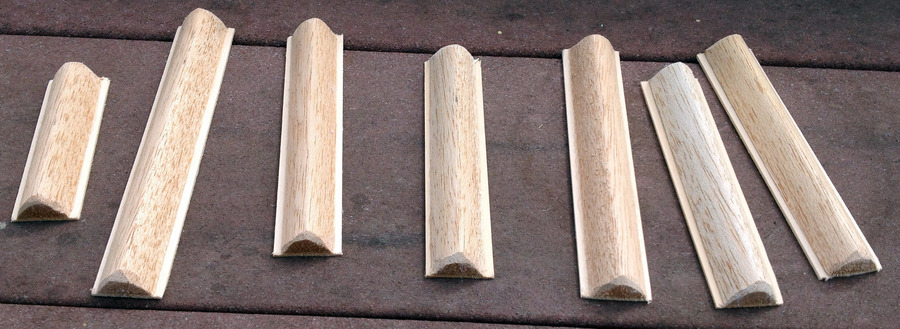
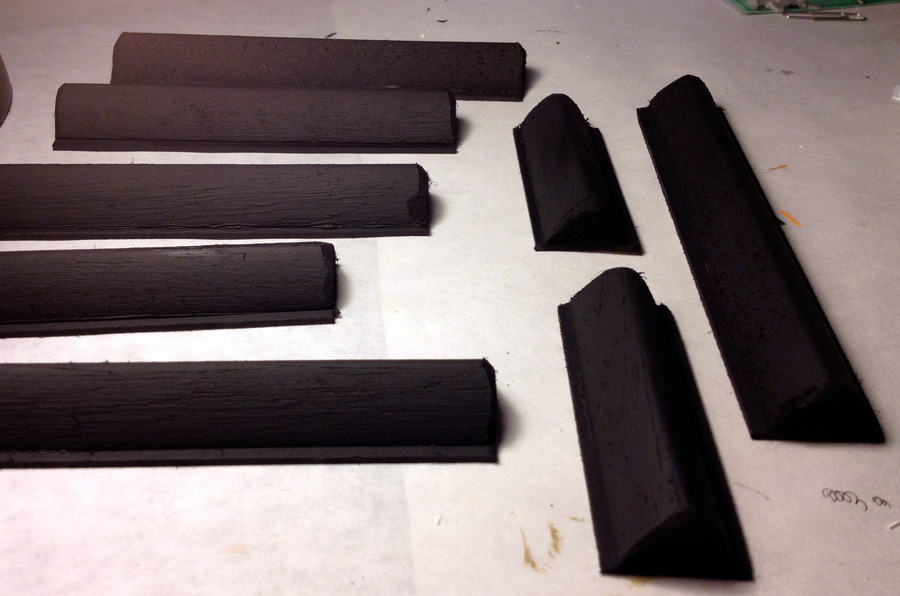
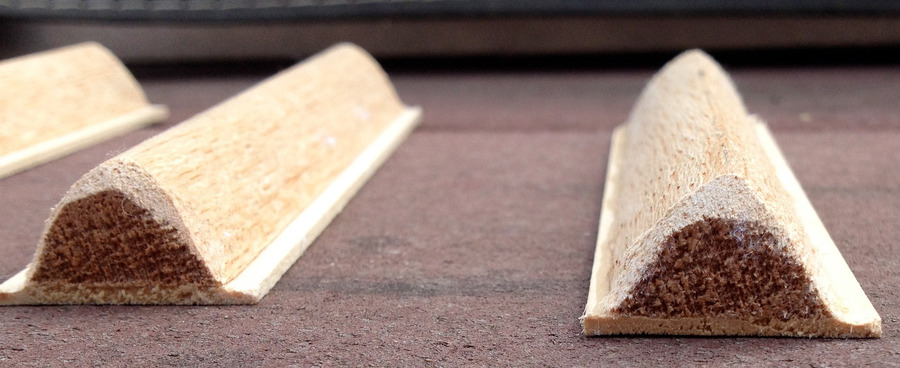 In the model airplane section of my local hobby store, I found this curved piece of wood, as well as the flat pice I used as a base. This will serve as the basis of my bocage. I glued them together, let it dry overnight, then cut them with a circular saw, since I don’t have anything more subtle. Then I sanded the sharp edges to a slight curve.
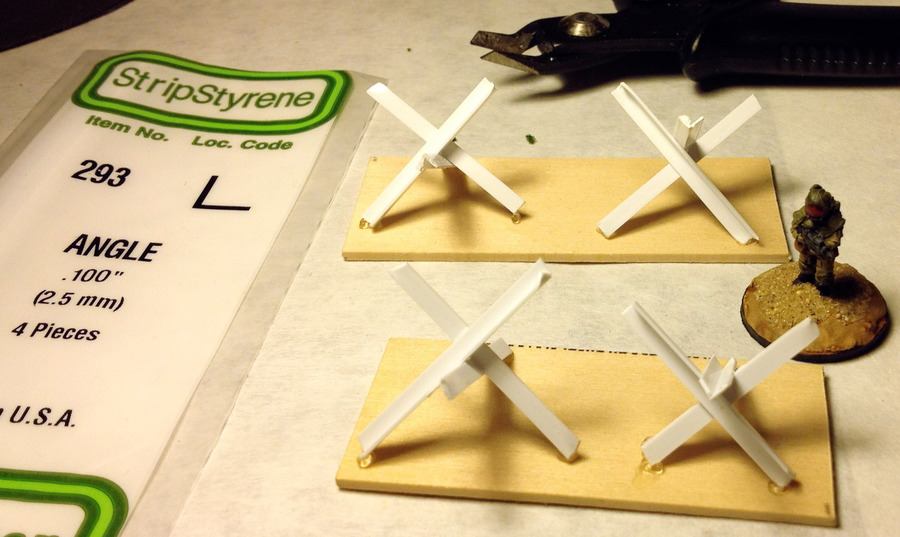
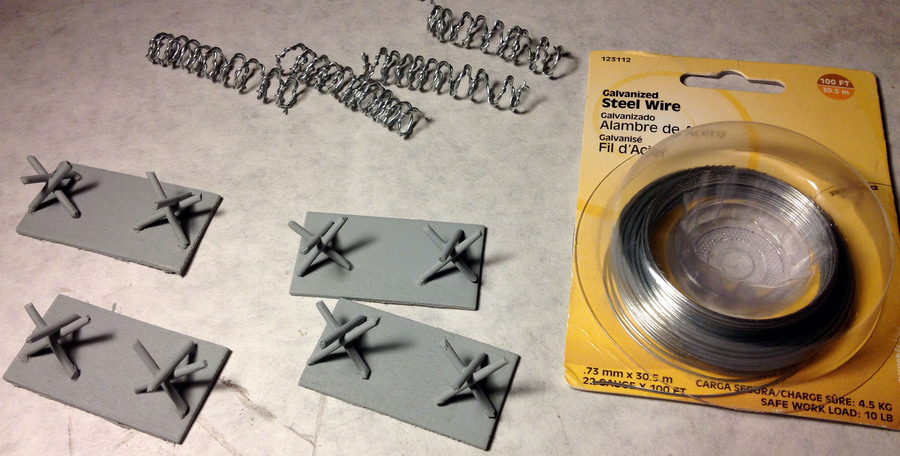
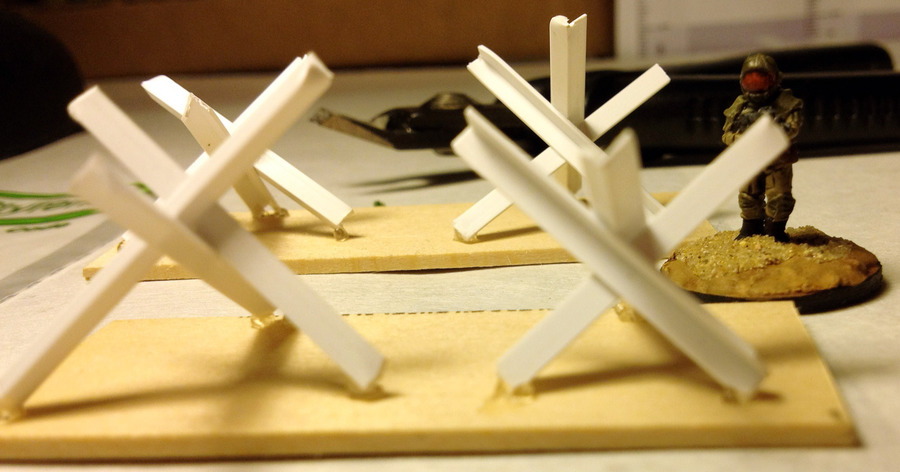 At that same hobby store, I found this strip styrene. They had all kinds – I beams, hollow square, etc. I thought it would be perfect for tank traps. I used superglue to make the tripods, and glued them to some leftover wood from the bocage base.
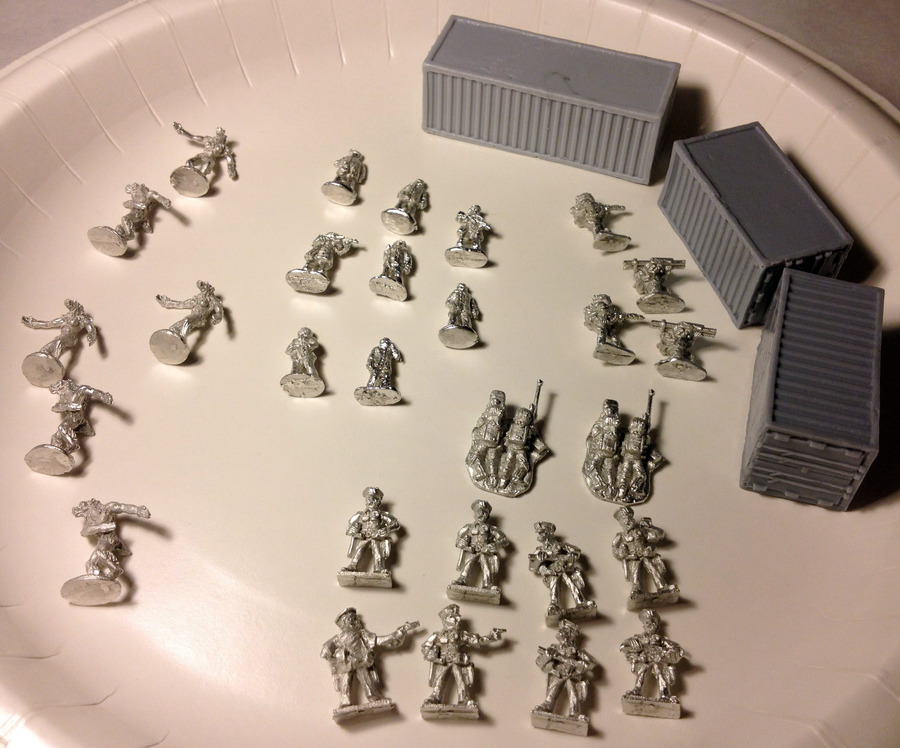
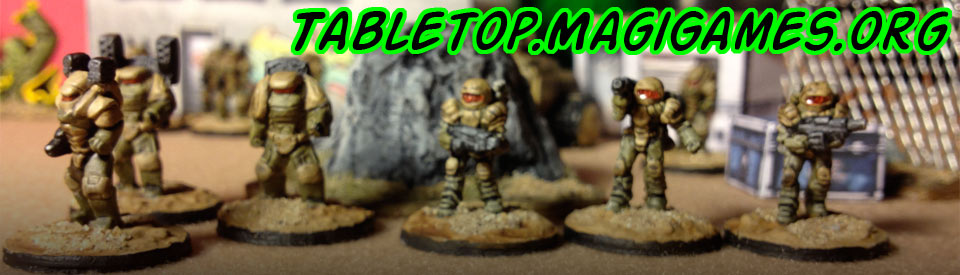
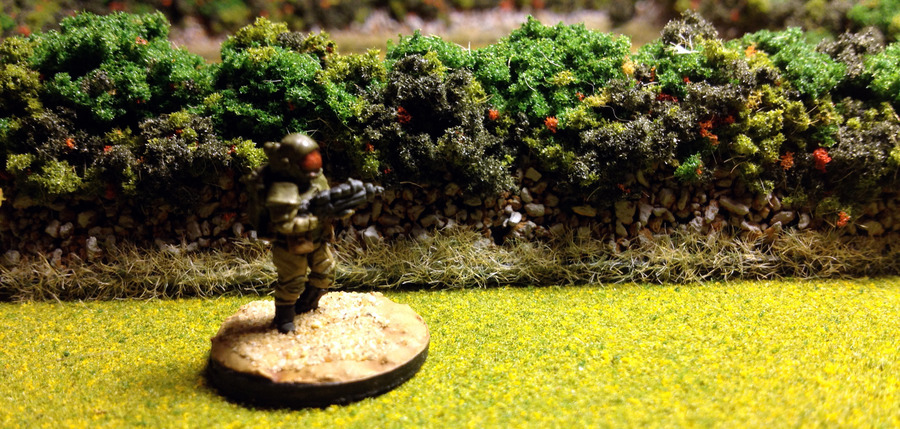
The mini is a 15mm Sci-Fi soldier from Rebel Minis. I’ll be using him as a size reference today. For you Flames Of War players, he’s almost exactly the same size as Battlefront’s plastic soldiers.
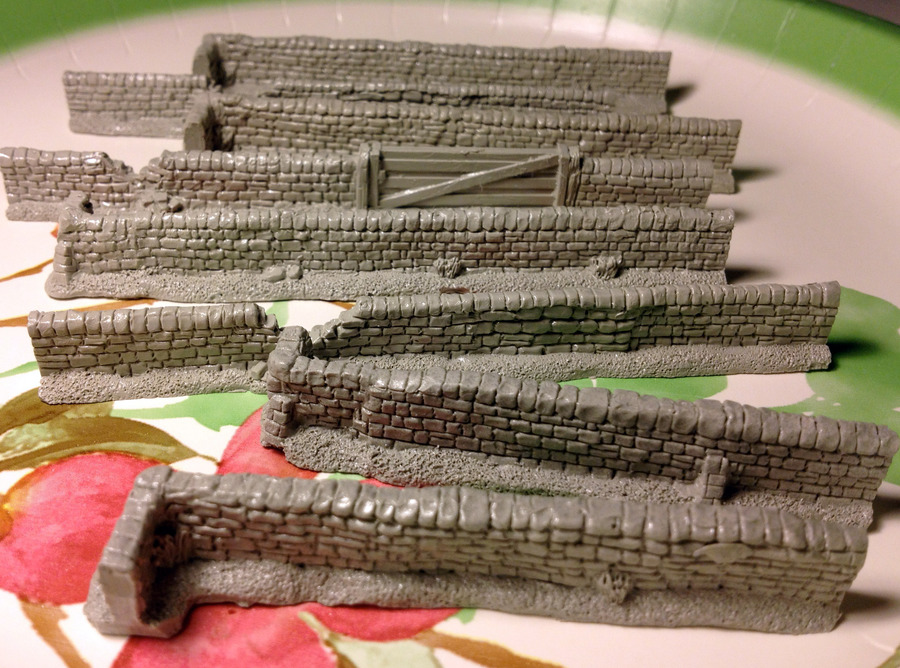 These are the 15mm walls, cleaned and ready for primer. They are resin, and are made by Peter Pig.
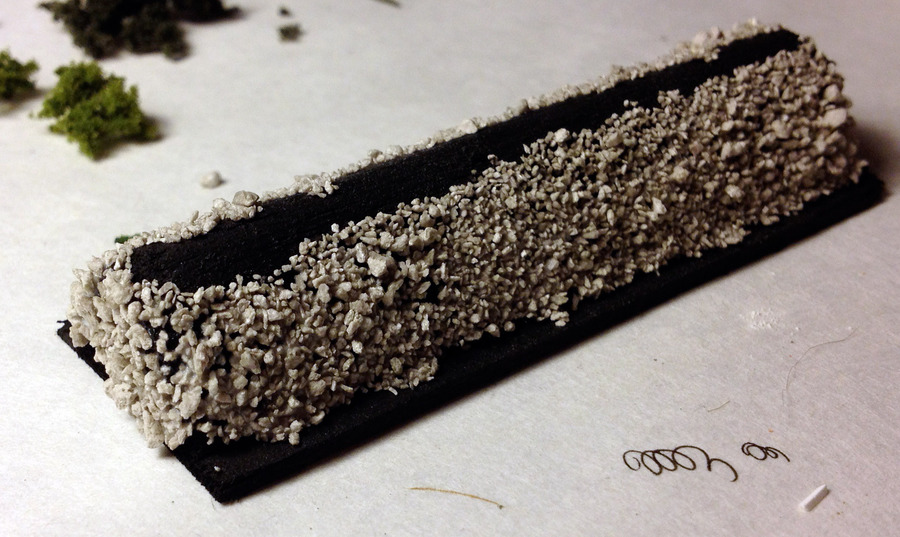
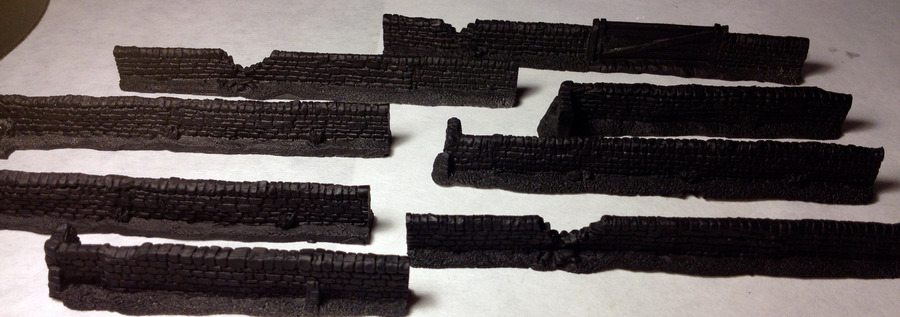
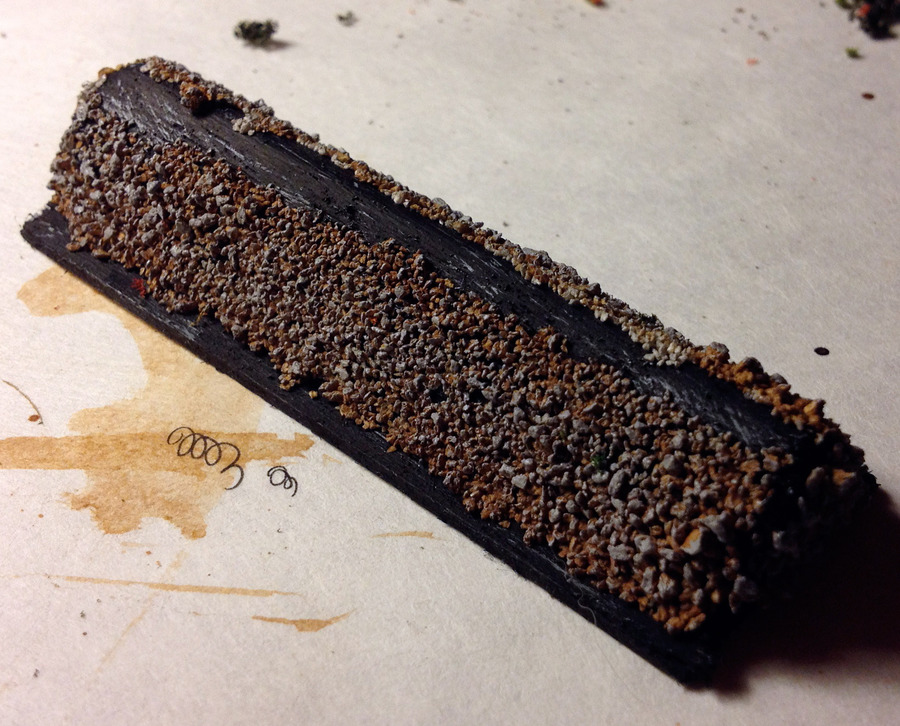 I primed the bocage black, glued some model railway ballast rocks to it, and let it dry overnight. Then I used some leftover Citadel sepia shade on it, and let that dry. Last, I dry brushed it gray. I like the black / brown / gray combination.
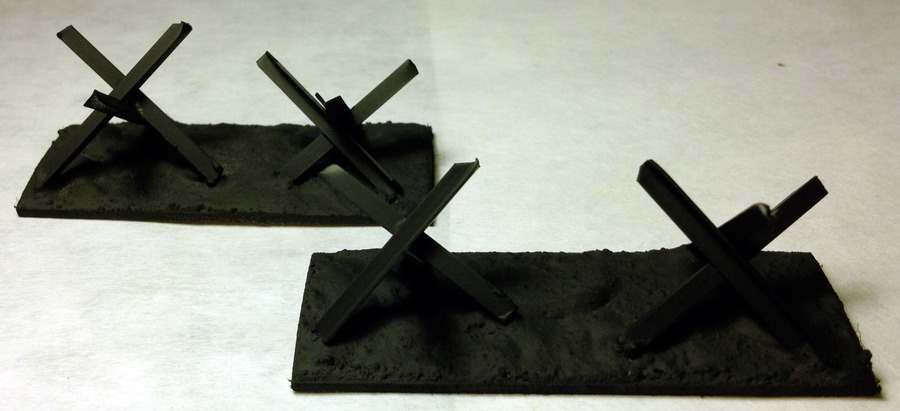 I used some vinyl spackling mixed with sand to fill in the base of the tank traps. I talk about that process in several other blog posts. I let that dry overnight, then primed it all black.
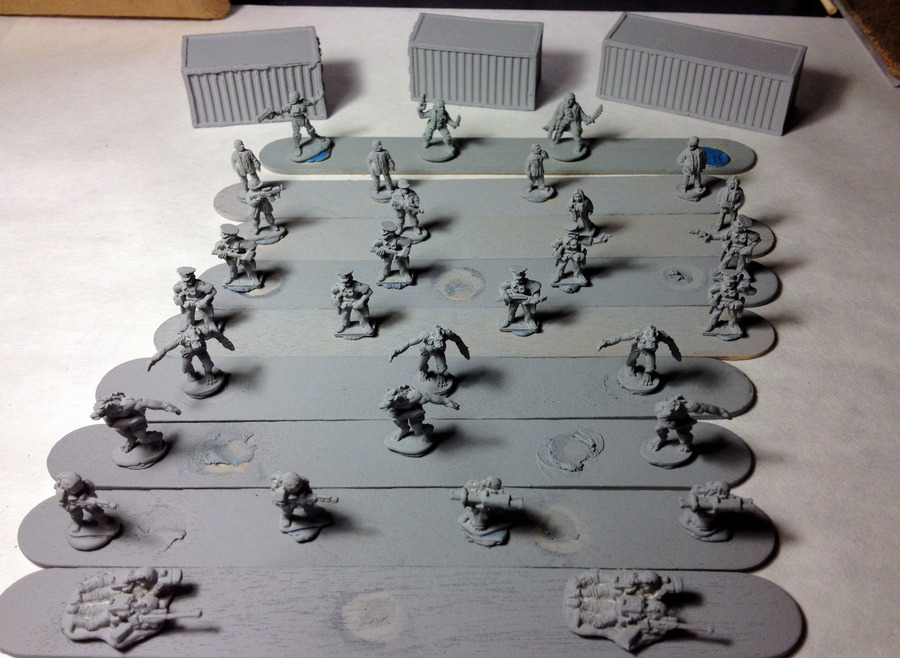
 At the same time, I primed the stone walls black.
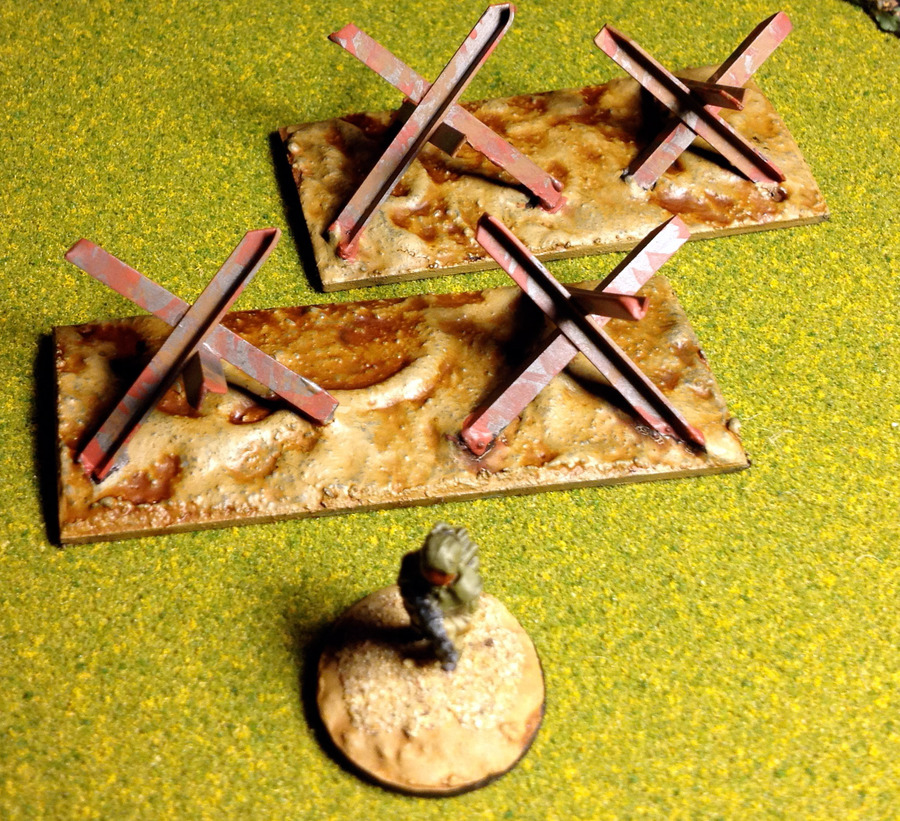
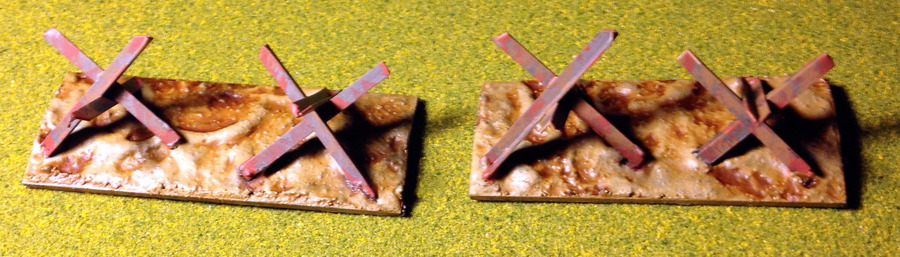 I painted the tank traps and base. I used the sepia shade on the base to good effect, I think. I could probably use more practice painting rusty metal, though.
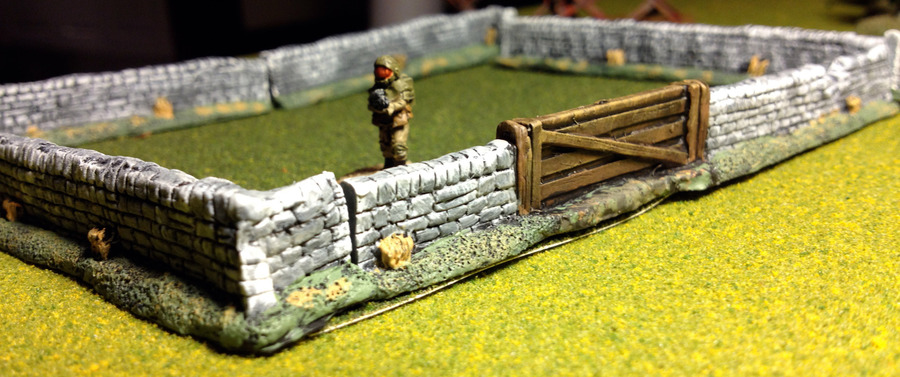
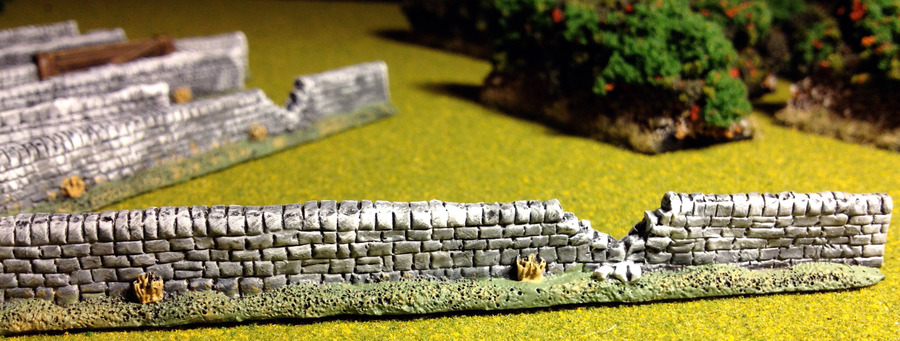 I’m really happy with how the walls came out, and they were really easy to paint. A dry brush of gray, followed by a dry brush of white. Then a green dry brush for the grass, some light dabs of tan, and a tan paint for the weeds.
The gate is brown, with a yellow-brown highlight and a black wash.
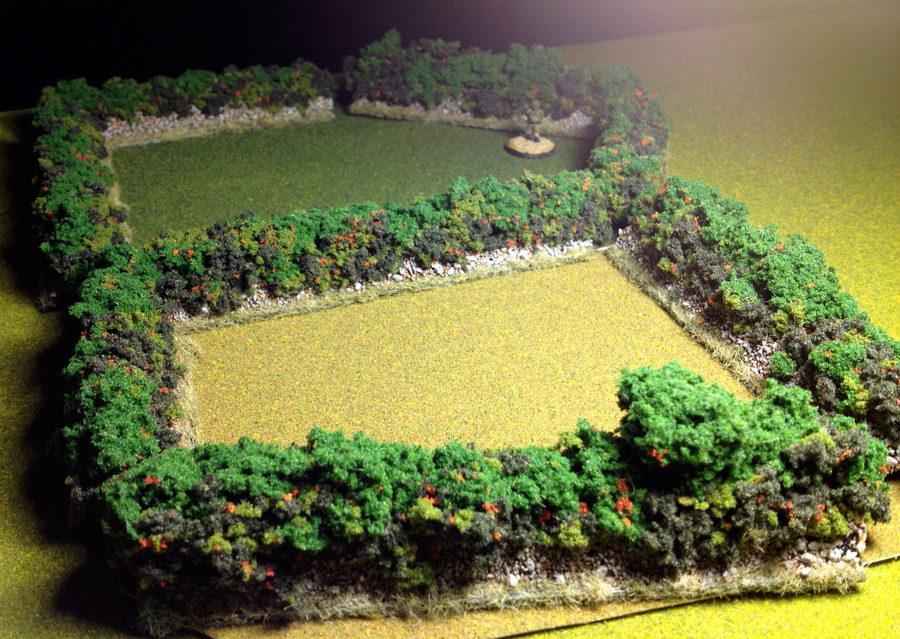
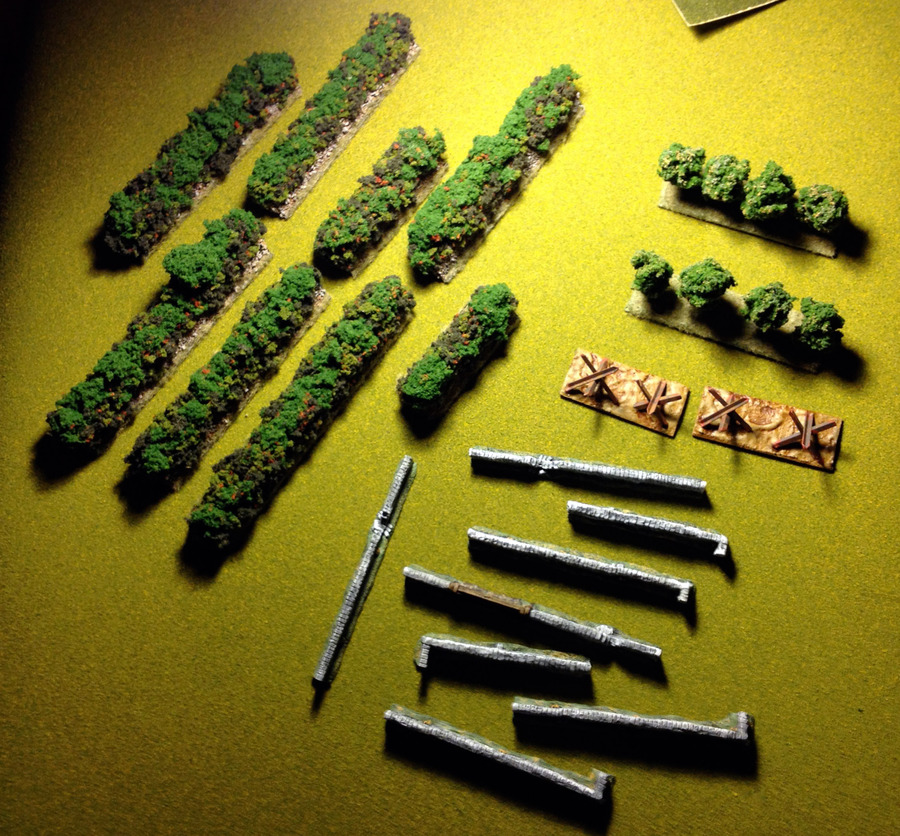
 The bocage was a lot more work than the rest. I used Aleene’s Fast Grab Tacky Glue. I spread it all over the top, then stuck the foliage on it. I used several different colors. After it was dry, I touched it up with some more glue and foliage. When that was dry, I soaked the whole thing in watered down PVA glue. That took 2 days to dry, but they are pretty solid now. Nothing is falling off these bocage.
Finally, some static grass on the edges. I think I need a “greener” static grass. This is “winter grass”. I need to get some “summer” grass or something like that.
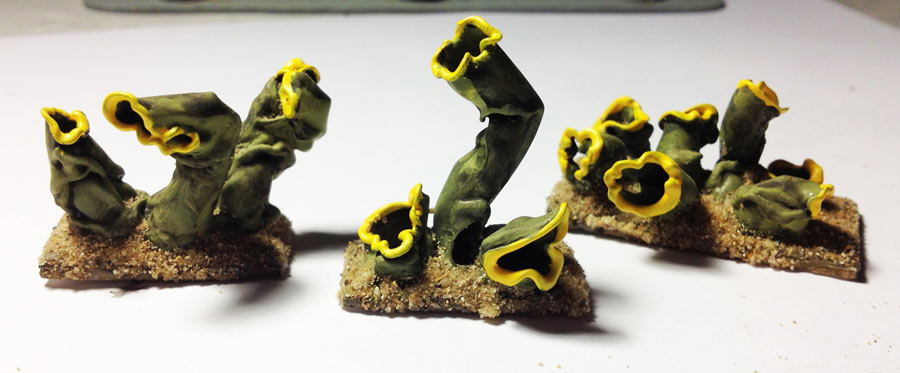
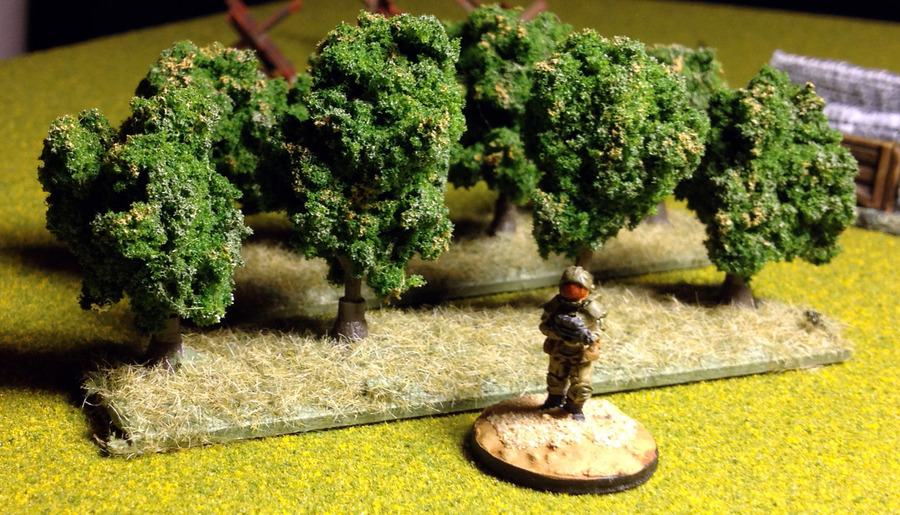 I had originally ordered some Woodland Scenics trees from Amazon when I ordered the foliage, but they turned out to be too small to stick on the bocage, so I based them on the last of the leftover base wood from the bocage in 2 groups of 4.
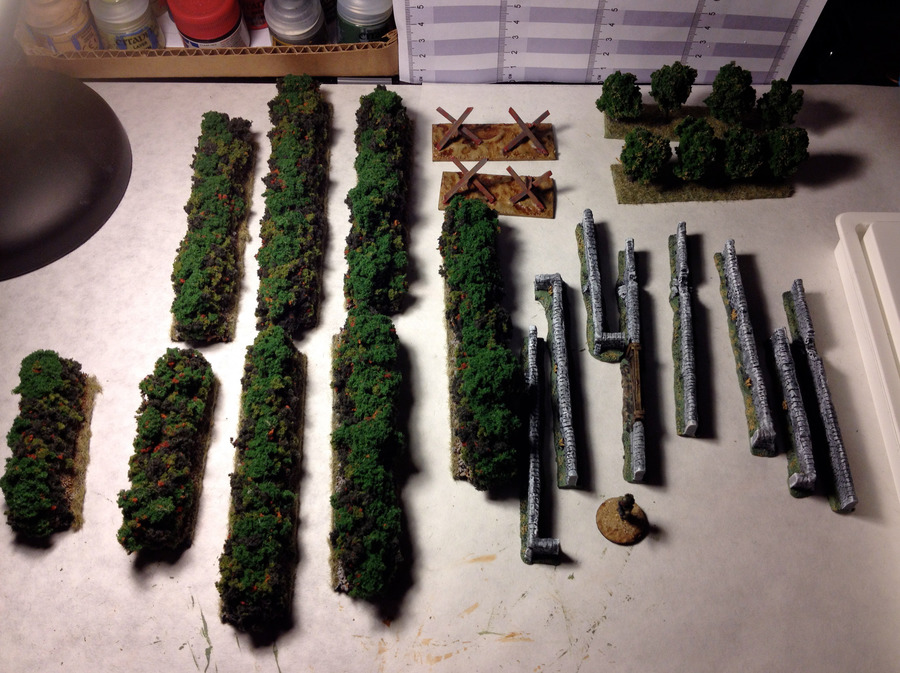
 The fruits of 7 days of labor.
I’m going to get back to painting my Germans, but at some point I need a lot more trees, some more tank traps, some farm fields, roads, minefields, etc. The list goes on.
I really enjoy making terrain. It’s a nice break from painting minis. Now I can attack my Germans with renewed enthusiasm.