Tag Archives: 15mm

15mm Mutants and the Dangers of Dullcote When it’s Humid.

Over the weekend I painted up some of Khurasan’s 15mm Mutant Supersoldiers (END-202) and Savage Humanoid Cannibals (END-500).  It was just after dark last night when I went to spray them with Testor’s Dullcote.  I love Dullcote, it really “finishes” a mini.  But I learned to be careful about the time of day I choose to use it.

I live about 500 meters from the ocean in Southern California, so when the sun sets, the humidity rises fast.  This did not occur to me, and my minis ended up with a fogged finish. Damn.

After looking around the internet for solutions, I ended up brushing on Citadel’s ‘Ardcoat over the whole mini.  This took care of the fogging and brought back the original color.  Then, this morning, in full sunlight and lower humidity, I hit them will Dullcote again to kill the ‘Ardcoat’s shine.

painted_not_based 
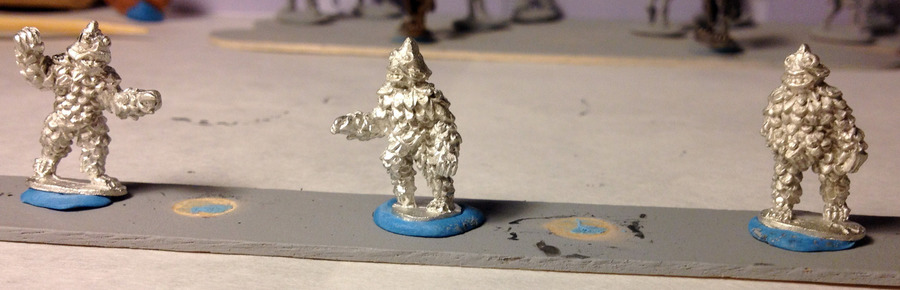
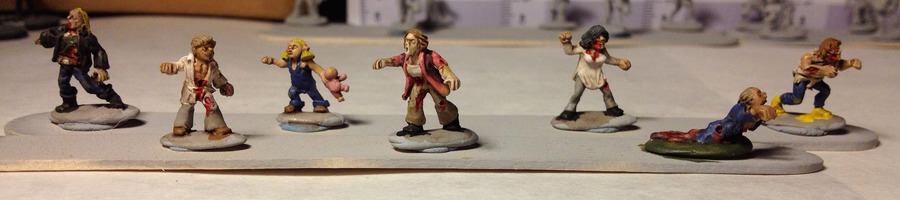
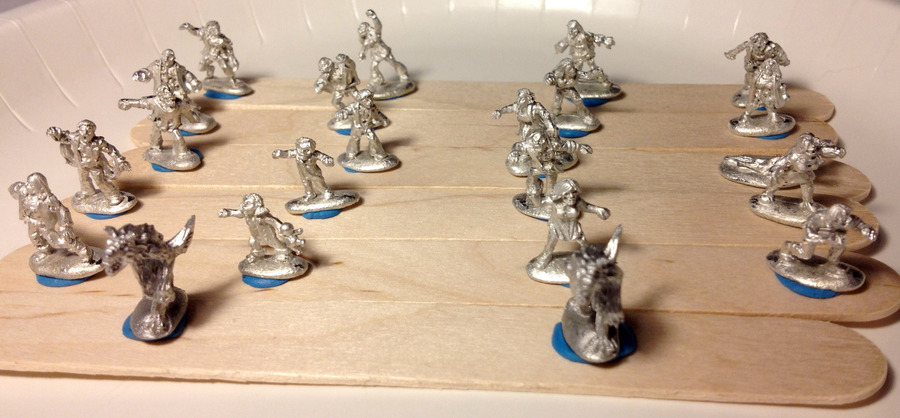
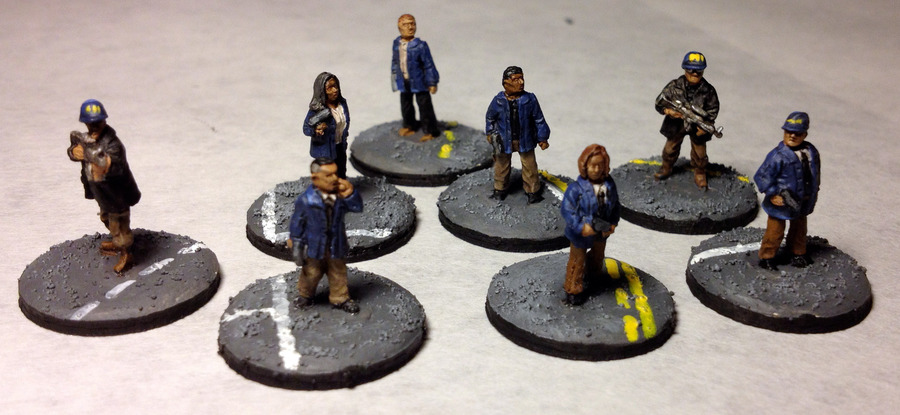
This is the nine minis after painting and before any spray finish.


group_shot 
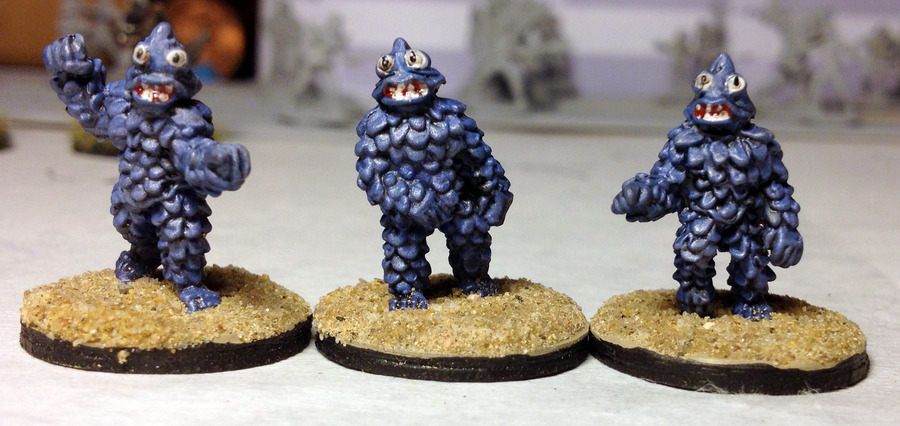
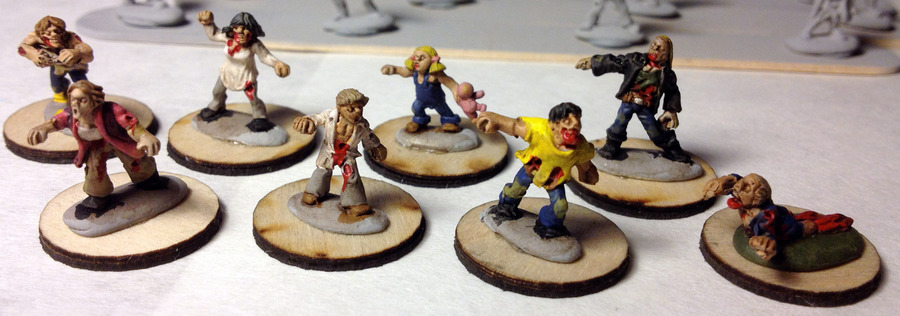
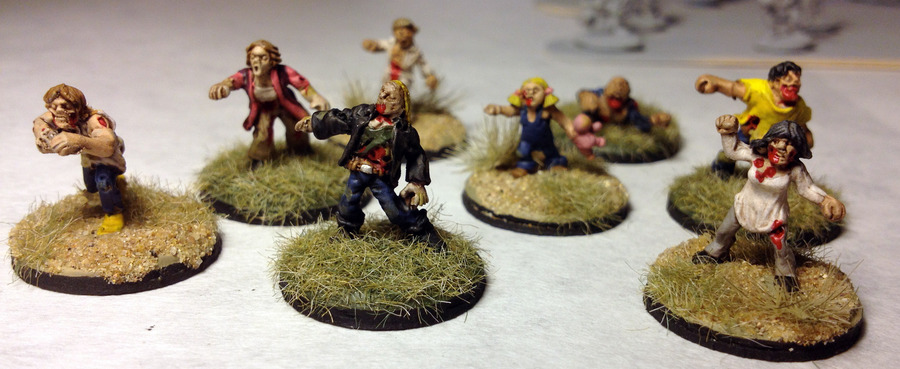
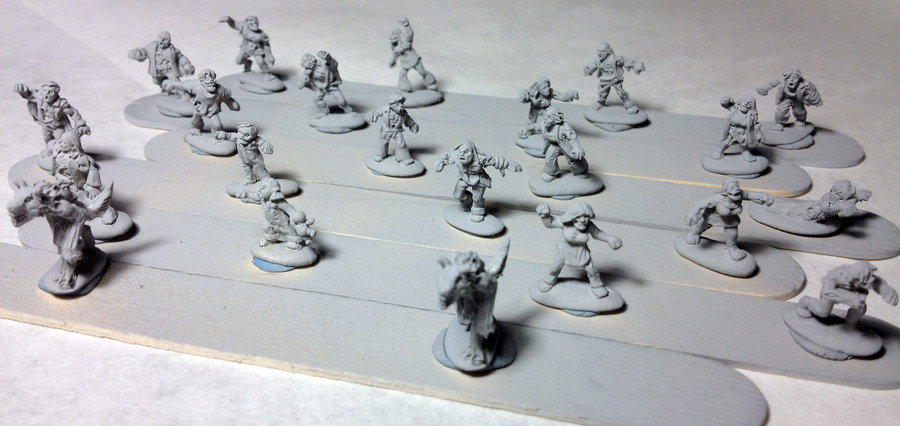
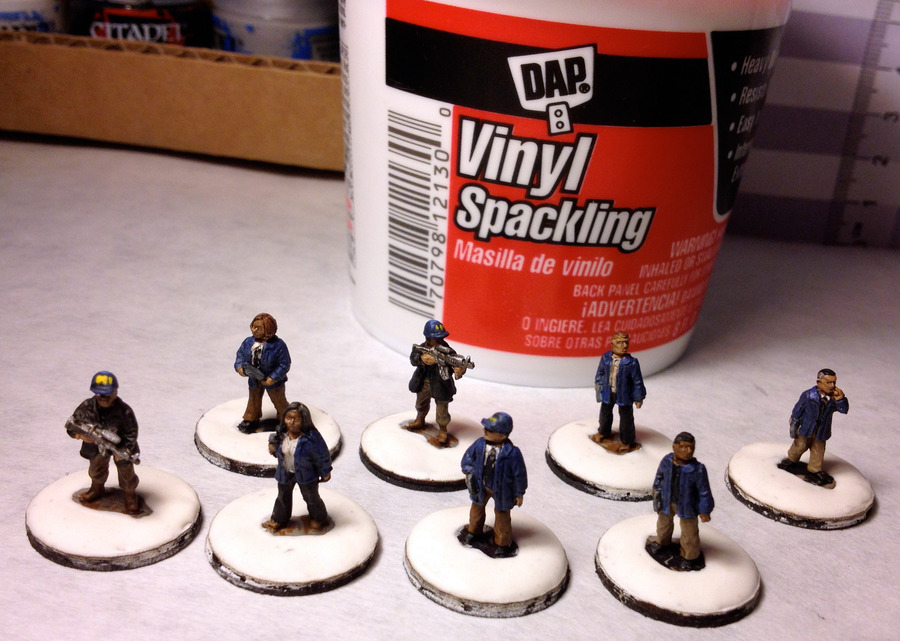
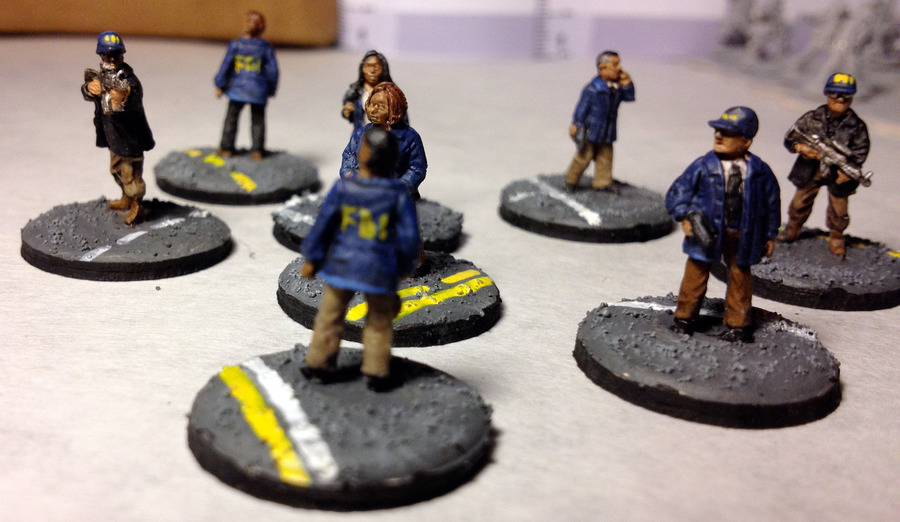
After the whole process – the fogged layer of Dullcote, then the ‘Ardcoat “fix it” layer, then Dullcote again.  And basing, of course.


Khurasan_mutant_supersoldiers_front Khurasan_mutant_supersoldiers_back 
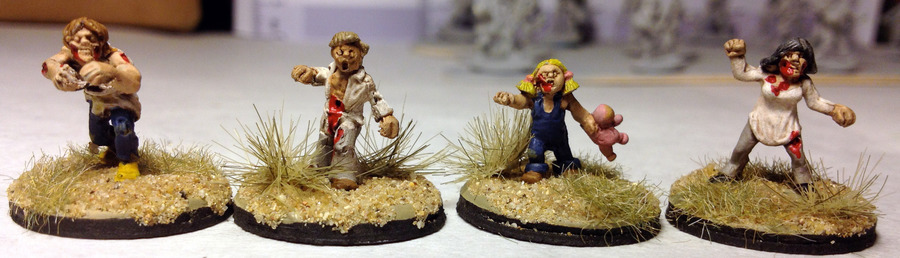
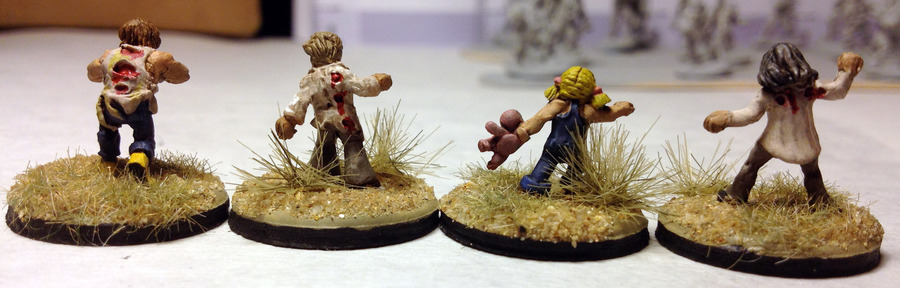
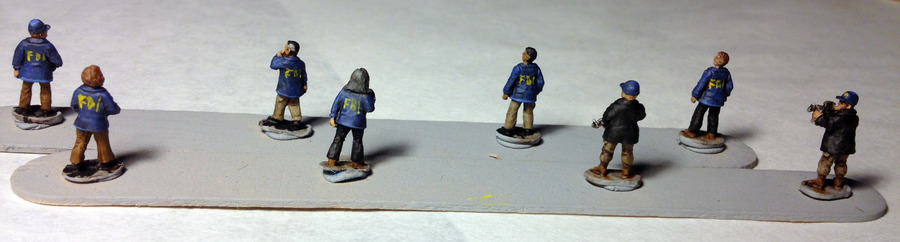
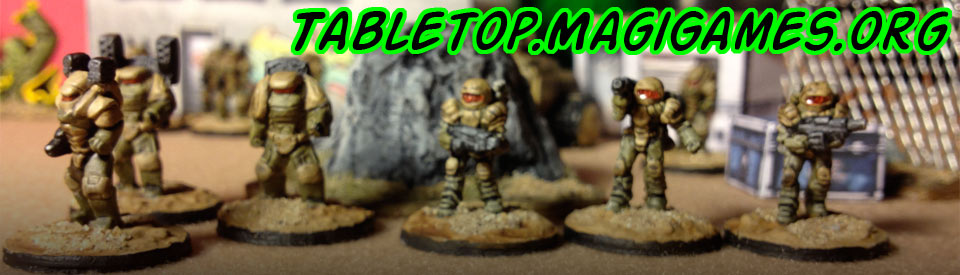
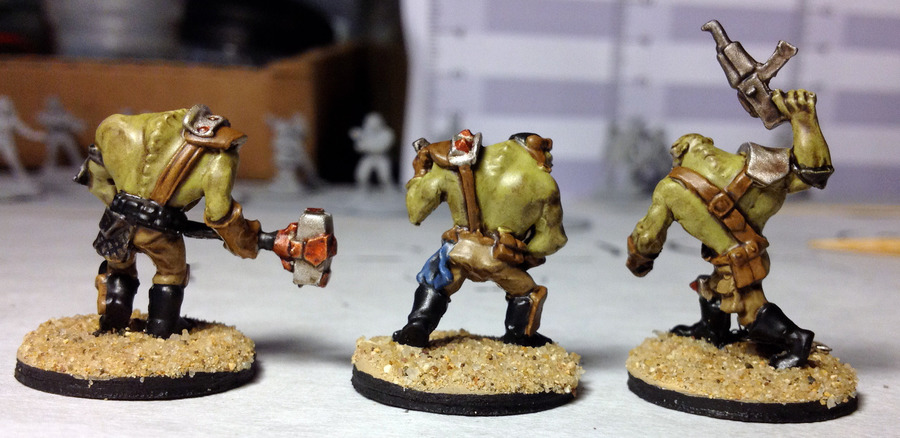
The Mutant Supersoldiers, front and back.  I think they need another spray of Dullcote.  The ‘Ardcoat is really shiny, and some of that shine is still showing, especially in the back view.  The guy in the middle has a shiny ass, and that’s just not right.  🙂


Khurasan_savage_humanoid_cannibals 
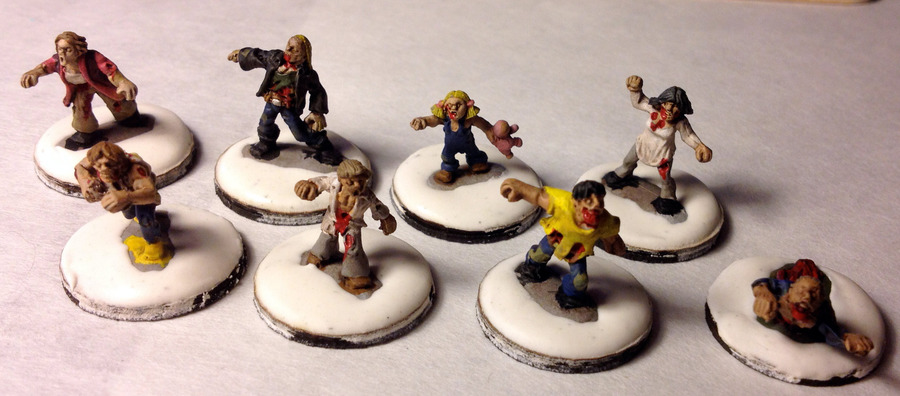
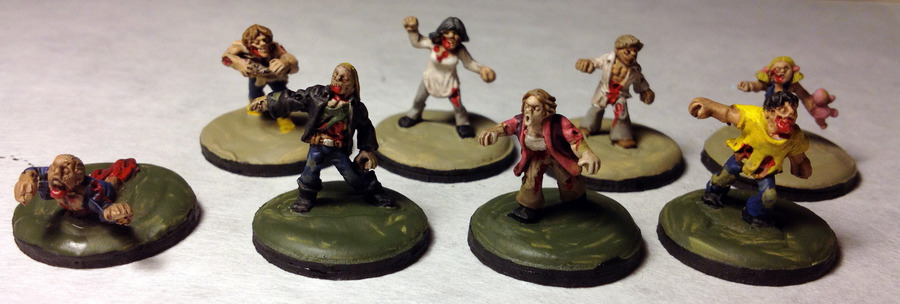
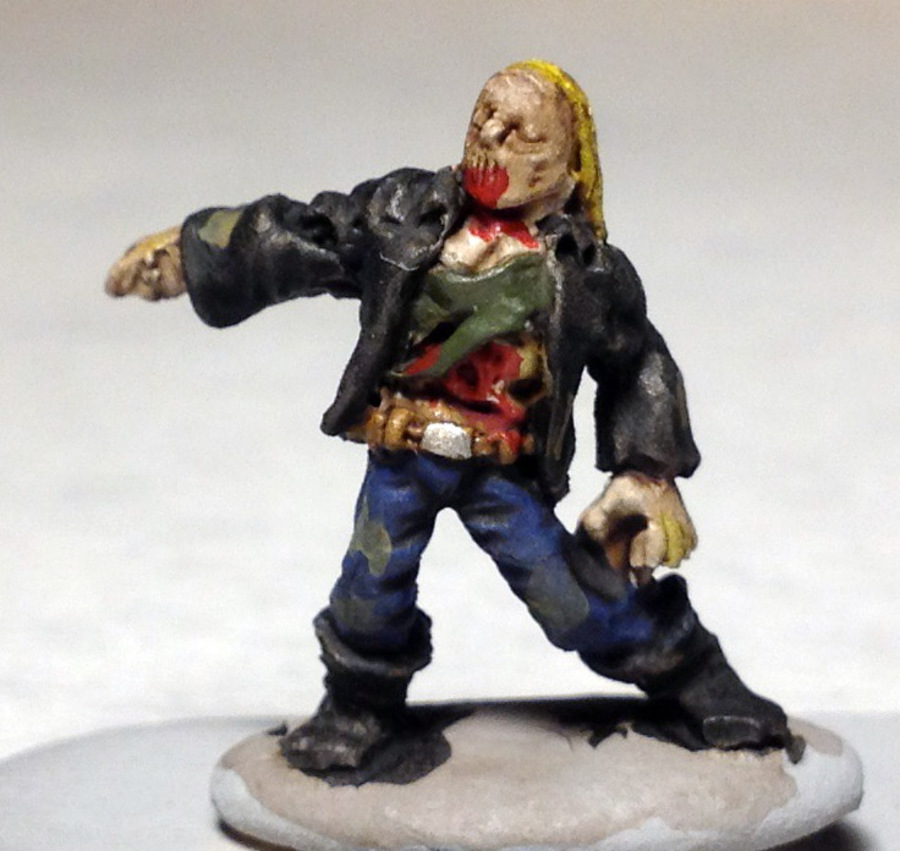
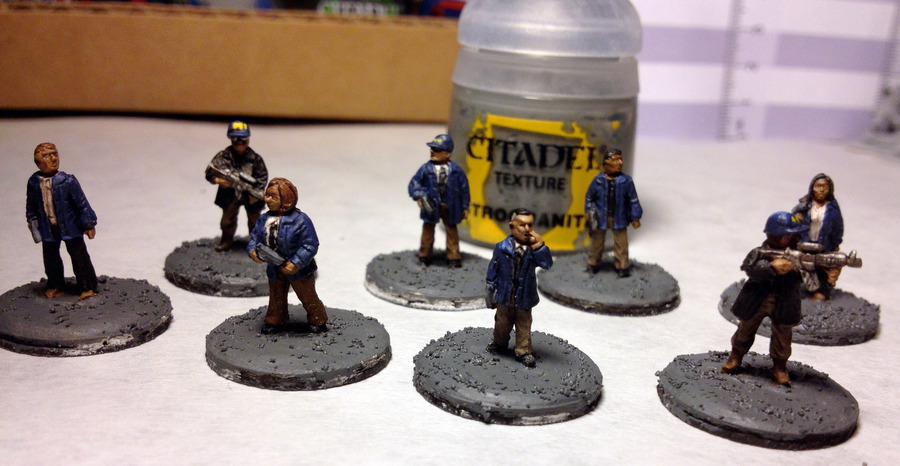
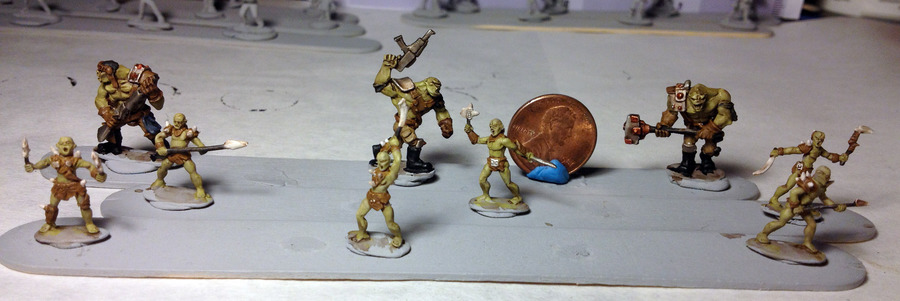
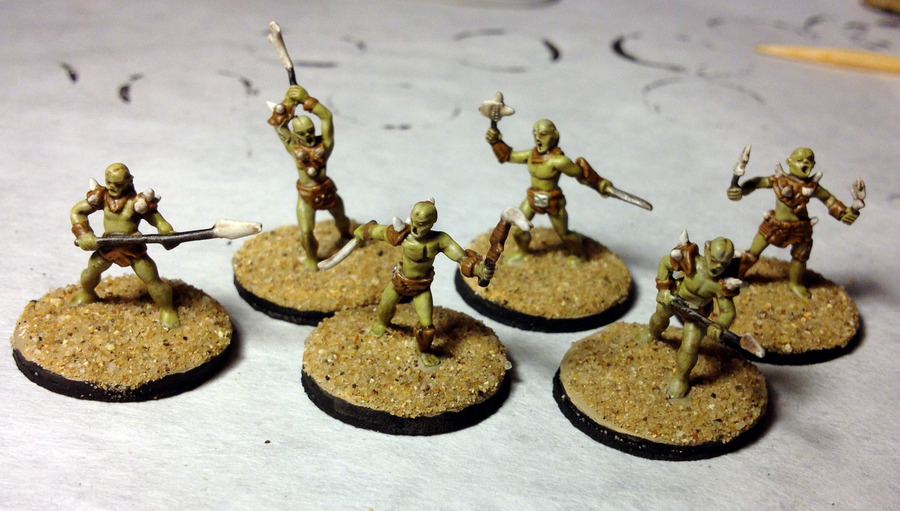
The Savage Humanoid Cannibals.  I think I’ll spray them with the Dullcote one more time, as well.


khurasan_supersoldier_cannibal_size_reference
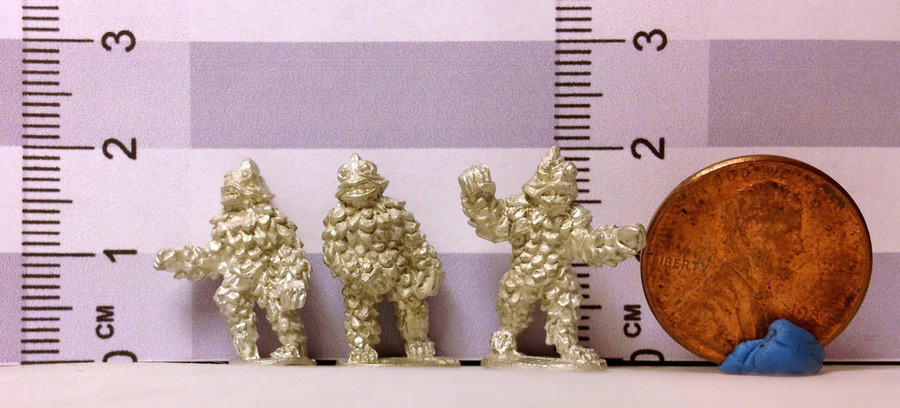
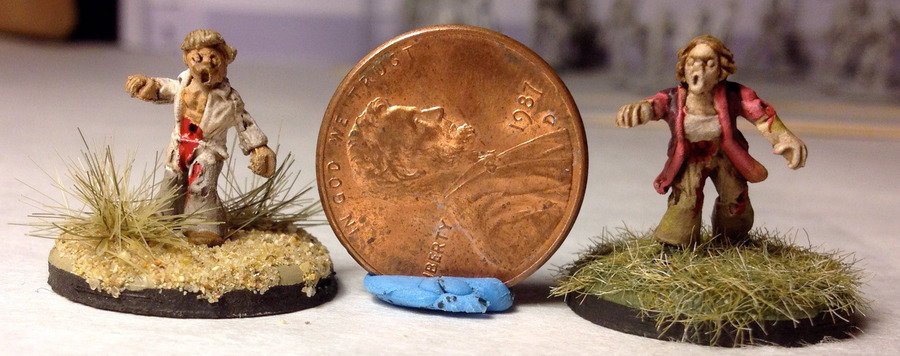
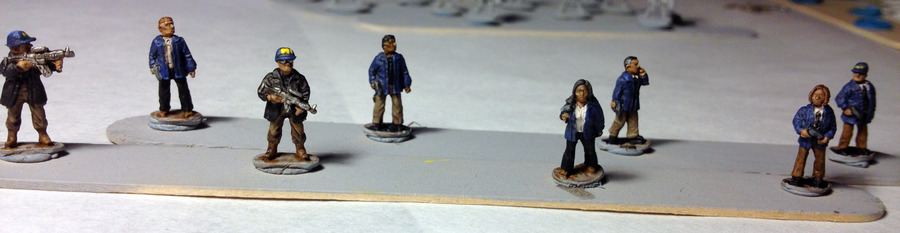
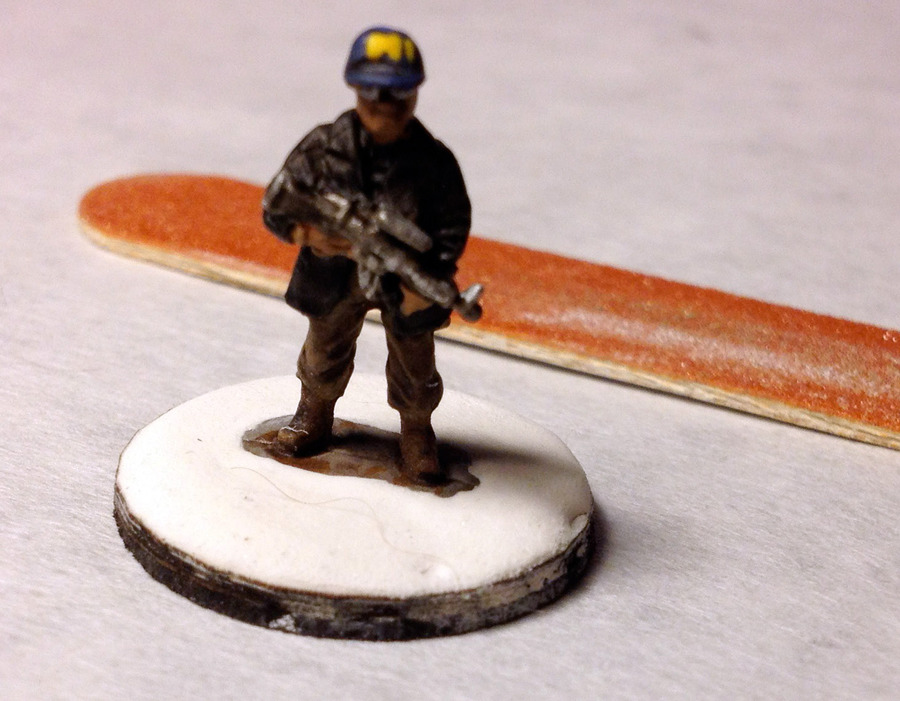
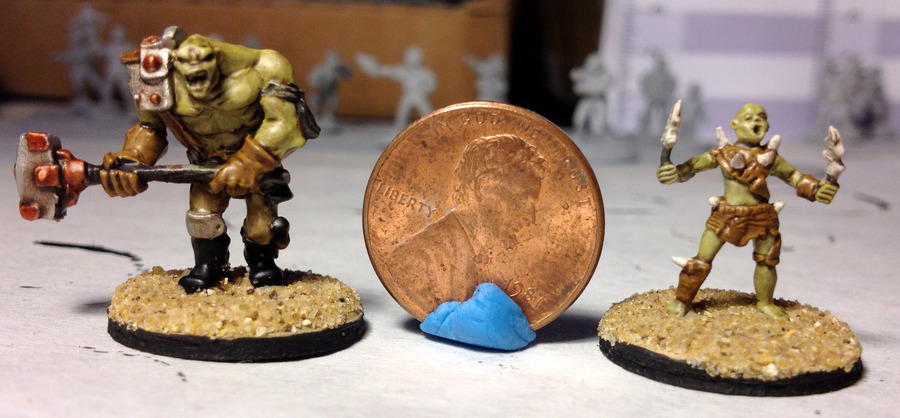
Here’s a size reference.


I’m glad I was able to rescue them, and I’ve learned a good lesson to not use Dullcote when it’s humid out.

I plan to use these minis with the Monster Hunter International RPG.  I’m thinking of a “The Hills Have Eyes” type scenario.

Army Painter’s Color Primer Review

I recently got a buttload of 15mm Sci-Fi minis from the Critical Mass Games Kickstarter.  I need to paint them, so I can have a full company vs. company to try out Quadrant 13.  I looked into how to speed up the painting process, and I came across The Army Painter’s Color Primer.  They spell it “colour” but they are wrong. 🙂

I use Army Painter’s washes – Strong Tone and Dark Tone, and I like them a lot better than the Citadel washes I had used previously, so I was already feeling positive toward the company.

The genius thing that Army Painter has done here is that they have a “100% match” regular paint for each color primer.  So you can, in theory, spray your minis with the colored primer, paint the other colors, then touch up with the 100% match paint.

Anyway, I wanted to try it out before I sprayed it all over my CMG minis, so I tried it on Kurasan’s “Terror Of Clambake Beach.”  These were perfect, because they are mostly one color.

raw_terror cleaned_terror The Clambake Beach minis before and after cleanup.


terror_primed After priming with “Ultramarine Blue”.  In the back is the spray primer and the 100% match paint.


Khurasan_terror_of_clambake_beach_15mm_PLA-6The completed minis.  I drybrushed a mix of the 100% match paint with a bit of Citadel’s Runefang Steel, then painted the eyes, mouth and teeth.  Of course I messed that up, so I had several touchups to do, and they blended perfectly.

Then I washed with Army Painter’s Strong Tone mixed with acrylic medium to thin it.  Basing was done my standard way.


The color primer really sped the whole process up.  I’m a fan.  The 100% match paints really seal the deal.  I think this will save me about 25% time when I paint the 79 infantry from the CMG Kickstarter.

Khurasan’s Modern Zombies – Part 2

I’ve made a lot of progress on the 15mm zombies today.  Eight are done and based.  That’s what you are traditionally supposed to do on Independence Day, right?  Paint and base zombie miniatures?

two_stands_done Painting is done.  I had just enough Dullcote left to spray them.


first_eight_zombies_basing_step_1 After the Dullcote dried, I mixed some red paint with CItadel’s ‘Ardcoat to make “wet blood” and applied that in some small areas.  The I superglued them onto Litko bases.


first_eight_zombies_basing_step_2 This is my standard vinyl spackling mixed with water and brushed onto the base to build it up even with the mini’s built in base.


first_eight_zombies_basing_step_3 I gave the spackling 2 hours to dry and then painted it.  I also painted a black edge.


khurasan_15mm_zombies_group_1_front khurasan_15mm_zombies_group_1_back One group got full on grass.


khurasan_15mm_zombies_group_2_front khurasan_15mm_zombies_group_2_back The other group got sand and grass and some grass tufts.


khurasan_15mm_zombies_group_1and2 khurasan_15mm_zombies_sizeI wanted to show just how small these minis are.  I know a lot of people are not used to 15mm scale minis.


I’m very happy with how these came out.  8 down, 12 to go.  As I mentioned before, I intend to use these with the Monster Hunter International RPG.

Khurasan’s Modern Zombies – Part 1

I got “The Dead — Modern Zombies” from Khurasan a few weeks ago, and I got finally got started on them.  I intend to use these for the MHI RPG that I’ve mentioned in previous posts.

ready_for_primer 20 15mm scale zombies in 20 different poses.  Also, 2 werewolves in the front.  Cleaned and ready for primer.


primed And primed.


first_zombie_doneLast night I painted one.  With the 4 day weekend coming up, I hope get a whole bunch done by next week.

These 20 zombies and the 2 wolves are my Reddit painting challenge for July.

Basing With Citadel Texture – Rebel Minis 15mm Government Types

I painted Rebel Mini’s 15mm Government Types and I wanted to base them like they were standing in the street or a parking lot.  I decided to try CItadel’s texture paints.  I use Citadel because they are easily available at several hobby stores near my home and work.

I’m pretty happy with how they came out.

painted_front painted_back

Painting done and sprayed with Dullcote – front and back view.  There’s a pic of these in bare metal and with just primer on in my post What’s On My Table – June 2013 Edition.


start_of_basing

Spackling, mixed with a bit of water to thin it, applied to the base to build it up even with the figure’s built in base.


base_sanded

Then I sanded the spackling flat.  I’ll probably skip this step in the future.  It messed up some of the figure’s feet, which I had to go back and fix, and I don’t see that it really made a difference to the bases.


base_with_texture

I then applied the Citadel texture “Astrogranite”.  It’s pretty thick, so I thinned it with some water.  It was still more like a basing material than paint.  You don’t brush it on so much as push it around.


rebel_minis_15mm_government_types_RMGT3_complete_1

Then I painted on some road lines and parking space lines.  Then a light gray dry brush. Then a black border.  If you’ve read my blog before, you know the bases are from Litko.net – 20mm around, 0.8mm thick wood base with a heavy duty magnet bottom stuck underneath it.


rebel_minis_15mm_government_types_RMGT3_complete_3

Is the guy in the front, 2nd from left, talking on the phone or smoking a cigarette?  I can’t really tell, so I’m going with talking on the phone.  That way he’ll get brain cancer instead of lung cancer.


rebel_minis_15mm_government_types_RMGT3_complete_2


I like how these turned out – the figures and the bases.  I plan to use them with the Monster Hunter International RPG.