Tag Archives: Army Painter

Gripping Beast Anglo-Dane Hearthguard

I’m almost done with my 6 point SAGA warband.  Here’s some dane axes from Gripping Beast, which I got from their US reseller, Architects Of War:

Gripping_beast_anlgo_dane_hearthguard_bare Gripping_beast_anlgo_dane_hearthguard_paintedI primed them with The Army Painter’s Leather Brown spray primer.  I’ve become a huge fan of their color spray primers and the matching brush paint.  It saves so much time to not have to paint the various straps, pouches – AKA the fiddly bits.

I’ve found a local group that plays SAGA once a month.  I’ve played one session with them, and they are a good group of guys.  I’m looking forward to next month.

All I have left in my warband is to base my levy.  They are all painted, only basing is left.

Painting a 28mm Archer

In this post, I paint a Warhammer bowman.  I’m using these guys to play SAGA, though they may be, historically, a little later.  They look good, though, so I’m not really concerned.

I painted 12 of them.  I primed them “Leather Brown” with spray primer from The Army Painter.  This way I could skip the fiddly leather strap, etc.

I consider myself an average painter.  I’m not going to win any awards.  However, I think my troops look good on the table, and that’s the point, isn’t it?

These first 3 pics are after a base coat only.  The face, however, has a base coat and a highlight coat.  He’s blue tacked to a craft stick (with 2 of his brothers) because I do basing after they are painted.

basecoat_front basecoat_back basecoat_face


These next 3 are after I painted the highlights:highlight_front highlight_back highlight_face


And these final 3 pics are after a wash with The Army Painter Srong Tone:wash_front wash_back wash_face

Assembling and Painting Wargames Factory Saxons

Over the last several weeks I’ve been assembling and painting Wargames Factory’s plastic Saxons.

what_i_deal_withThey come on several sprues, body, head, each arm, shield, and weapons all separate.  It took me about an hour to do 4 soldiers.  Clip off the sprue, choose and fit the parts, clean up the mold lines, and glue.

ready_for_decalsshieldsI used Little Big Men Studios’ shield transfers.  I read that it was easier to apply the transfer if the shield was not attached to the soldier, so I did the shields separately.  If I were to do it again, I’d go ahead and attach the shields from the beginning. Applying the transfers was pretty easy.

all_assembled A bunch of them assembled and ready for primer.

dane_axes_primed_and_chainmailOne point of Hearthguard.  I primed them black, then dry brushed The Army Painter’s Gun Metal over the metal parts – helmet, chainmail and axe heads.  When I do this step next time (for my levy) I’ll use a leather brown primer instead of black.  Then I can paint everything but the belts, straps, etc.

dane_axes_washedGetting close to done.

basedTwo points of Hearthguard painted and based.

Wargames Factory’s plastic minis get a bad rap in some circles, but I think they are great value for the money.  I got them for $15.99 at The War Store, and there’s 32 soldiers in a box, so that’s 50 cents each.  Each box also has more weapons, heads, and arms than you need, so you have a lot of flexibility in your poses and armament.

SAGA and Gripping Beast’s Harald Hardradda

A friend at my local game store has gotten me into SAGA.  (Yu know who you are (that’s a pun that one person in the world is going to get)).  I’ve not played yet, but we have some games scheduled in a few weeks.  I’ve just started painting my army, but tonight I finished my warlord.

I used Gripping Beast’s Harald Hardradda figure, but I’ll use him as a generic Anglo-Danish leader.

out_of_package Here’s what you get in the package.  I ordered from Gripping Beast’s USA partner, Architects Of War.  They shipped fast and have good prices, and an easy to use website.  I got my SAGA rulebook from them, also.


size Harald is BIG.  I read up on him, and he was a big guy in real life, also.


unpainted_back This is where the shield attaches to his back.


shield_decal I used a decal for the shield front.  It was easy to put on.


decal_applied The shield after the decal was applied.


before_shield_attached When I primed the figure and the shield, I put a bit of blue tack over the parts that I would need to glue, so that I could glue metal to metal with no paint in the way.


after_shield_attached The shield is attached.


after_wash Harald is painted and washed with The Army Painter Strong Tone ink.


Gripping_beast_Harald_Hardradda_front Done and based.  The sword on the base is from Wargames Factory Saxon Thegns.  He’s on a 30mm Litko.net wood base with a heavy duty magnet base underneath.


Gripping_beast_Harald_Hardradda_back


I am really looking forward to playing SAGA.  I’ve started on my Anglo-Danish warband.  Hopefully I’ll have some pics of them for you soon.


Army Painter’s Color Primer Review

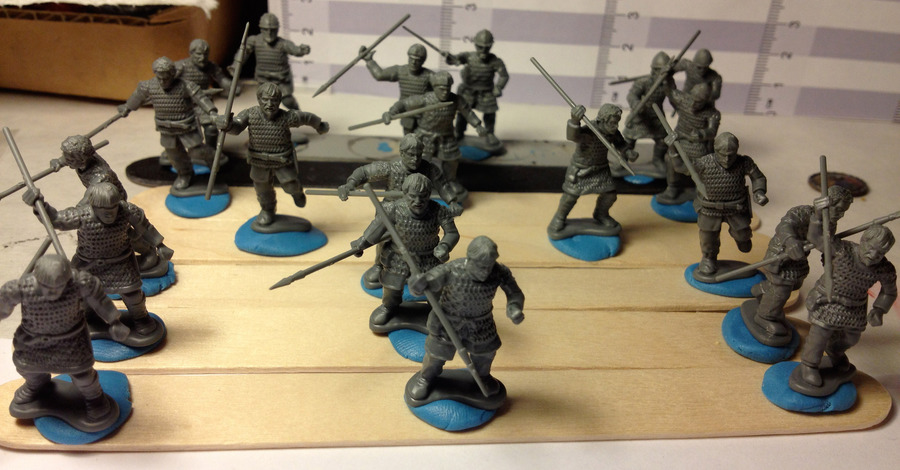
I recently got a buttload of 15mm Sci-Fi minis from the Critical Mass Games Kickstarter.  I need to paint them, so I can have a full company vs. company to try out Quadrant 13.  I looked into how to speed up the painting process, and I came across The Army Painter’s Color Primer.  They spell it “colour” but they are wrong. 🙂

I use Army Painter’s washes – Strong Tone and Dark Tone, and I like them a lot better than the Citadel washes I had used previously, so I was already feeling positive toward the company.

The genius thing that Army Painter has done here is that they have a “100% match” regular paint for each color primer.  So you can, in theory, spray your minis with the colored primer, paint the other colors, then touch up with the 100% match paint.

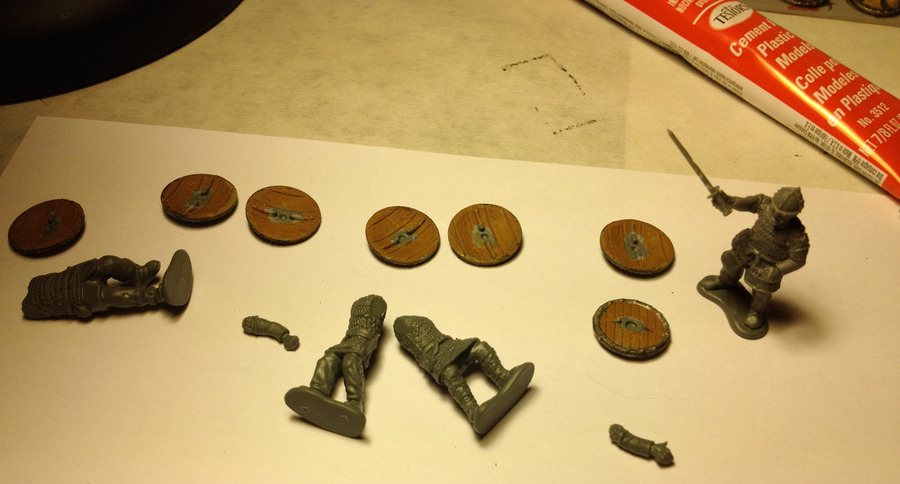
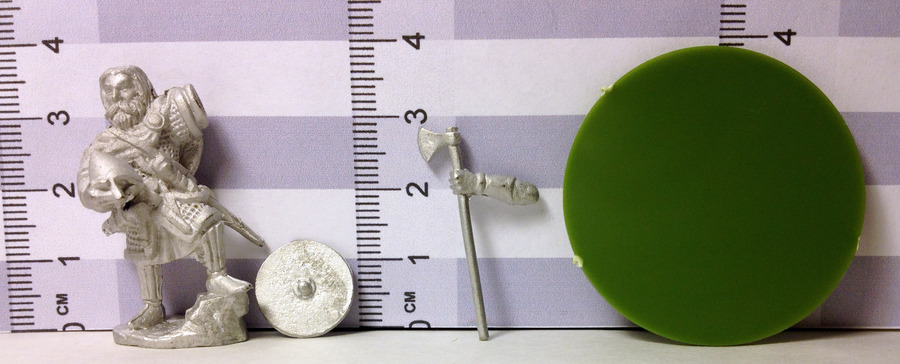
Anyway, I wanted to try it out before I sprayed it all over my CMG minis, so I tried it on Kurasan’s “Terror Of Clambake Beach.”  These were perfect, because they are mostly one color.

raw_terror cleaned_terror 
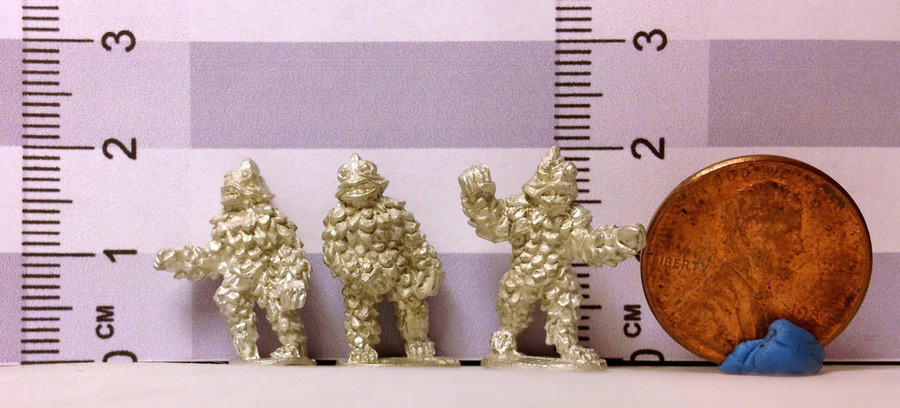
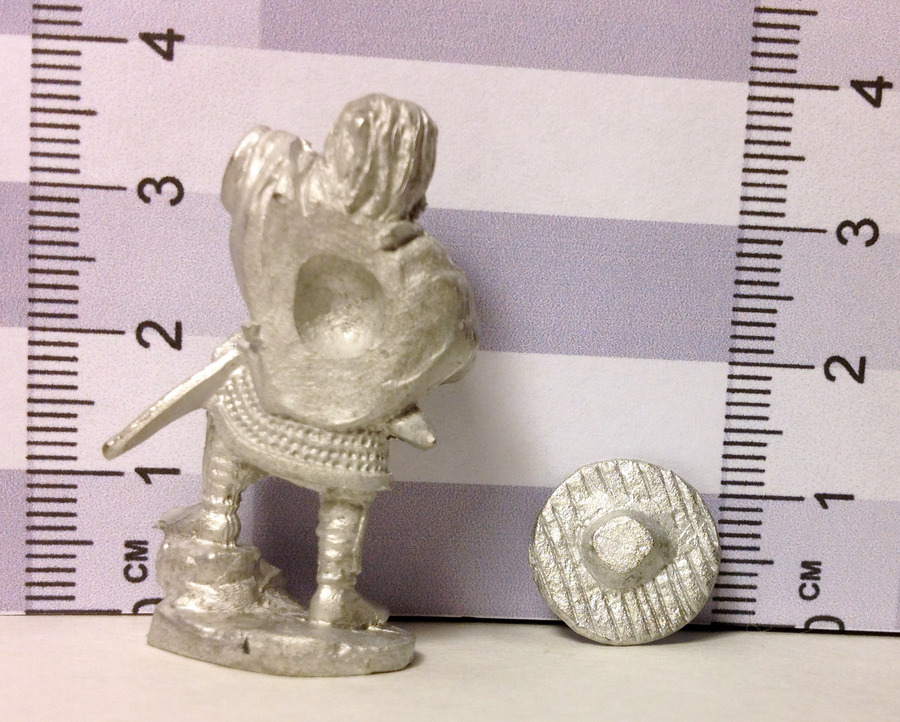
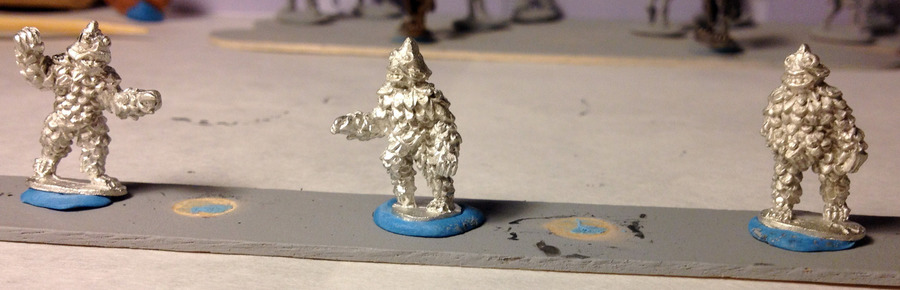
The Clambake Beach minis before and after cleanup.


terror_primed 
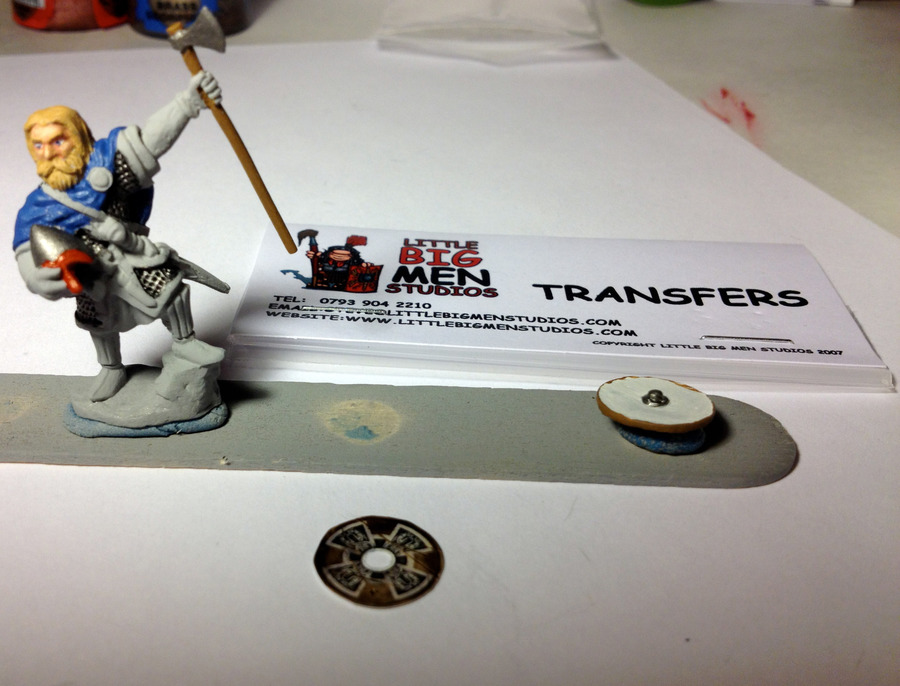
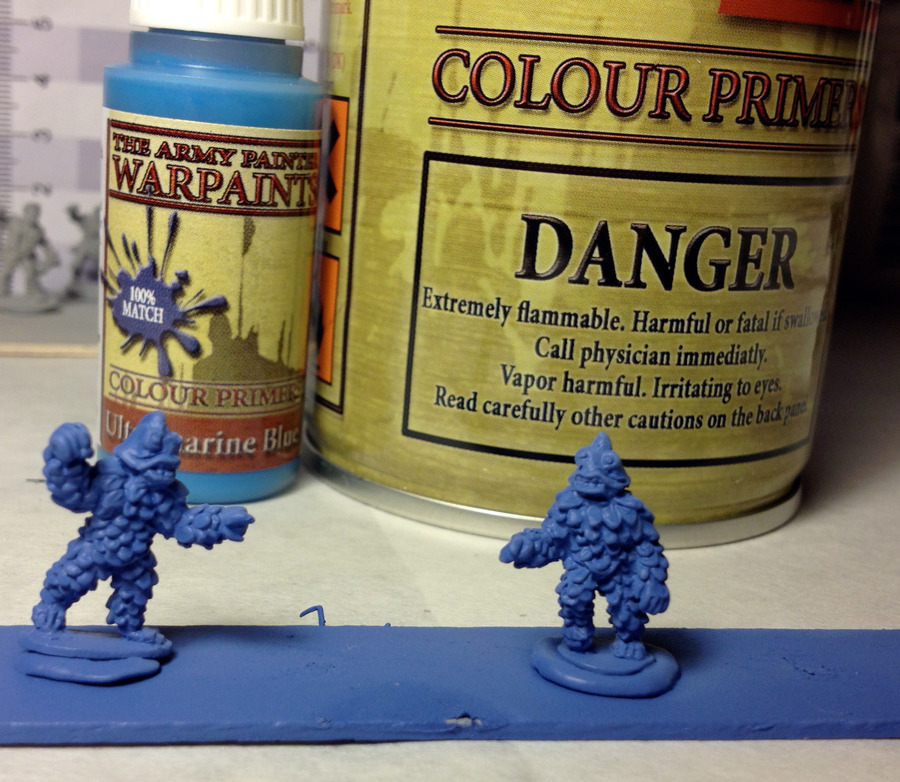
After priming with “Ultramarine Blue”.  In the back is the spray primer and the 100% match paint.


Khurasan_terror_of_clambake_beach_15mm_PLA-6
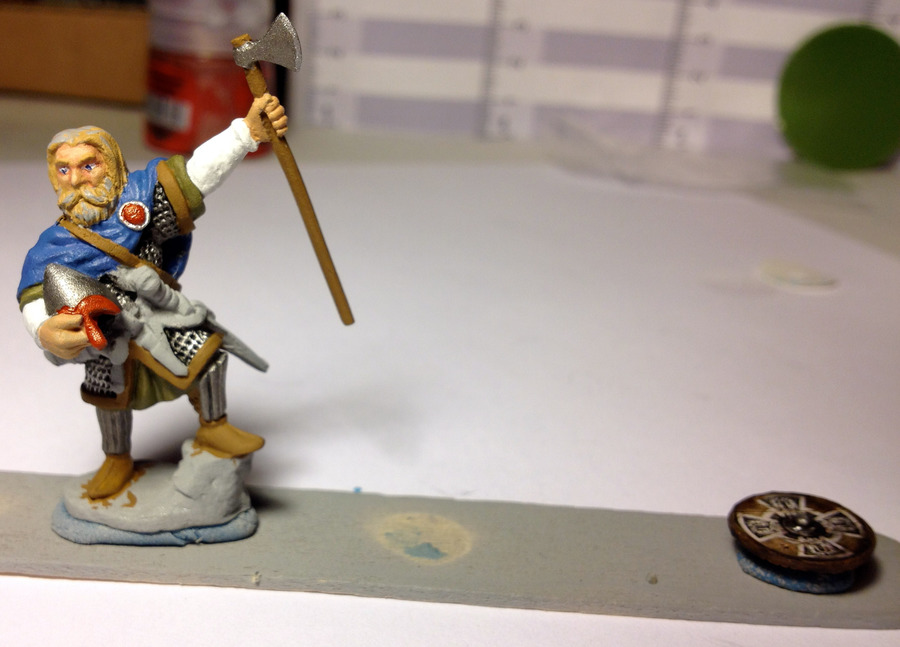
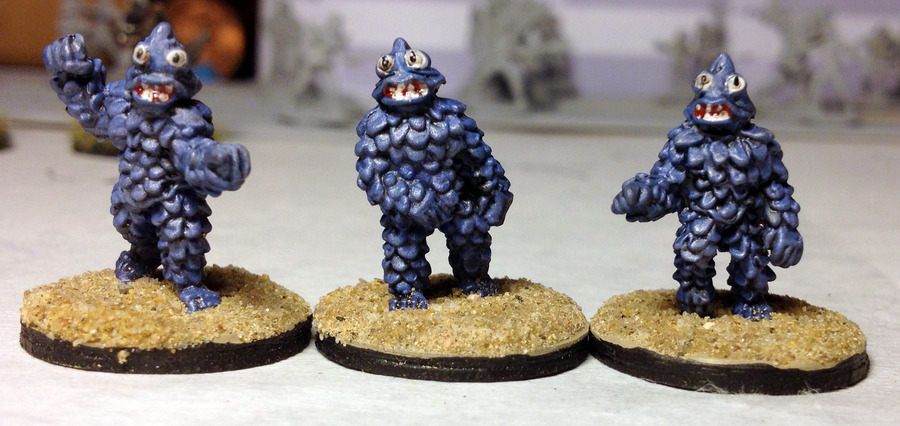
The completed minis.  I drybrushed a mix of the 100% match paint with a bit of Citadel’s Runefang Steel, then painted the eyes, mouth and teeth.  Of course I messed that up, so I had several touchups to do, and they blended perfectly.

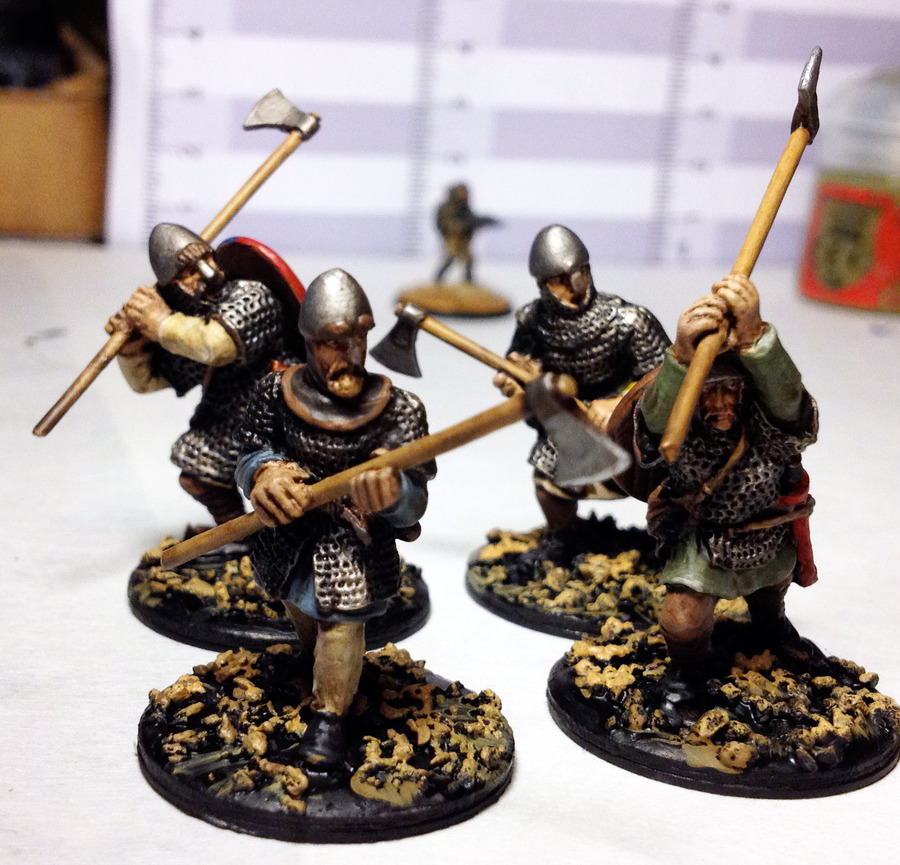
Then I washed with Army Painter’s Strong Tone mixed with acrylic medium to thin it.  Basing was done my standard way.


The color primer really sped the whole process up.  I’m a fan.  The 100% match paints really seal the deal.  I think this will save me about 25% time when I paint the 79 infantry from the CMG Kickstarter.
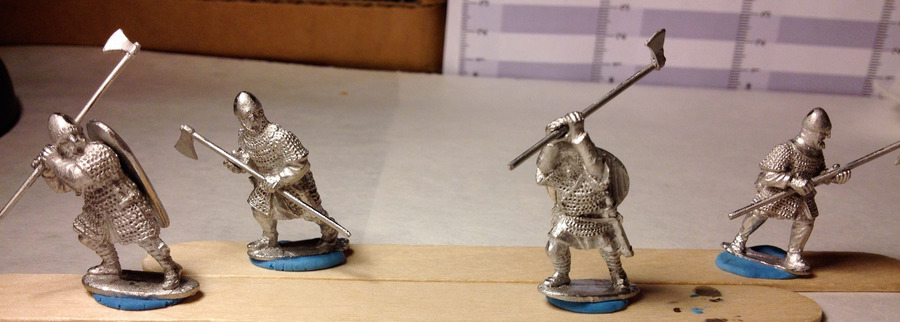
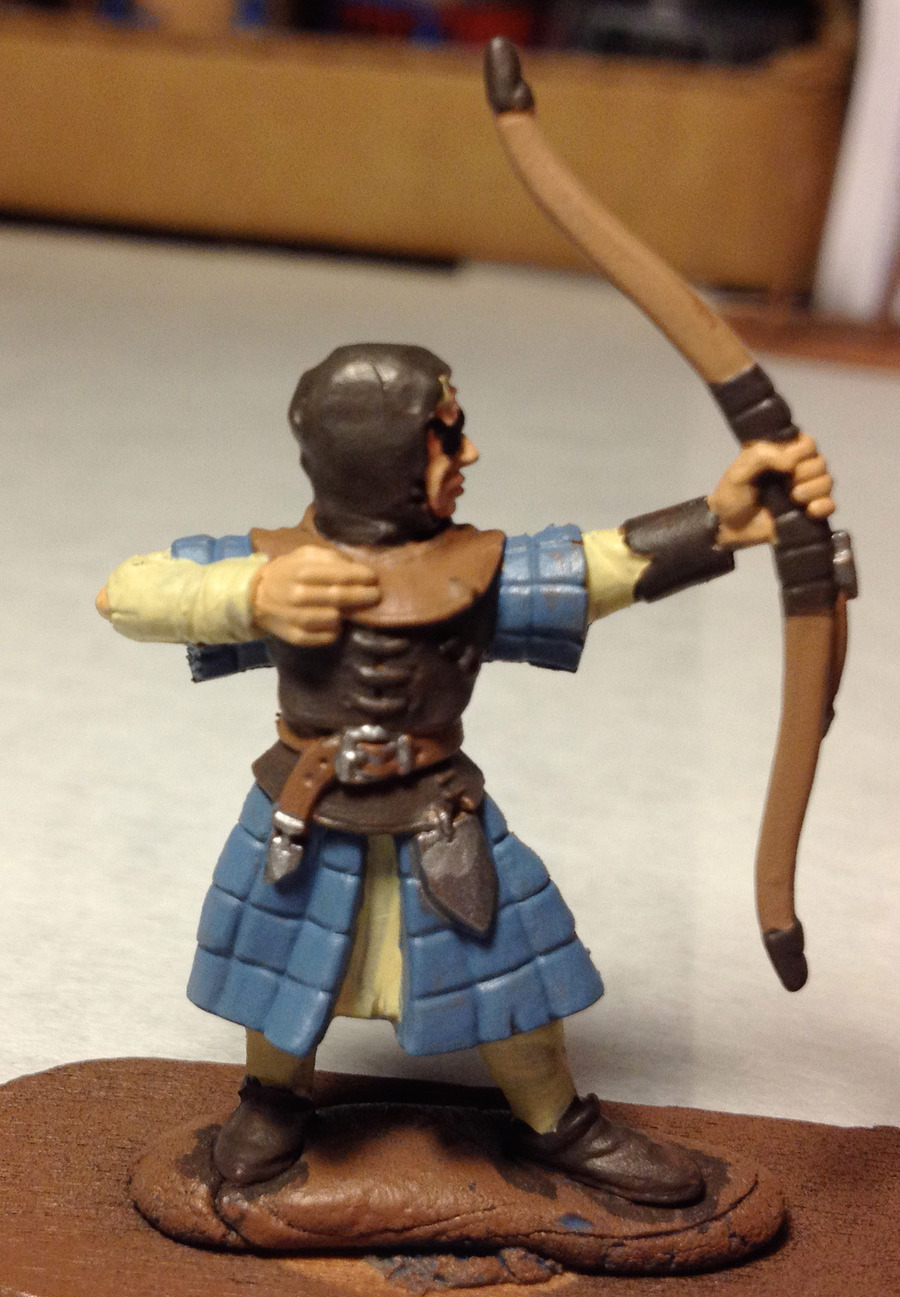
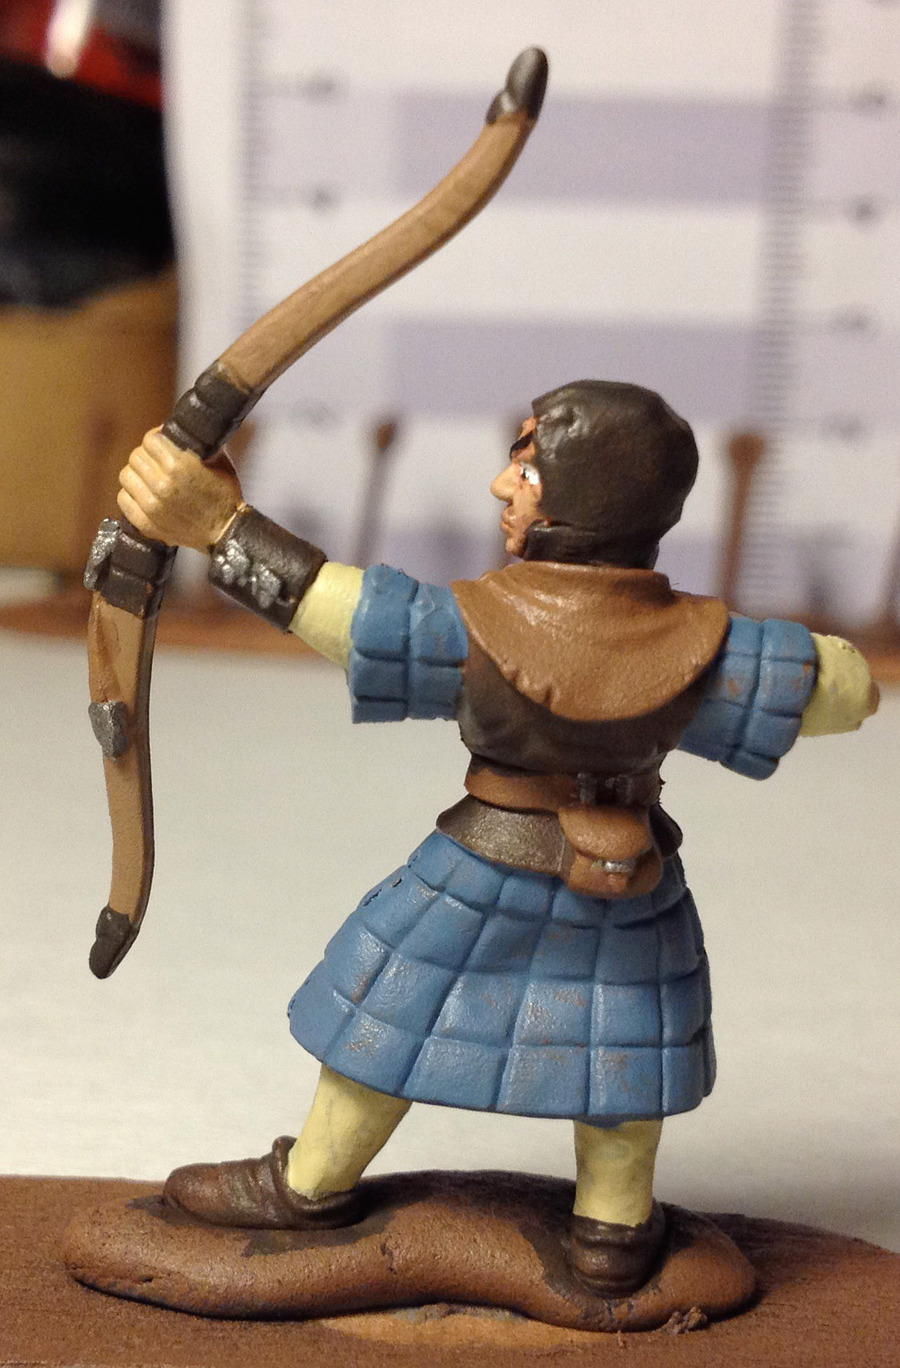
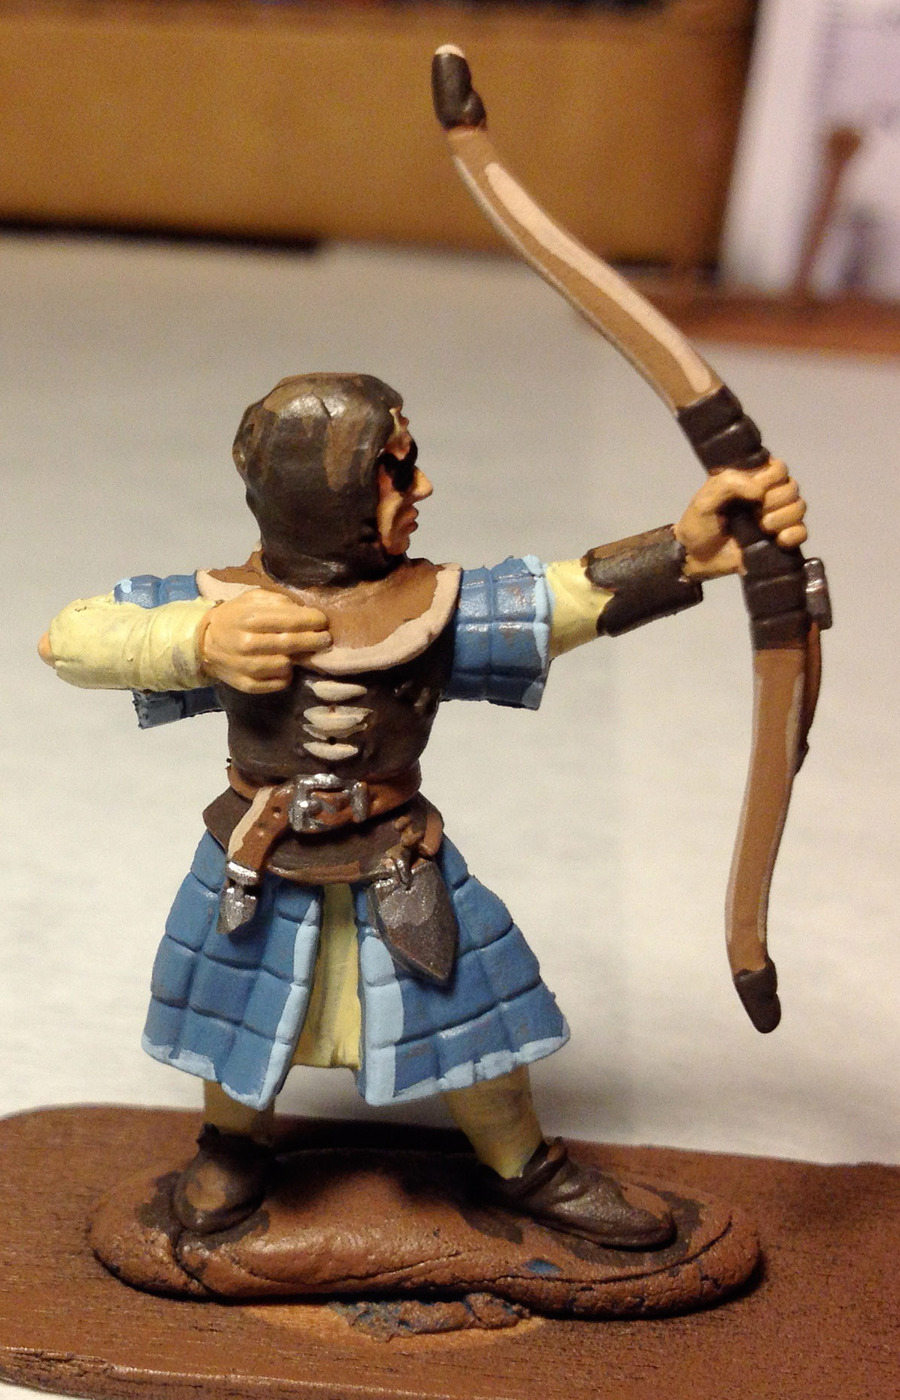
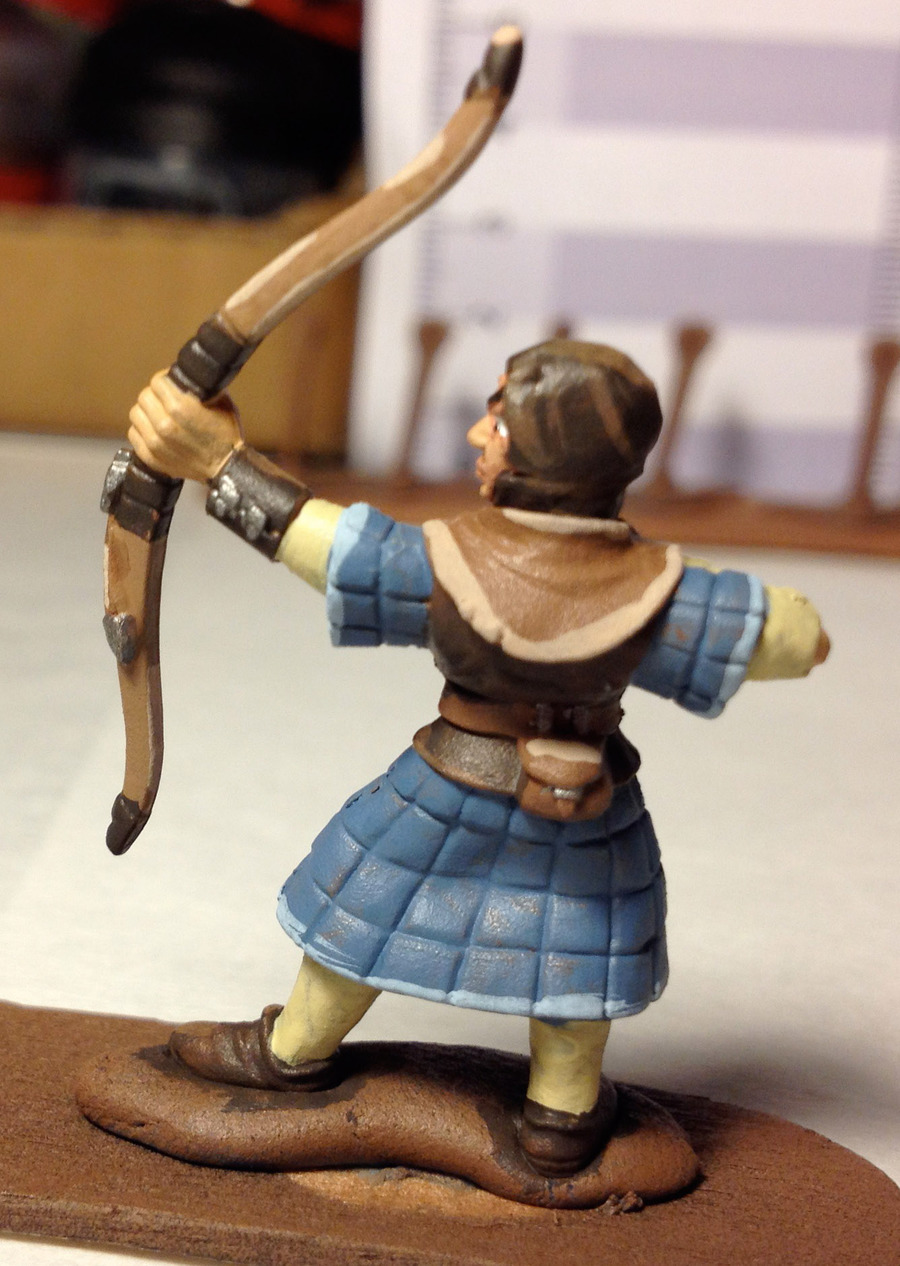
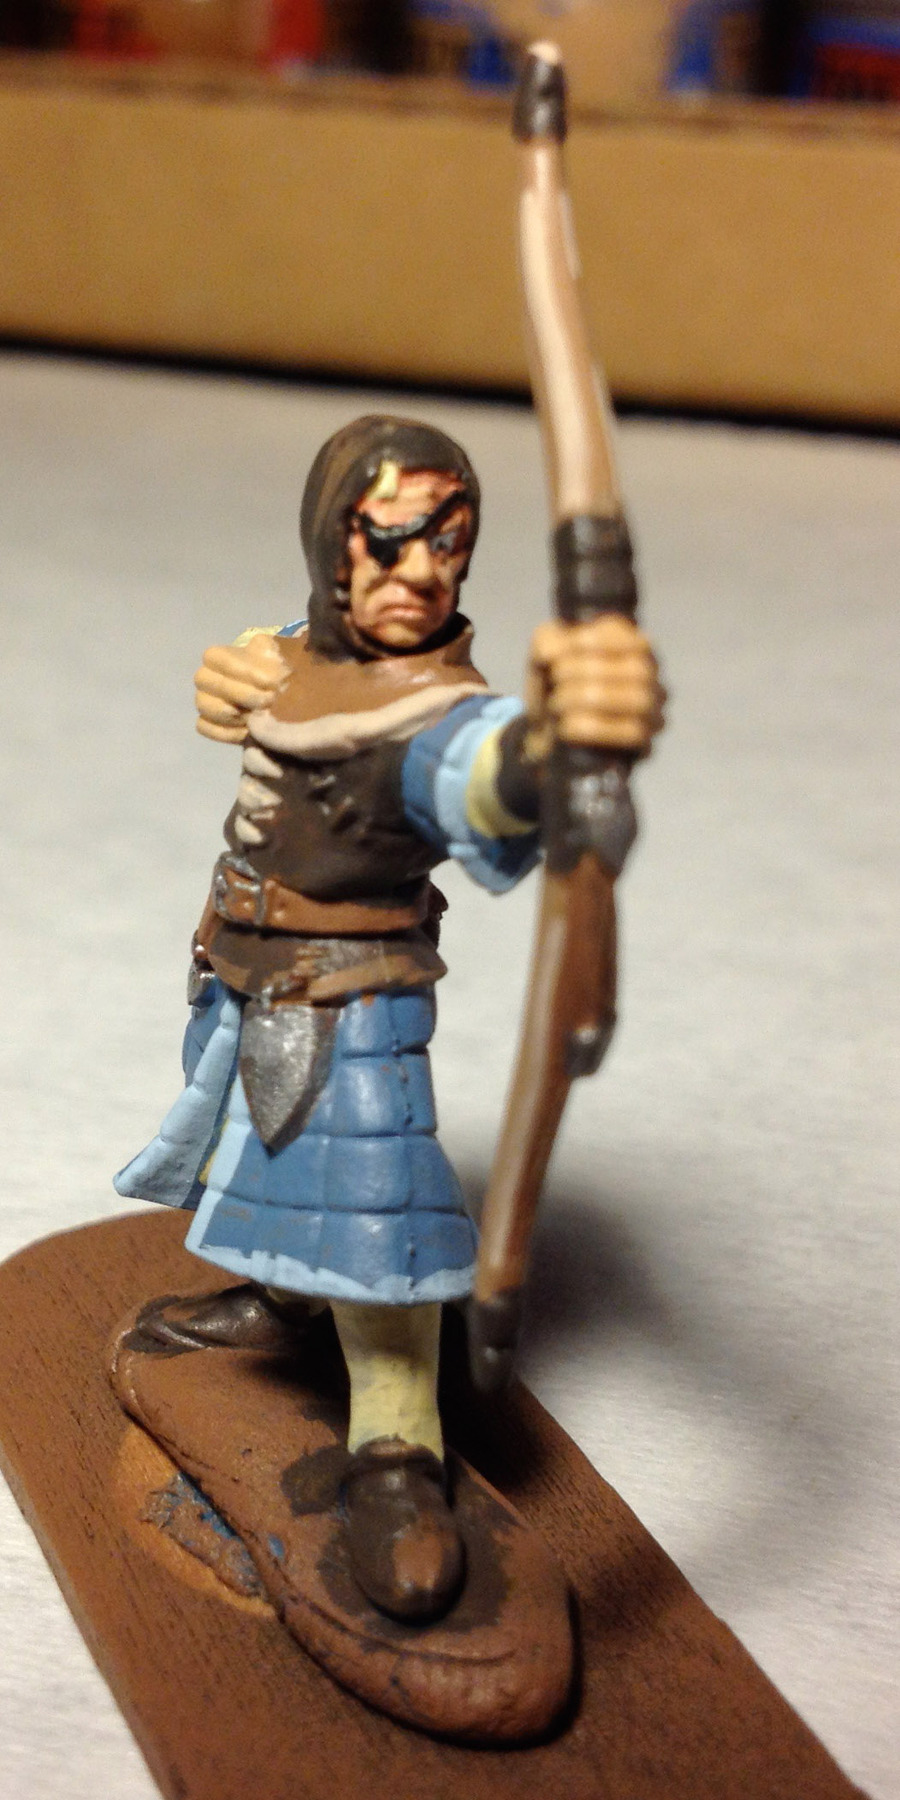
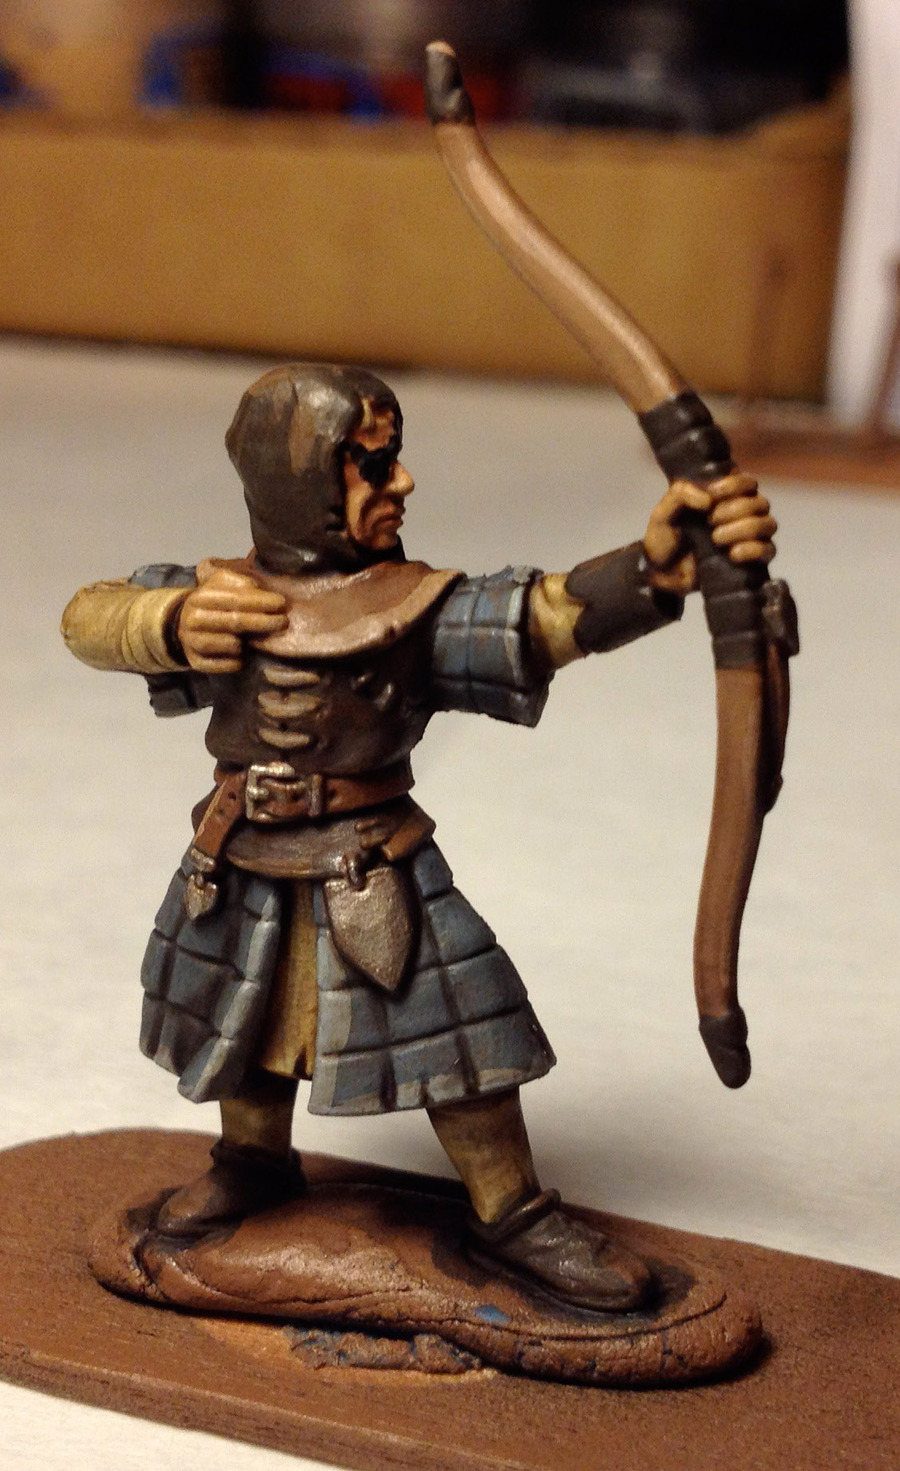
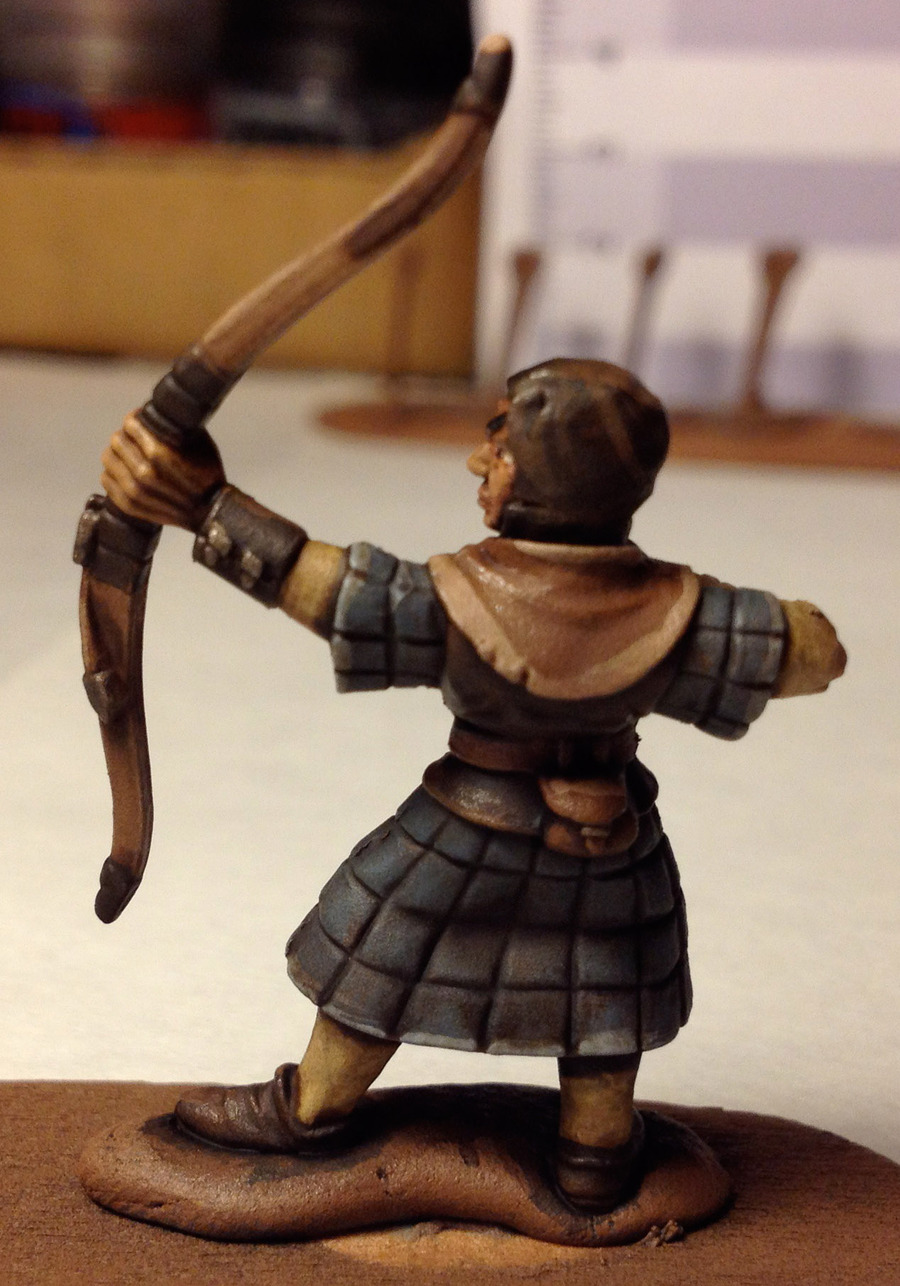
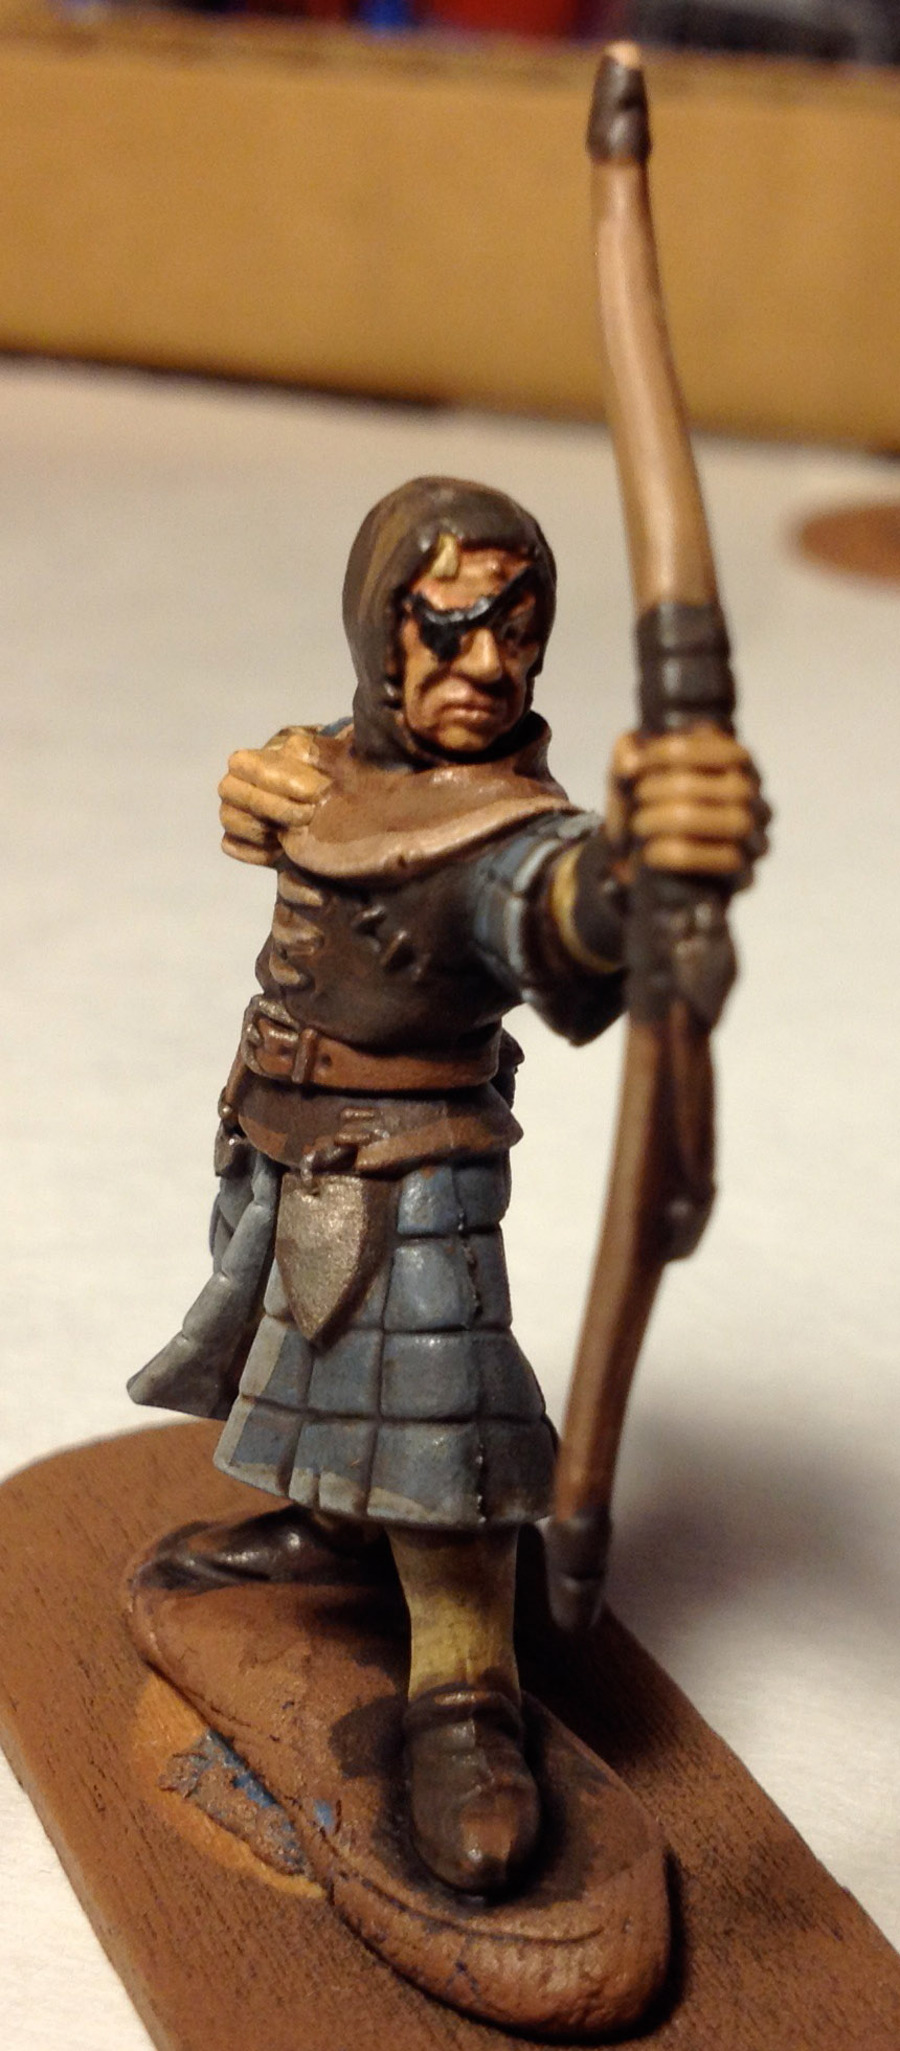
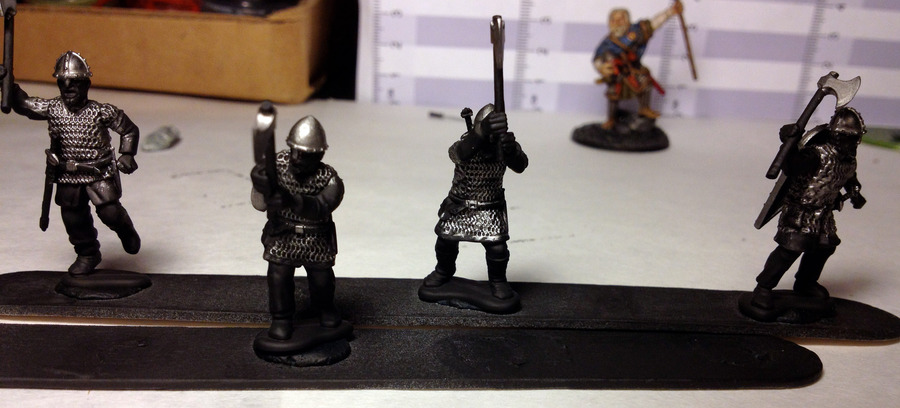
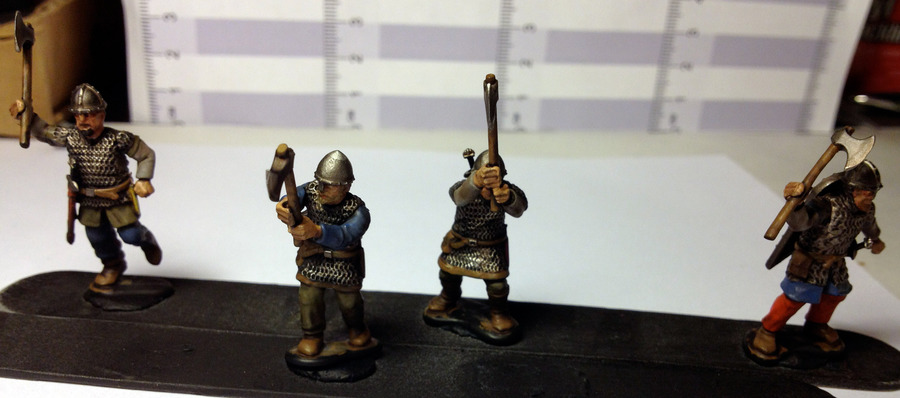
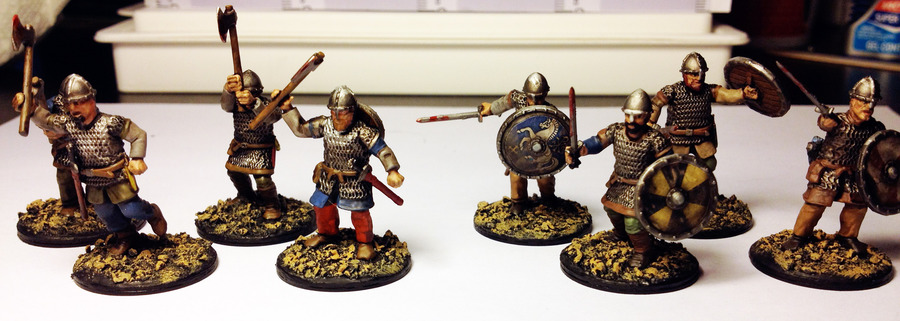
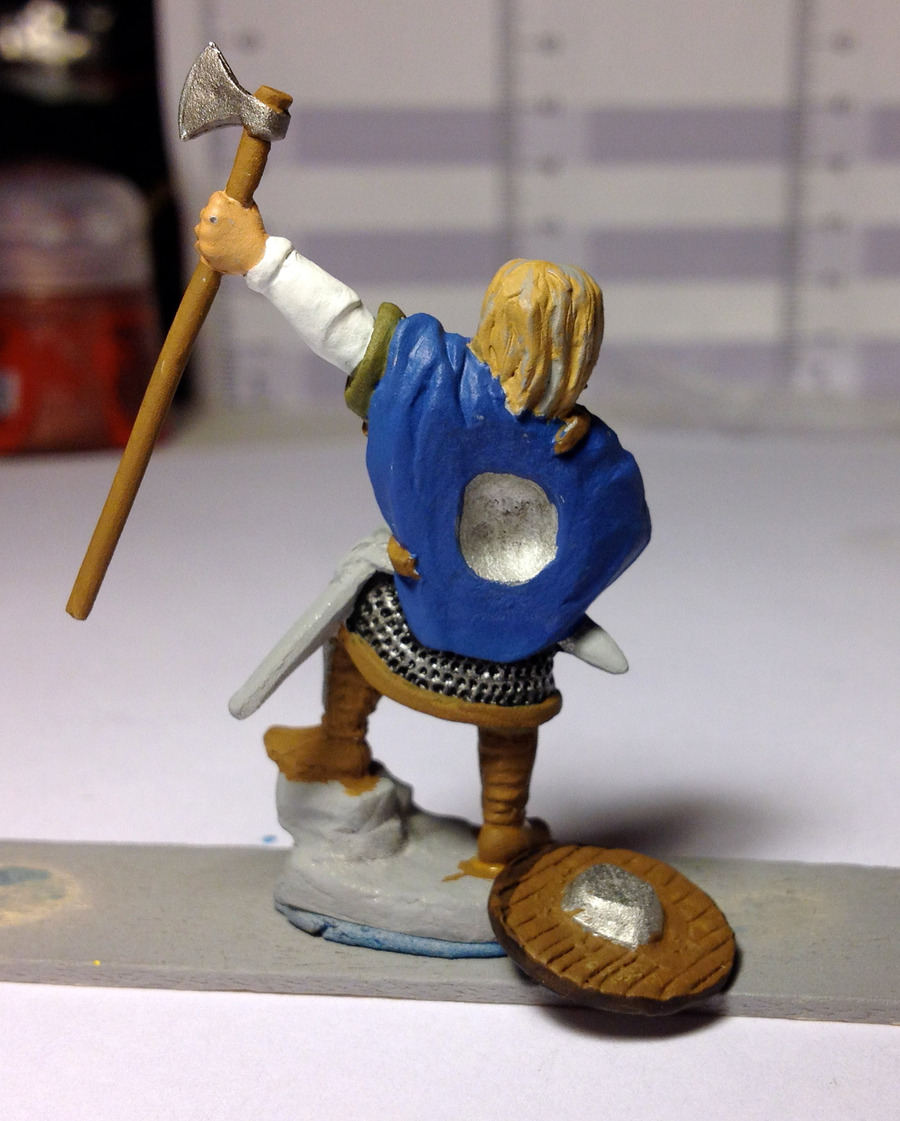
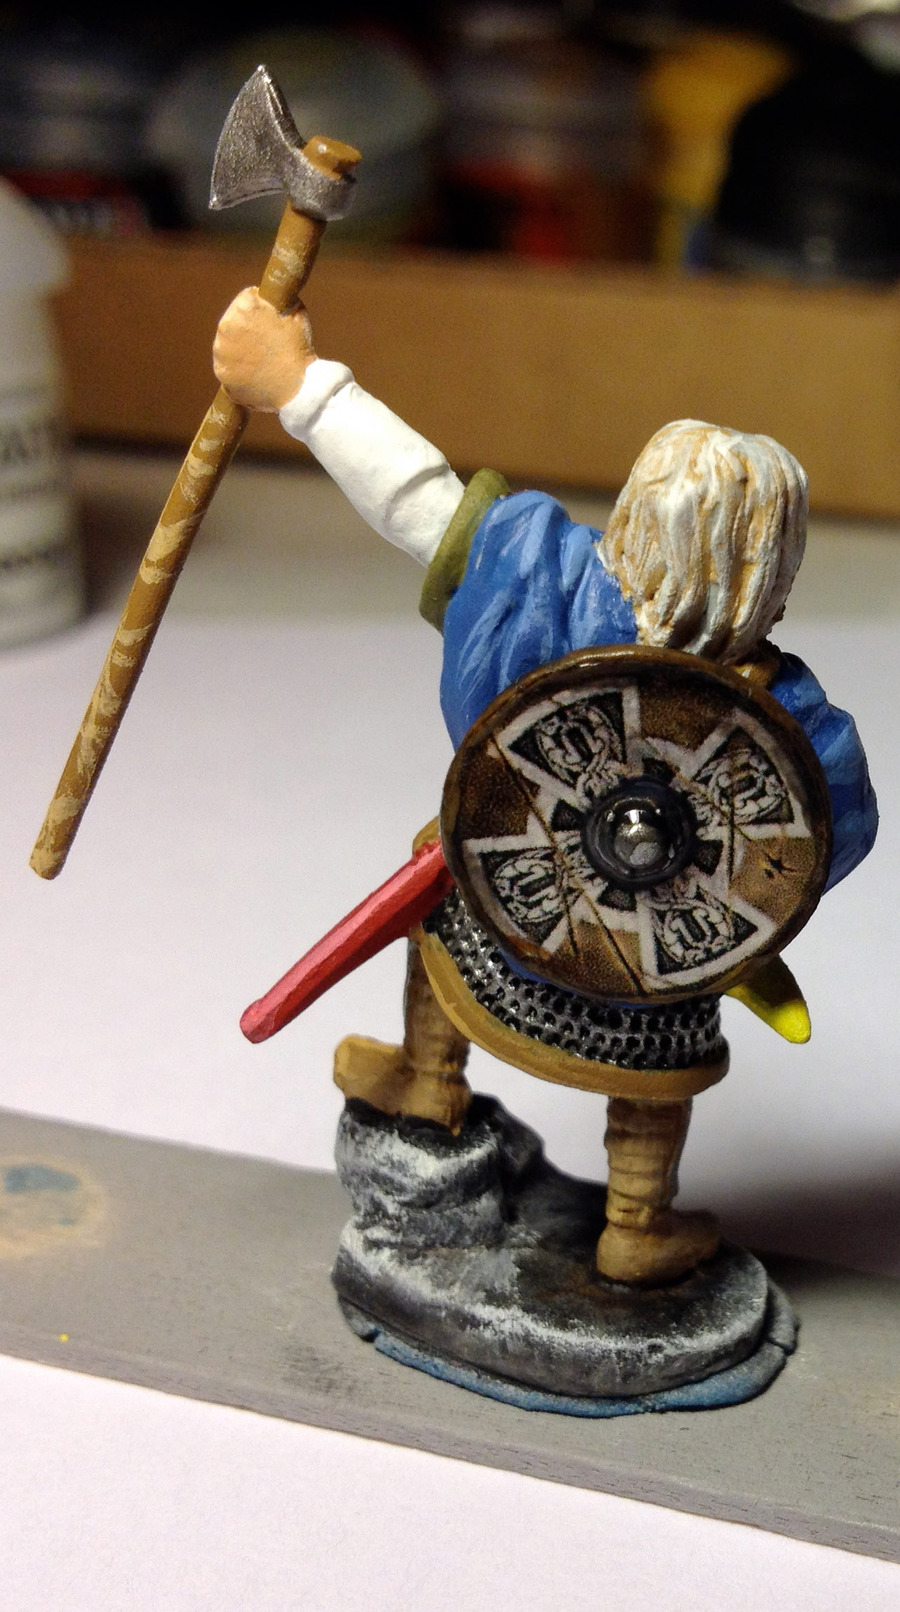
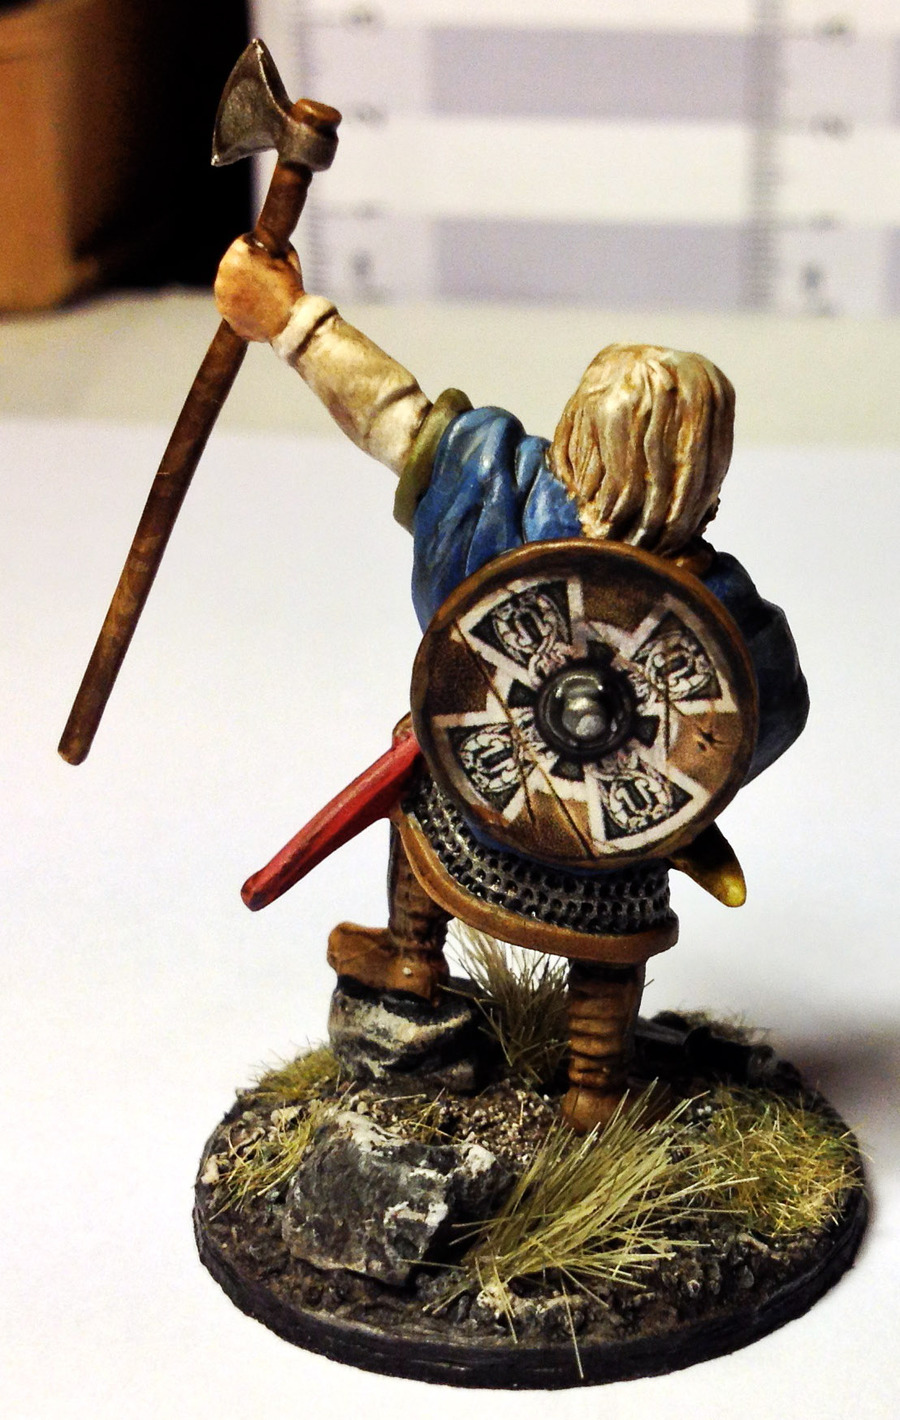