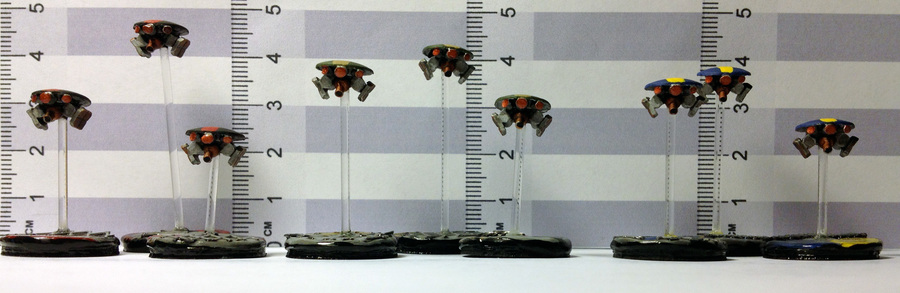
Over the last 2 weeks I’ve been working on 12 of GZG’s Spider Drones – 2 packs each of the standard and rotary canon. I paused in the middle and painted some other stuff, then my bases finally arrived from Litko, so I finished them up this weekend.
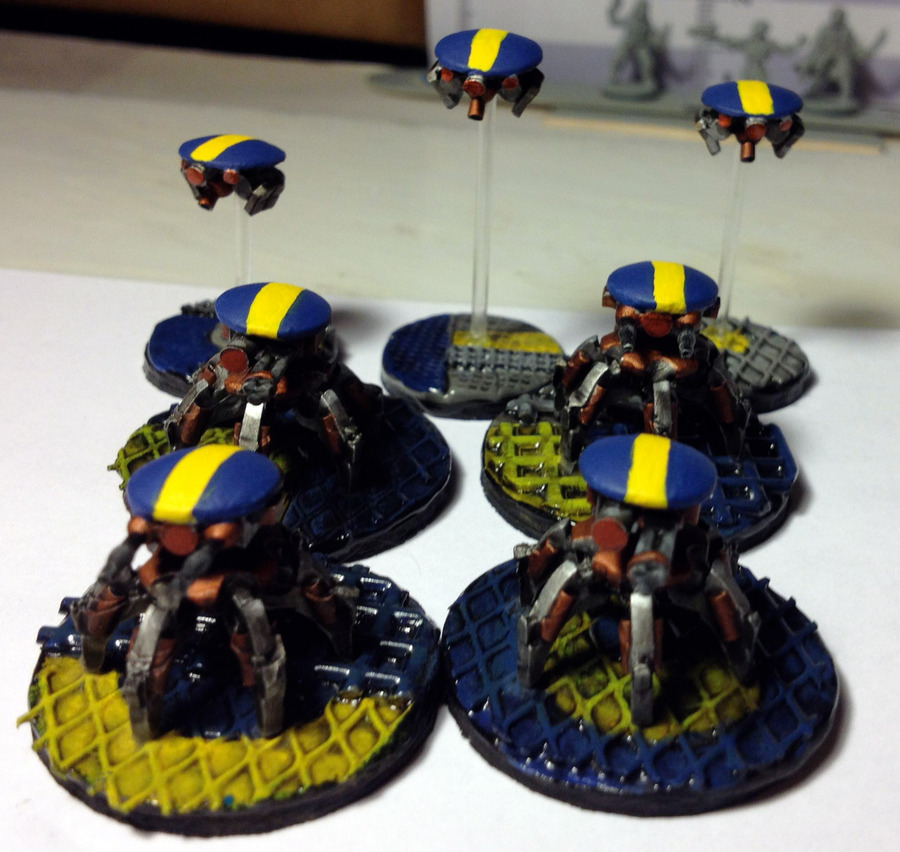
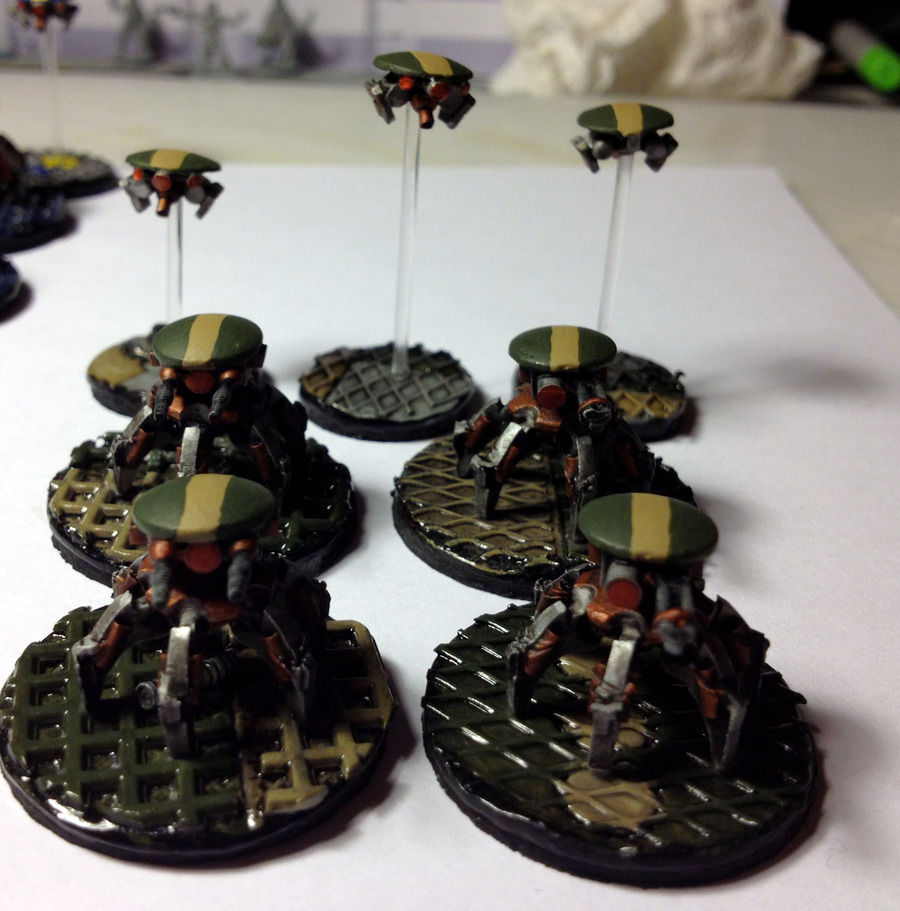
I painted them all the same, except for the top, which I painted in a similar style as I did the Grav Drones a while back. Then I based them using Green Stuff.
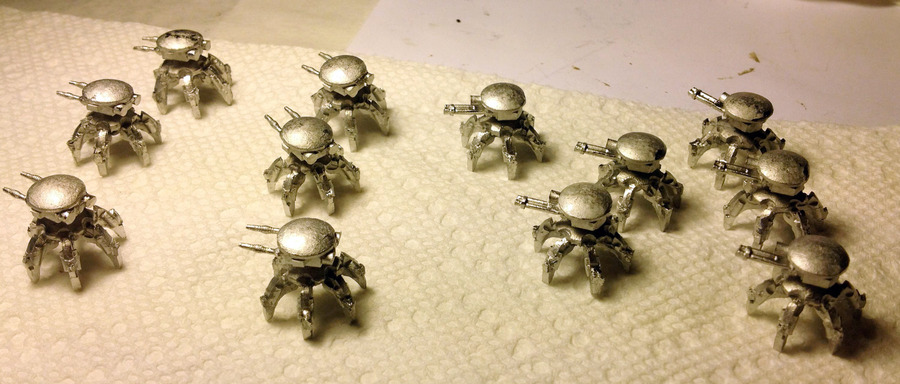
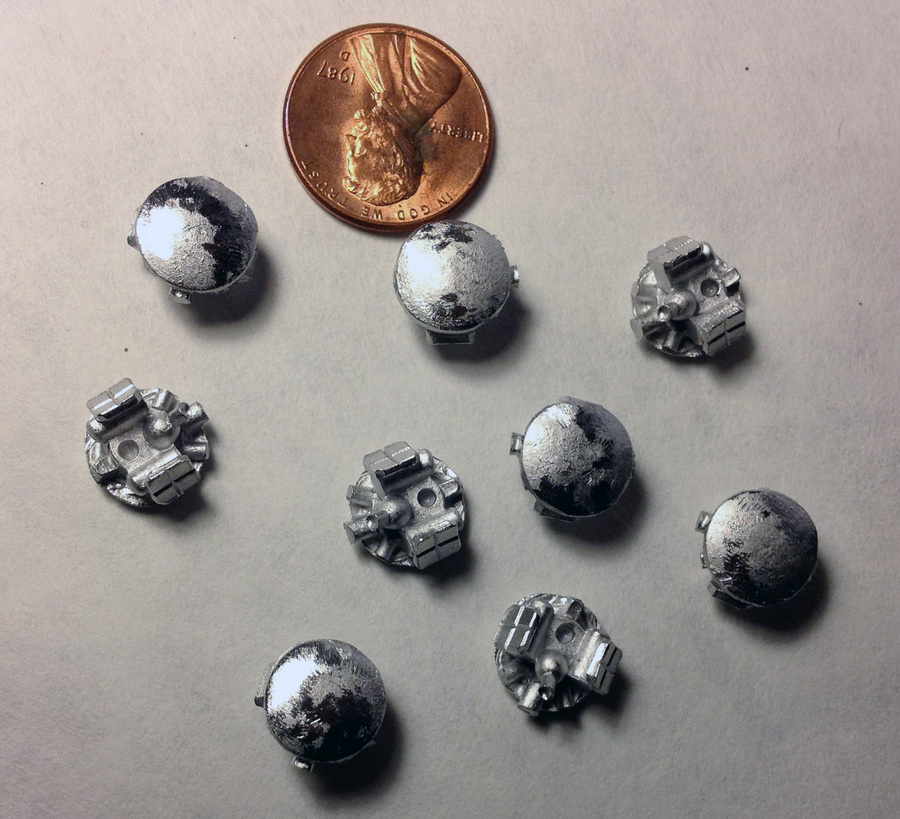
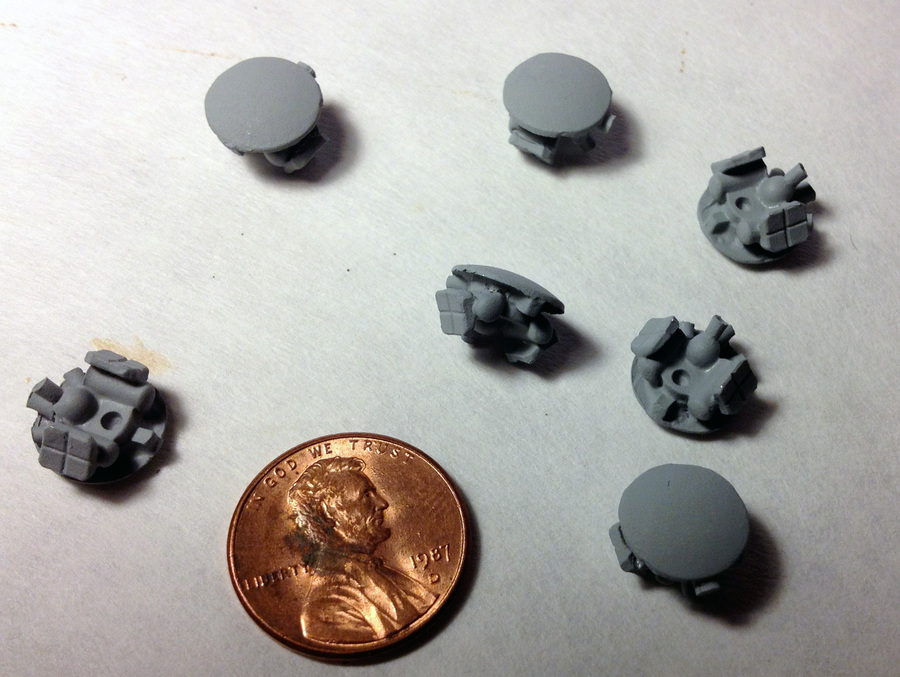
Cleaned and assembled. There’s a bit of flash around the leg joints that I just left – it was going to be very time consuming to clean, and leaving just added to the “spider legs” effect, I think.

Primed.
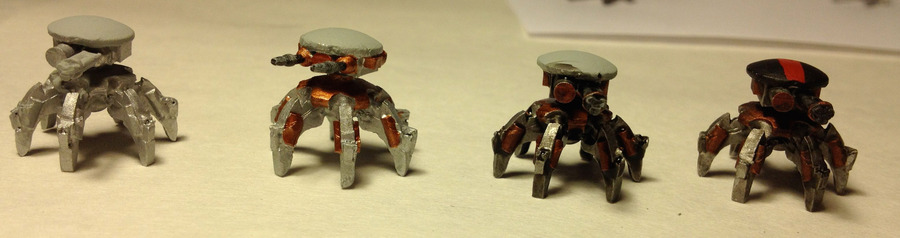
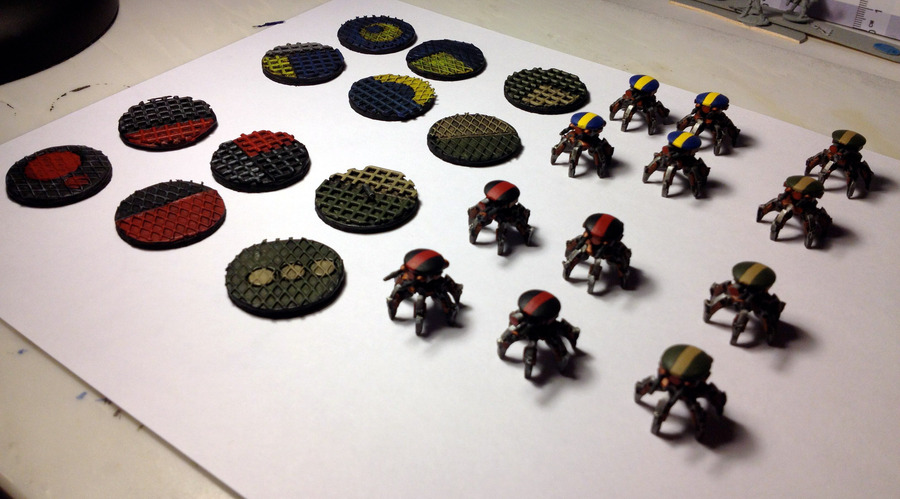
Various stages. Here’s was my process:
- Do the bottom parts of all of them with a rough coat of metallic silver.
- One at a time, do the metallic brass parts, then the black guns, the red lens, and highlights
- Wash the bottom in heavy black
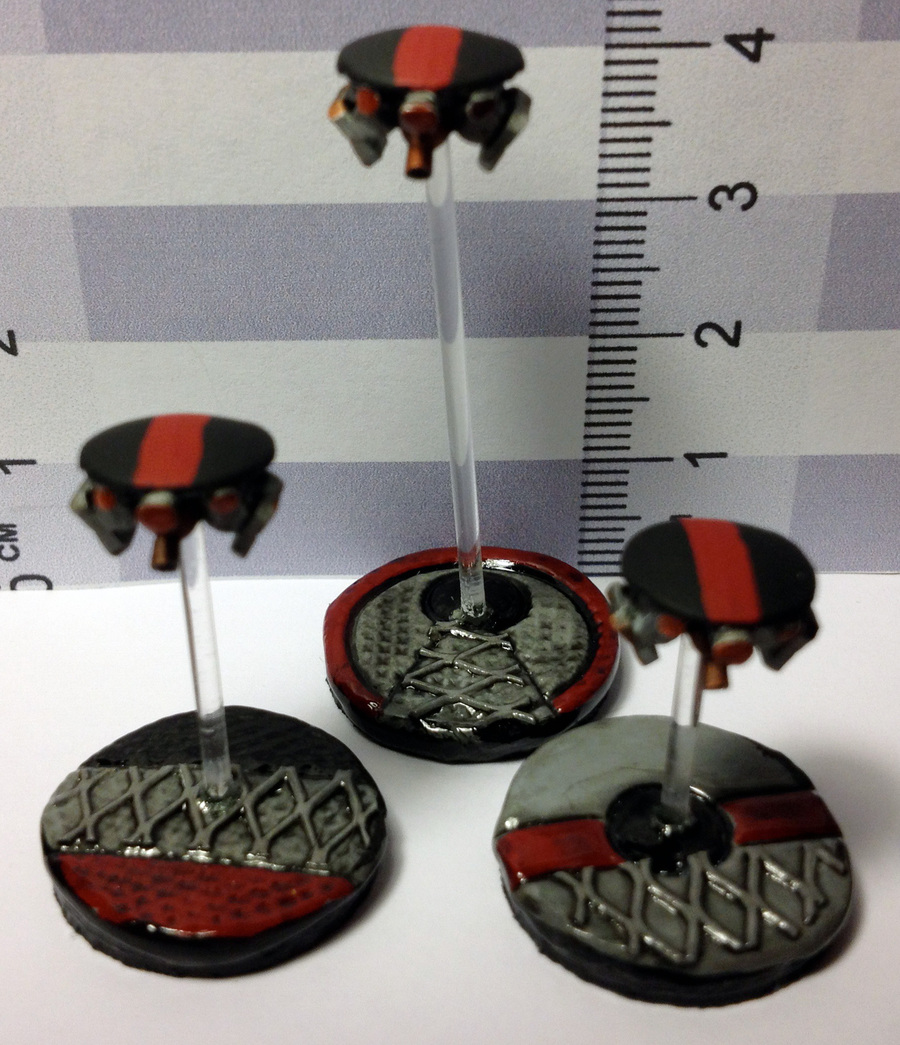
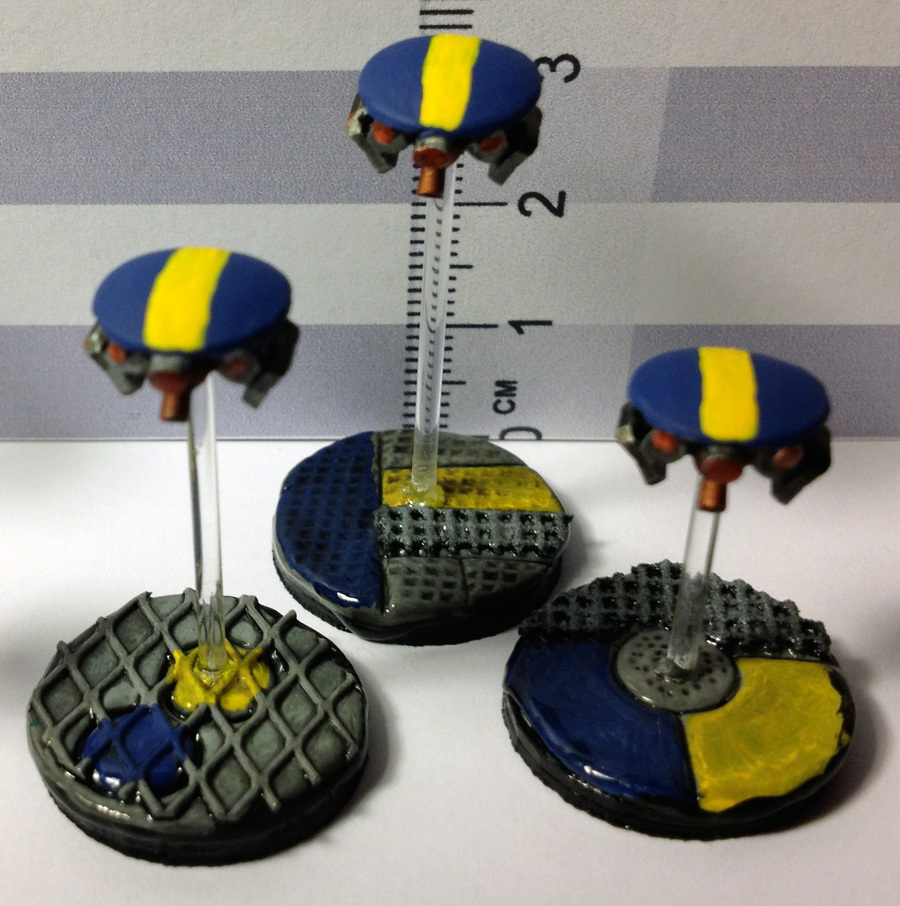
- Paint the top
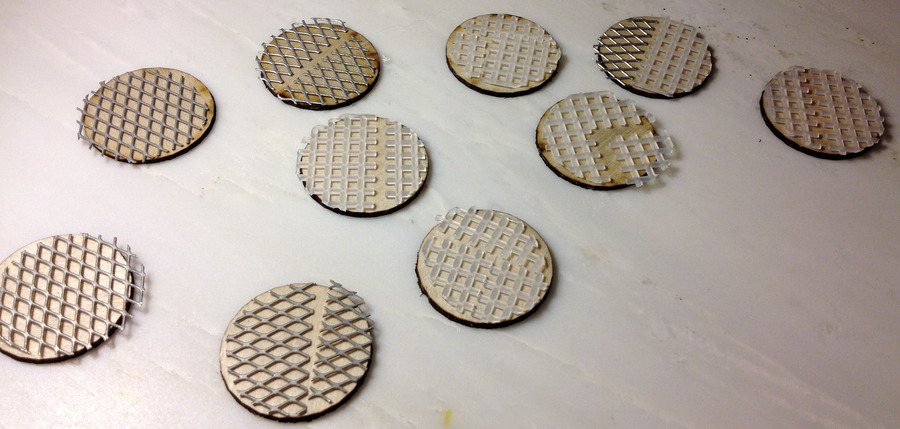
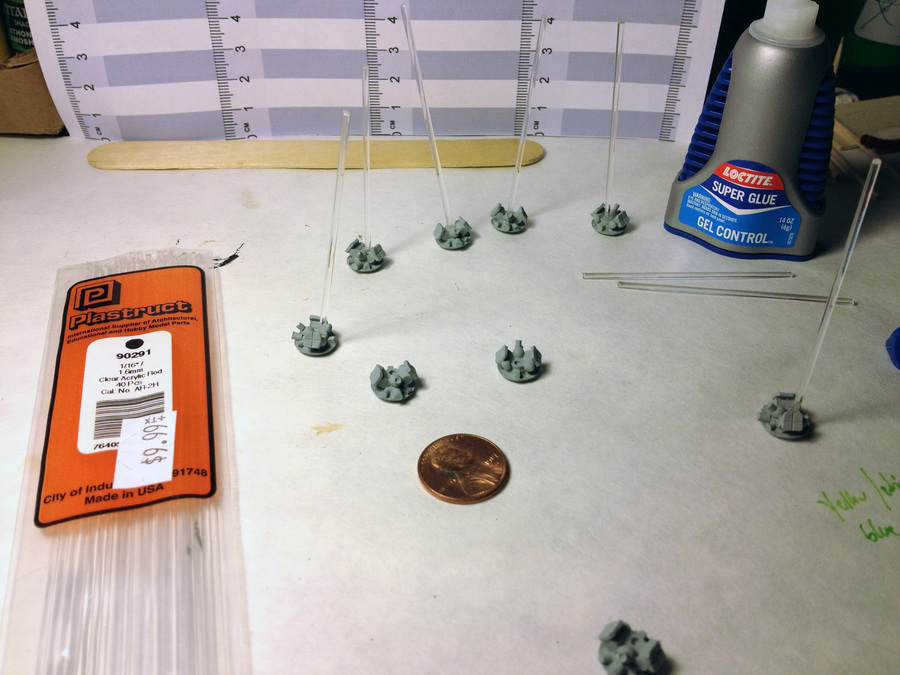
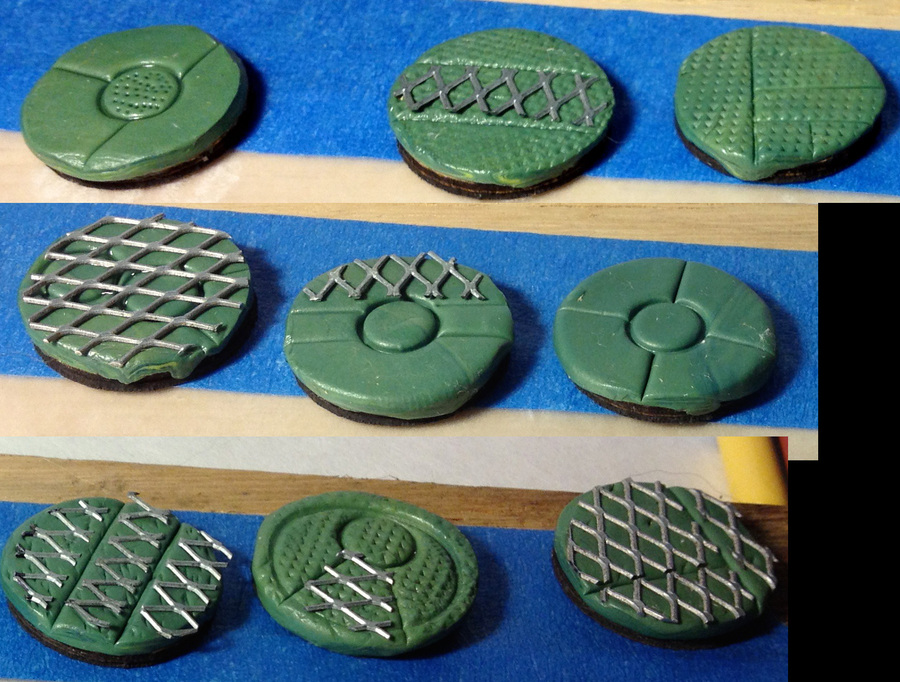
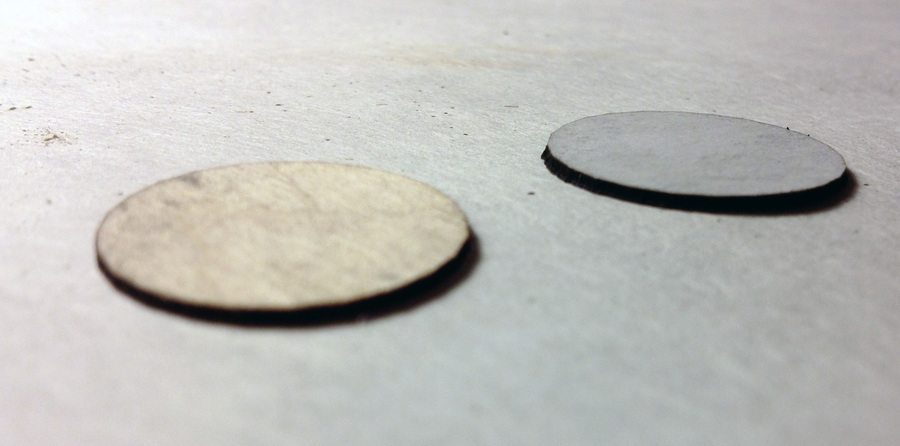
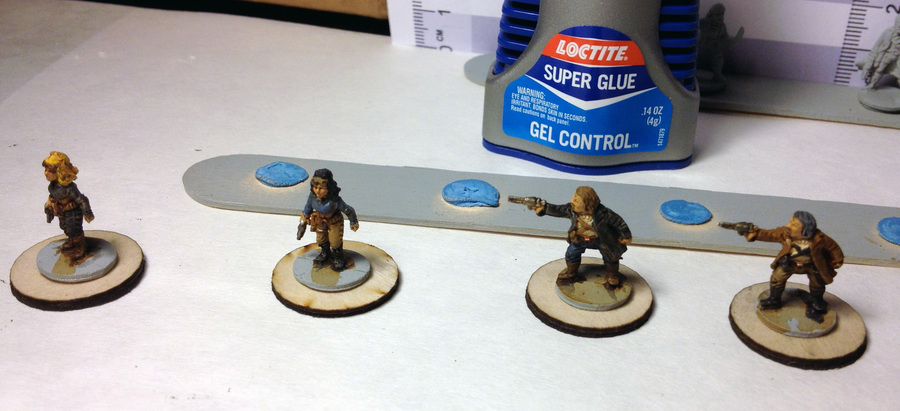
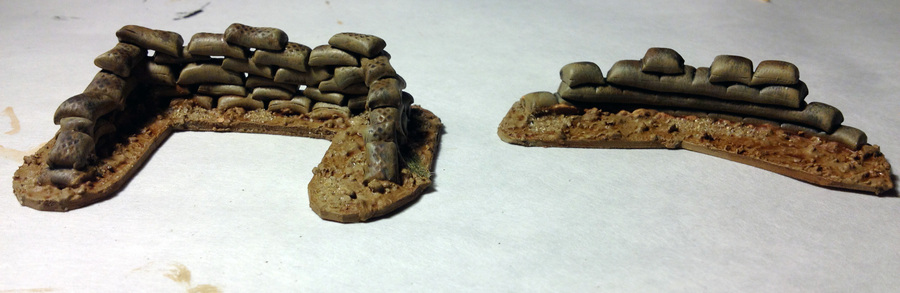
Here’s the bases in various stages. Litko 0.8mm thick wooden bases, 30mm in diameter, with a Litko heavy duty magnet bottom under it. Then I pre-cut the bits for the top of the base. That’s some metal mesh from the hardware store – I also use it to make chain link fences – and some square plastic mesh I got at the craft store in the knitting section.
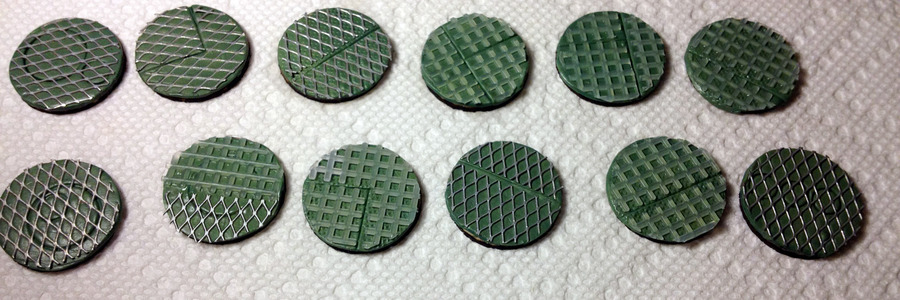
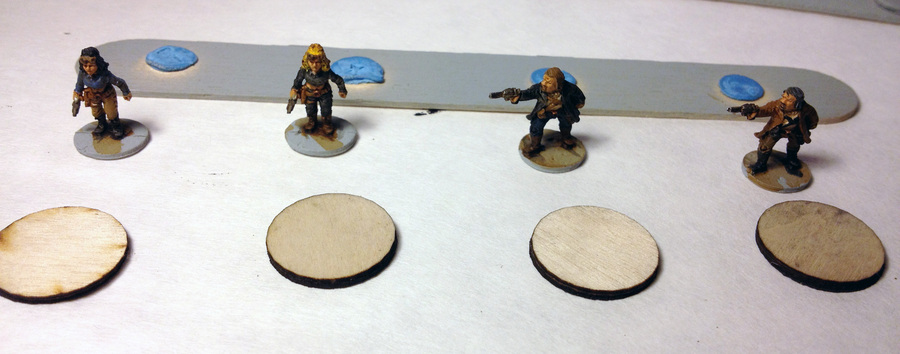
Here’s with the Green Stuff – ready for primer.
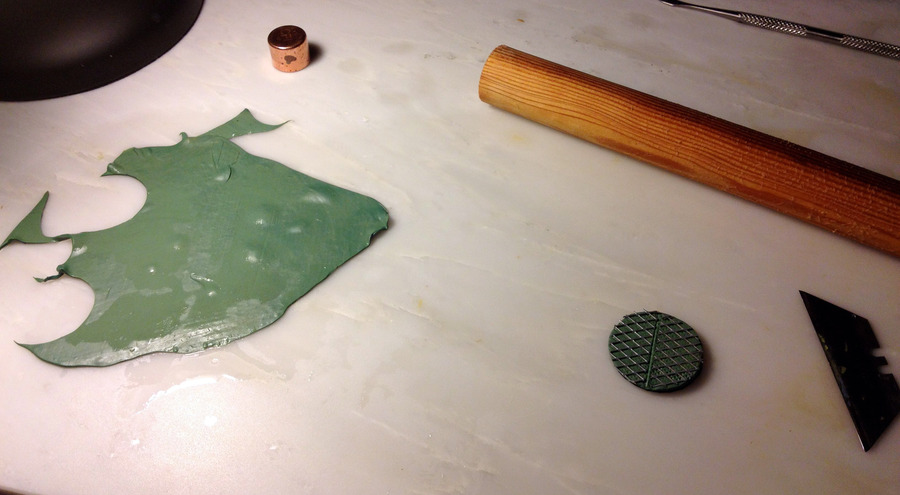
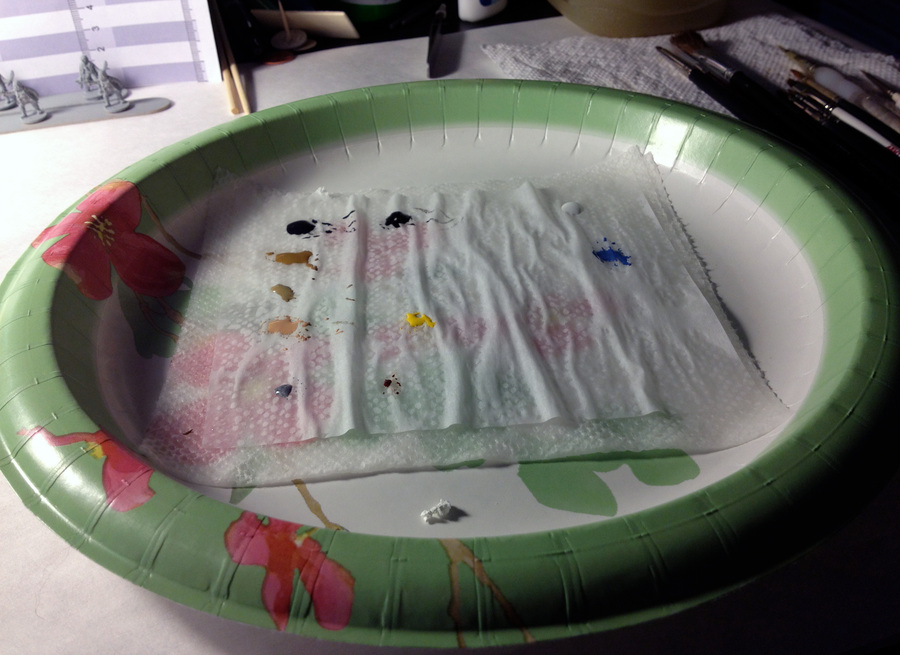
There’s the Green Stuff, rolled flat. I put the base on it and use the razor blade to cut it to fit. The copper pipe fitting I use to make the circular indent. I have a smaller one, also. The mesh I just press gently into it, and it sticks. No glue needed.
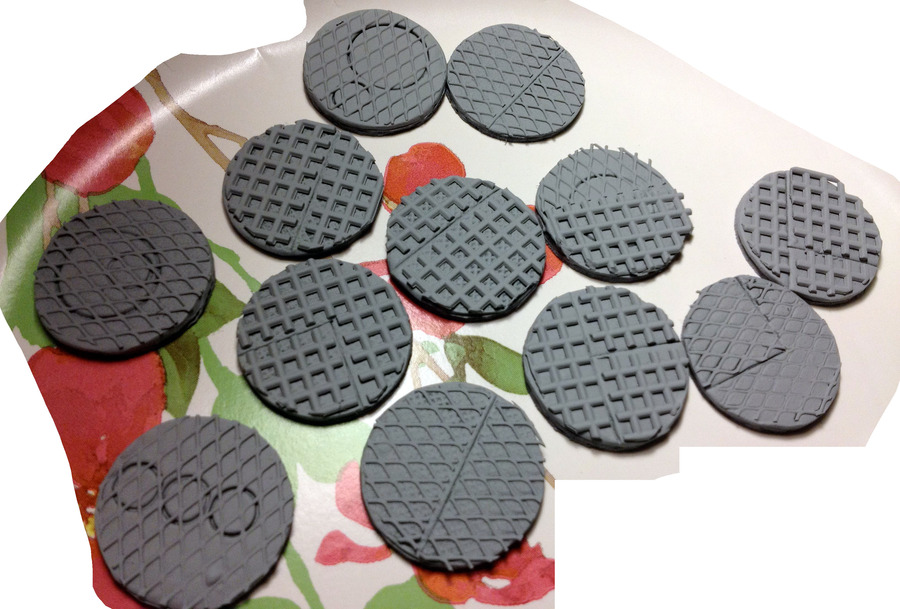

All primed.
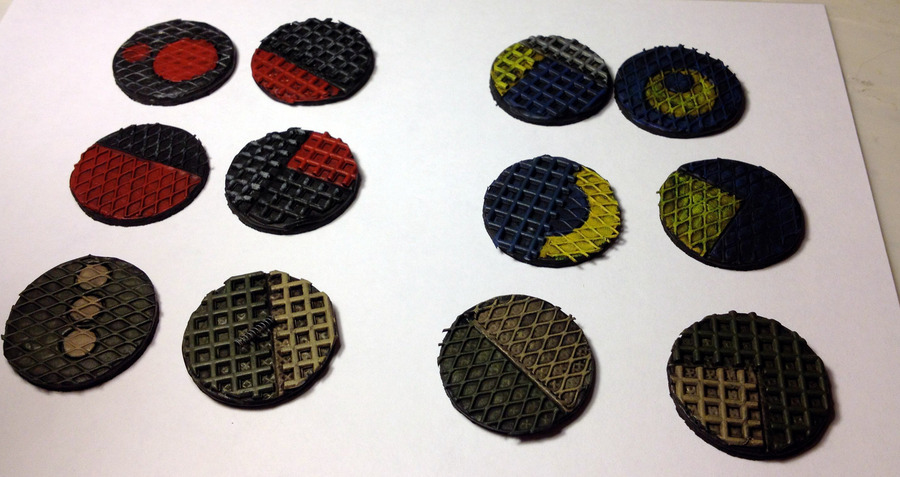
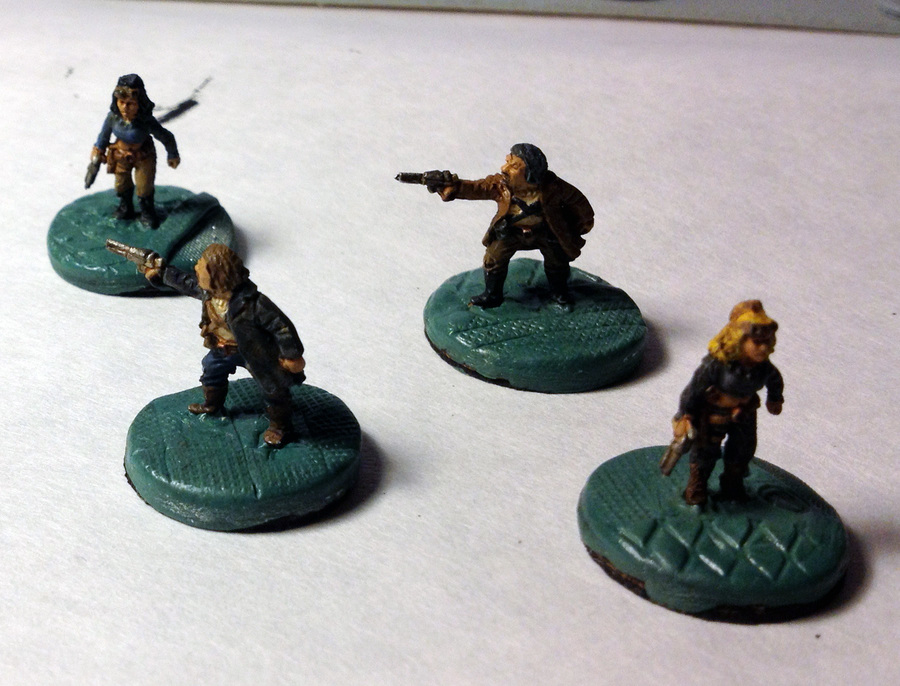
All painted.
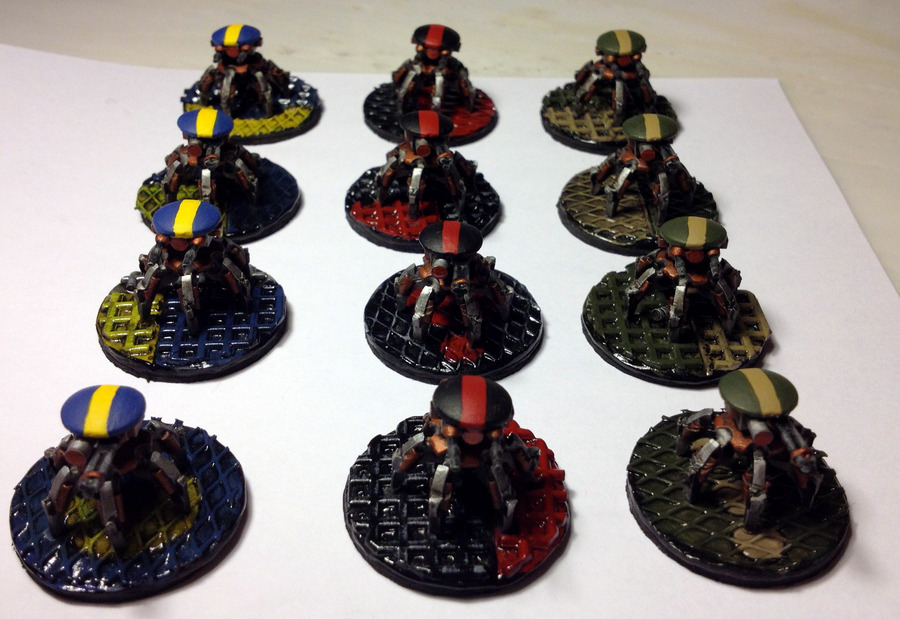
A coat of shiny varnish, and then I glued the drone on to it.
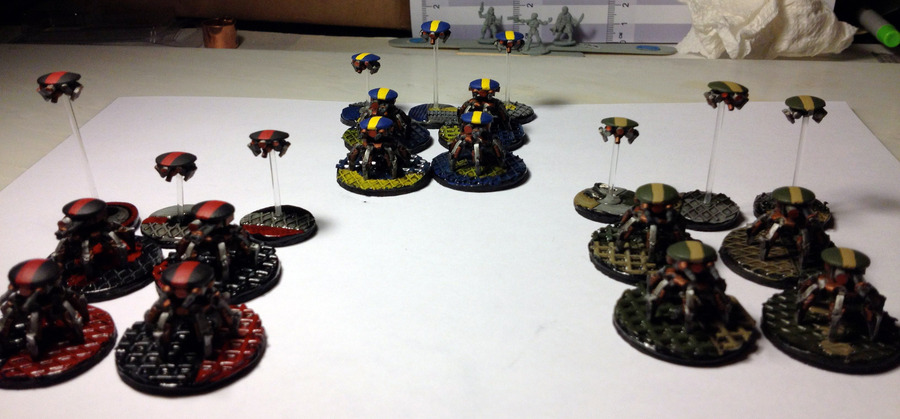
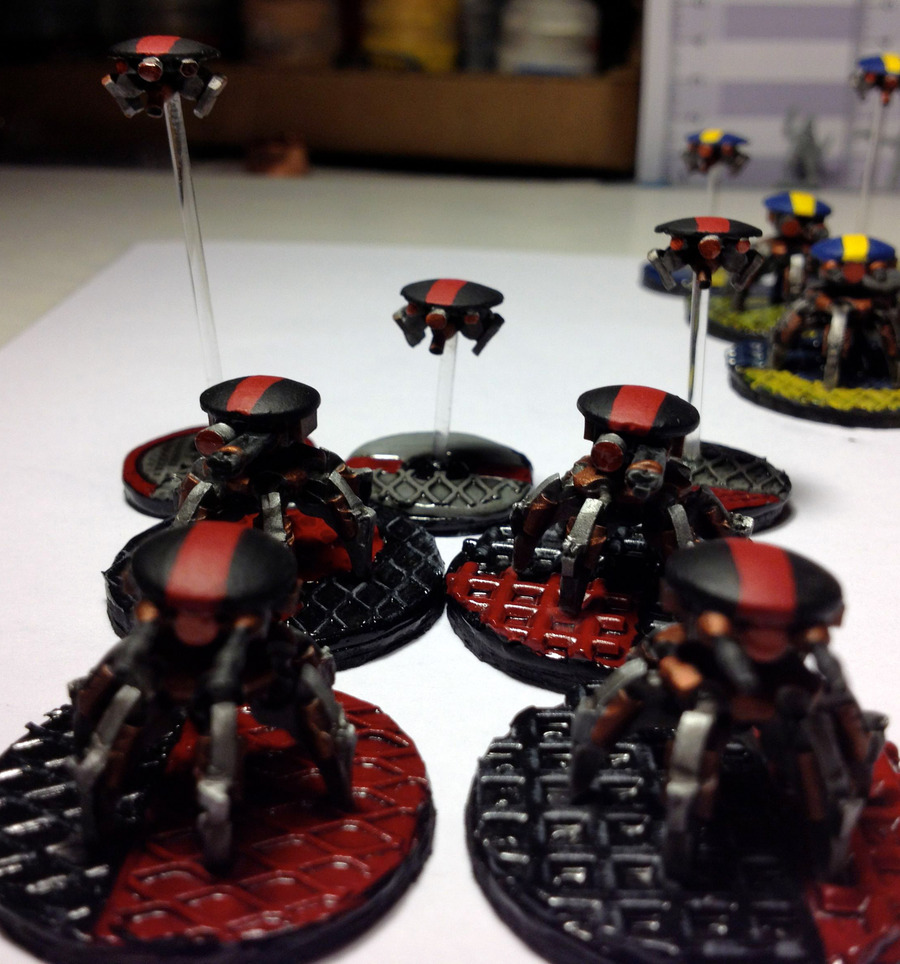
Making the bases was fun, but I don’t think they look as good on the Spiders as they did on the Grav Drones. It’s too busy and dark. Lesson learned.