Over the last several weeks I’ve been assembling and painting Wargames Factory’s plastic Saxons.
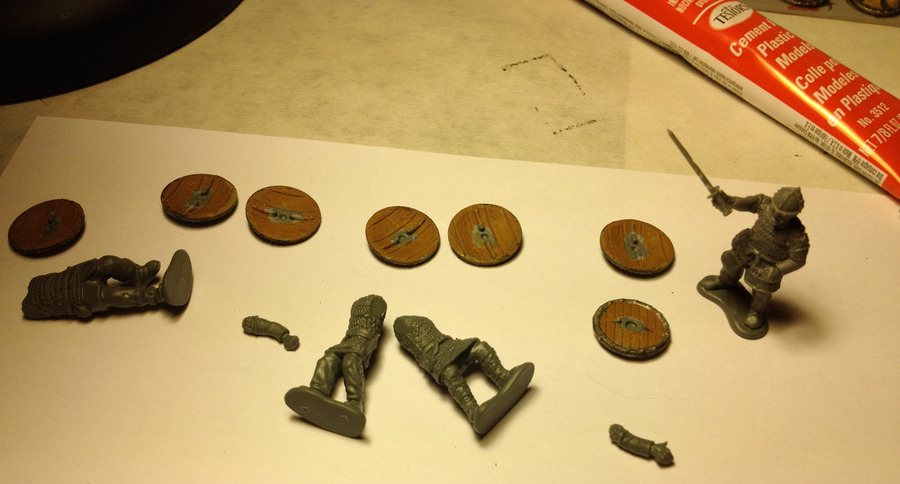 They come on several sprues, body, head, each arm, shield, and weapons all separate. It took me about an hour to do 4 soldiers. Clip off the sprue, choose and fit the parts, clean up the mold lines, and glue.
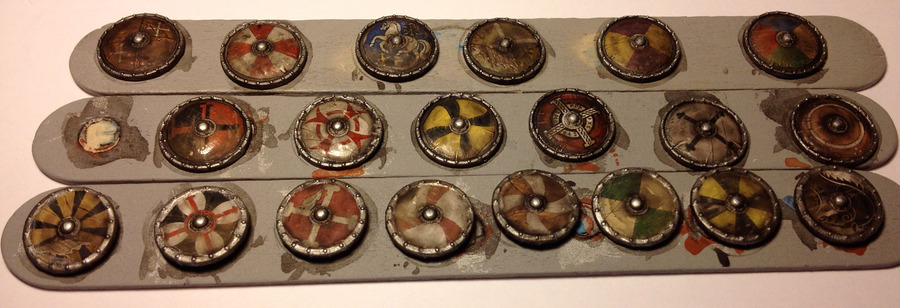 I used Little Big Men Studios’ shield transfers. I read that it was easier to apply the transfer if the shield was not attached to the soldier, so I did the shields separately. If I were to do it again, I’d go ahead and attach the shields from the beginning. Applying the transfers was pretty easy.
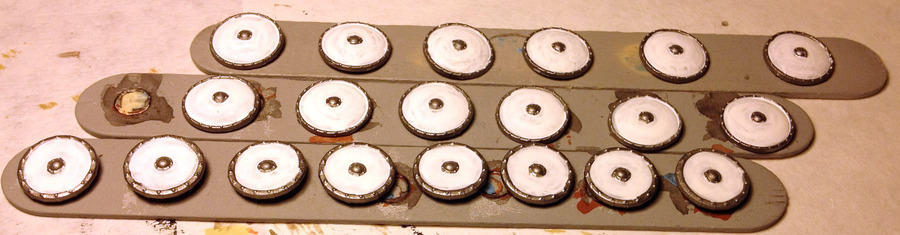
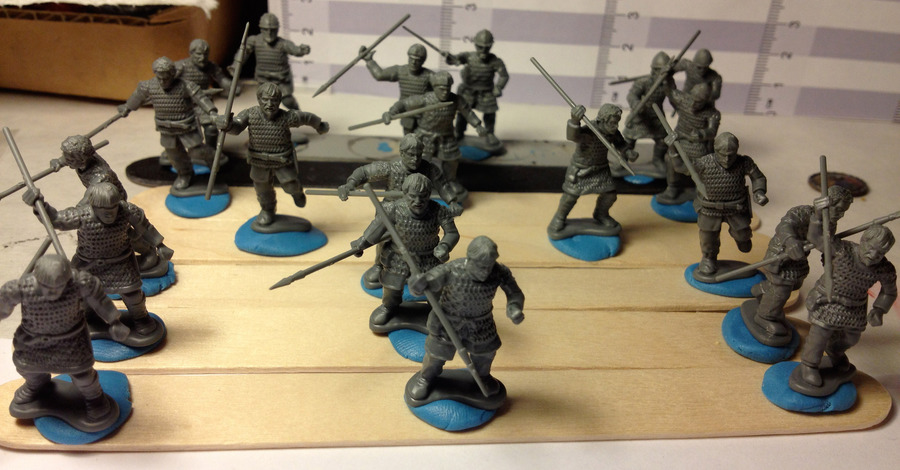 A bunch of them assembled and ready for primer.
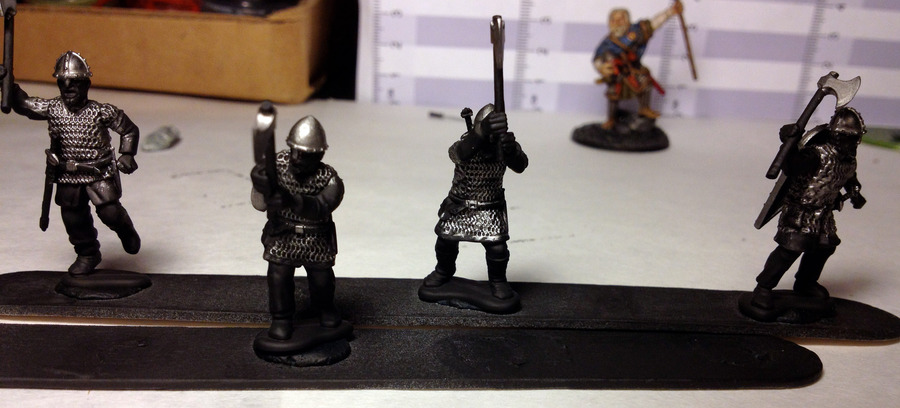 One point of Hearthguard. I primed them black, then dry brushed The Army Painter’s Gun Metal over the metal parts – helmet, chainmail and axe heads. When I do this step next time (for my levy) I’ll use a leather brown primer instead of black. Then I can paint everything but the belts, straps, etc.
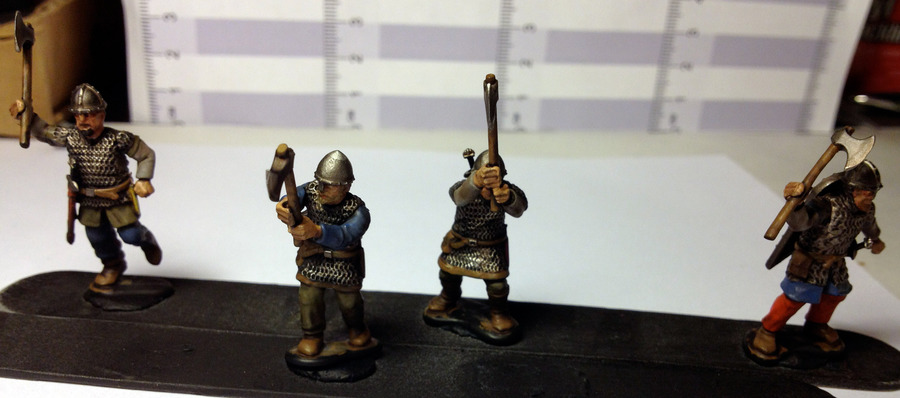 Getting close to done.
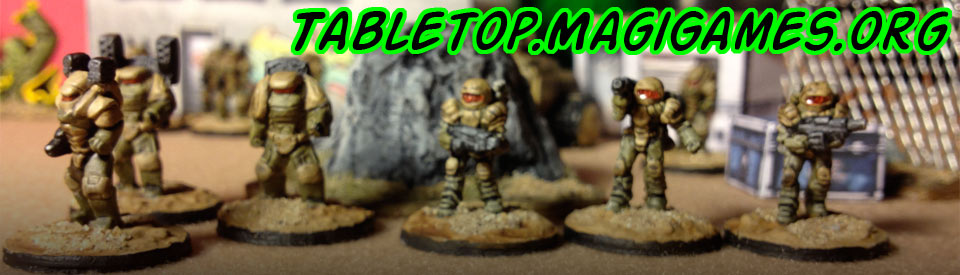
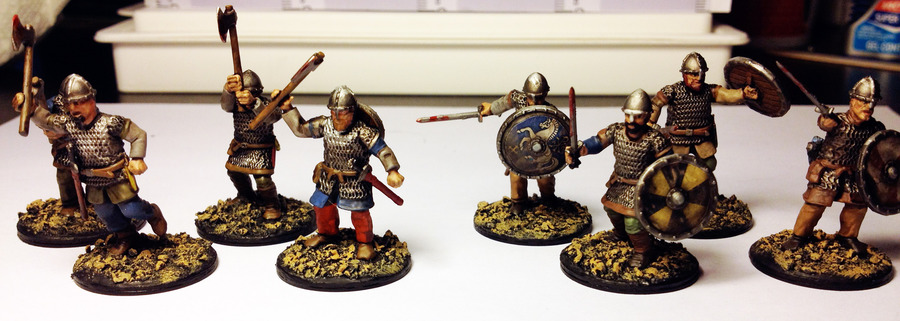 Two points of Hearthguard painted and based.
Wargames Factory’s plastic minis get a bad rap in some circles, but I think they are great value for the money. I got them for $15.99 at The War Store, and there’s 32 soldiers in a box, so that’s 50 cents each. Each box also has more weapons, heads, and arms than you need, so you have a lot of flexibility in your poses and armament.