Tag Archives: 15mm

Identifying Squads with Magnet Attached Flags

Before I started this blog, I used Imgur.com to post my projects – pictures with brief captions.  There are several albums over there that I’ll be “porting” over to this blog, a kind of catching up when I don’t have a current project to report.

Right now I’m in the middle of painting 12 of GZG’s Spider Drones, and it’s taking a bit longer than I thought, plus the bases for them are on order, so it will probably be another week before I can show you the results of that.  In the meantime, here’s “Magnet Flags” :

—-

One of the things I love about 15mm Sci-Fi wargames is how generic everything is.  This means my figures have multiple uses.  Not only can I use them for multiple rulesets, but I can split my force in two for a smaller battle with just my own figures, or use the whole army against someone else’s army, or use them for RPGs like Traveller or Eclipse Phase.

Because of this, I need to keep my forces flexible.  In a game like Gruntz, it’s convenient to identify the squad leader, and, by extension, the squad. In one game, a particular figure might be a squad leader, in another, just a grunt.  To facilitate this flexibility, I use magnets on the base of certain figures to attach a flag that identifies the squad.

package

I bought a magnet starter kit. It comes with 50 magnets and the drill bit for $8.99 at TheWarStore.com


base

I added the magnet to the mini’s base. I drilled out the plaster part of the base and super-glued the magnet in. Make sure you have the same polarity on all your bases.


flag

Then I glued a magnet to a toothpick flagpole. I used epoxy to glue the magnet, because the superglue didn’t hold. Make sure you have the right polarity, or the magnet will not stick to the base magnet.


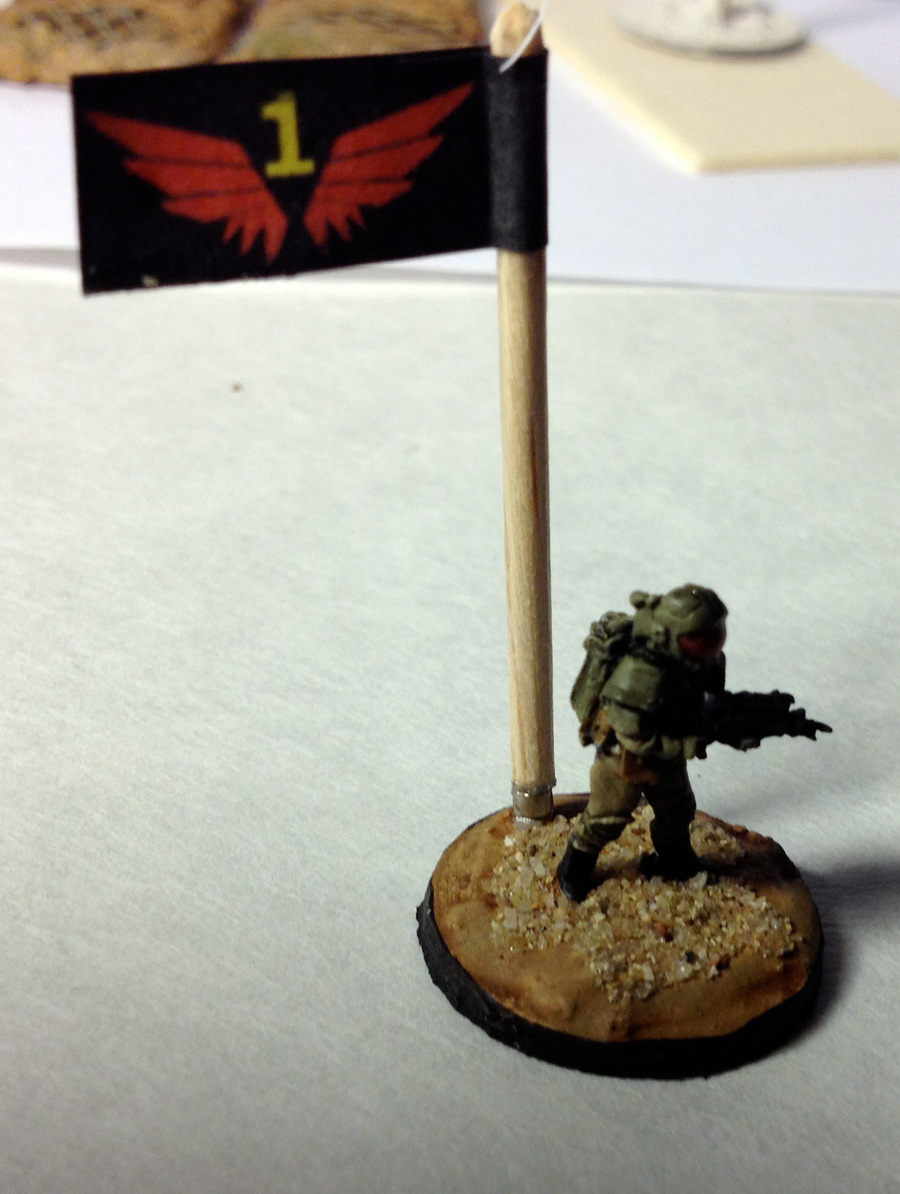
flag_on_base

And here’s the result.


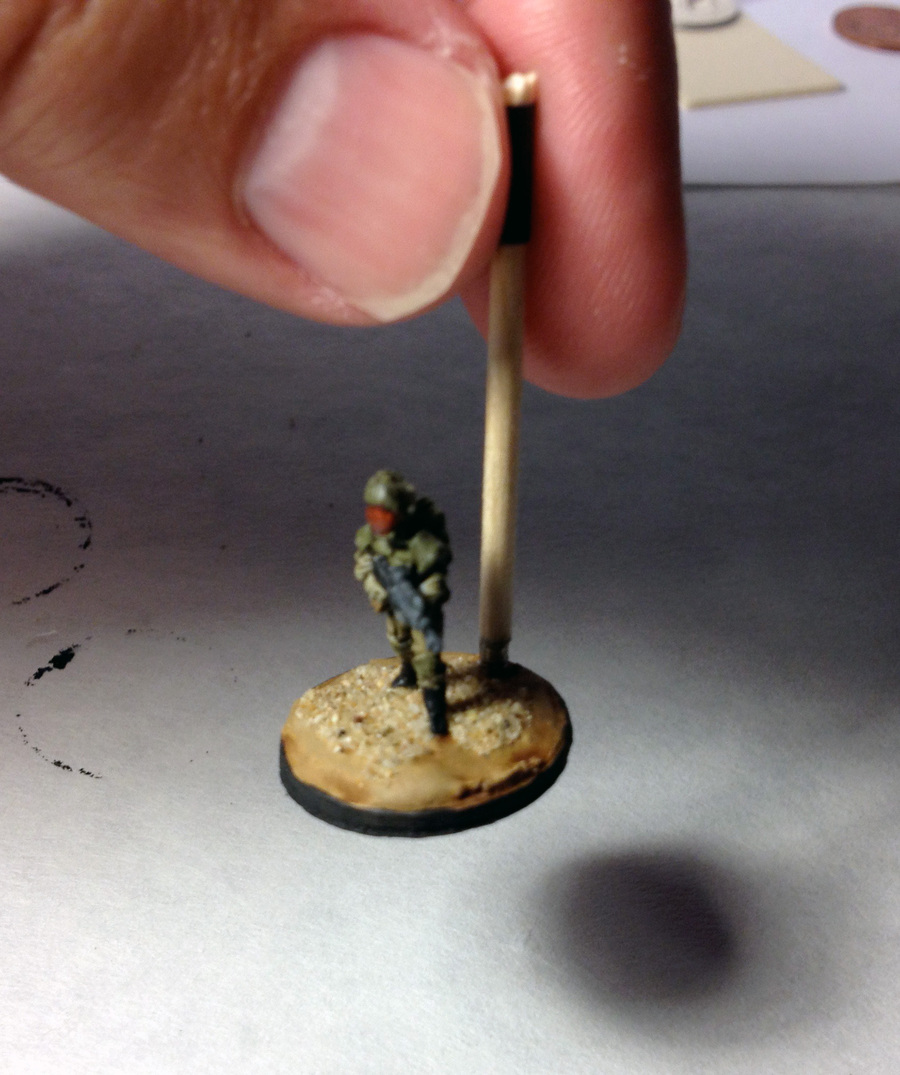
strength

It’s a pretty strong hold.  As you can see, you can pick the mini up by the flag with no problem.


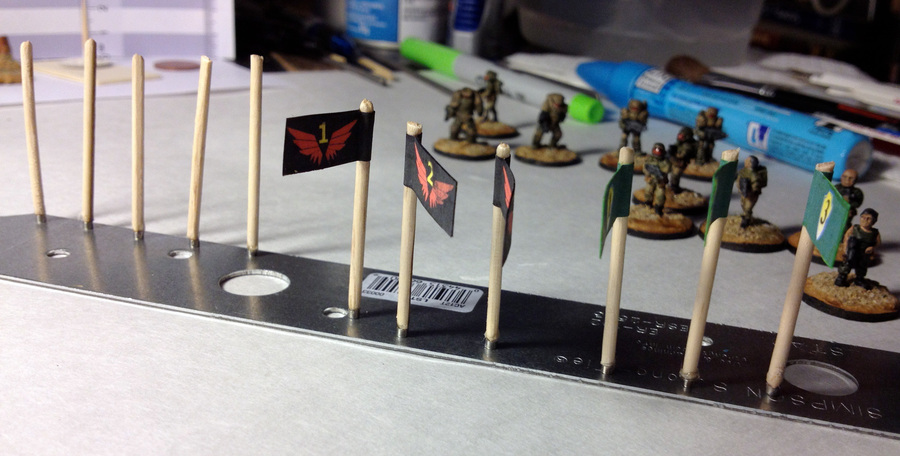
flags

Here’s the flags in progress.  I have black and green flags for when I want to divide my minis into two forces.

Thanks for reading!

GZG’s 15mm Fuel Drums

I painted up GZG’s 15mm fuel drums (type A) the other day.  They were easy to paint.  I primed them black, dry brushed on some gray, then a smaller dry brush of red-brown for rust.

I based them on some small wood rectangles, then glued some sand on the bases.  Then I washed the sand a sepia color, then dry brushed the sand with a tan.  When that was all dry, I brushed on some very thin PVA glue-water mix to hold it all together a bit more permanently. The I dry brushed some more tan, as I felt it needed a bit more.

GZG Fuel Drums GZG 15mm Fuel Drums


That makes for some cheap and easy terrain. 🙂

In the past, I had assembled a card stock “print-and-fold” barrel, and it took a lot of time to cut the small bits out, and gluing such a small thing was tricky.  I think these metal barrels we easier, quicker, and much more durable.

GZG’s Grav Mini Drones

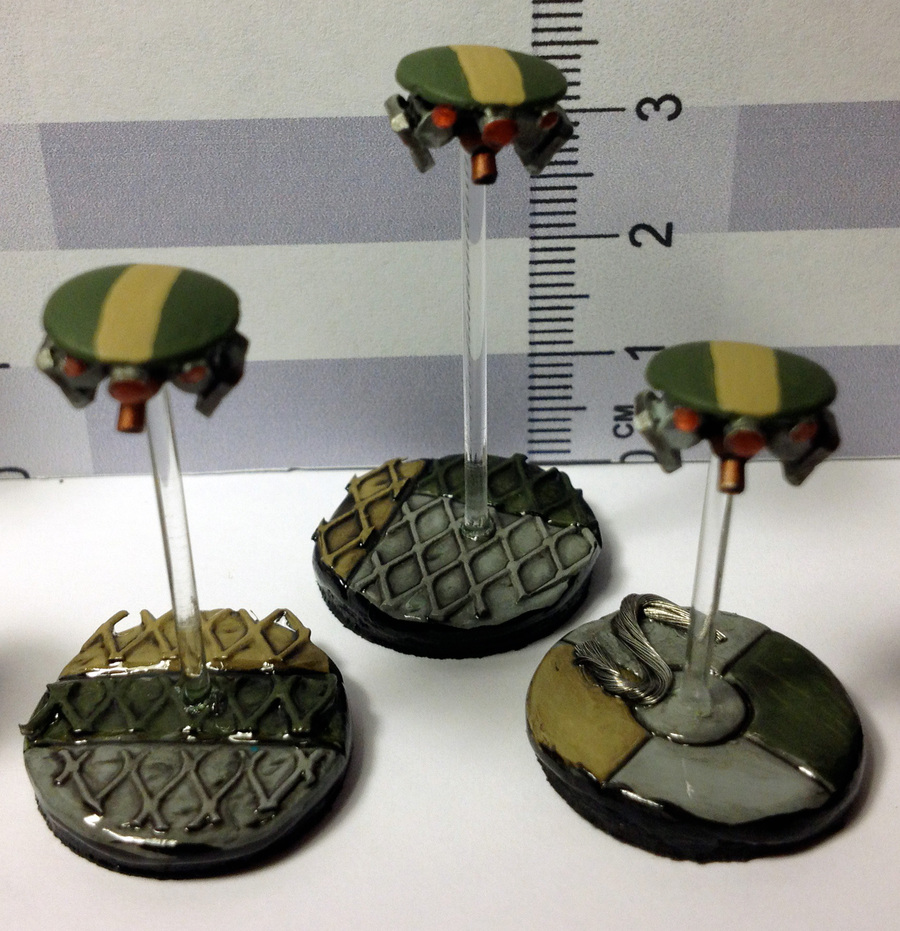
Hello.  I noted a few days ago that I was painting GZG’s Grav Mini Drones for Reddit’s April mini painting challenge.  Well, they are complete.

cleaned

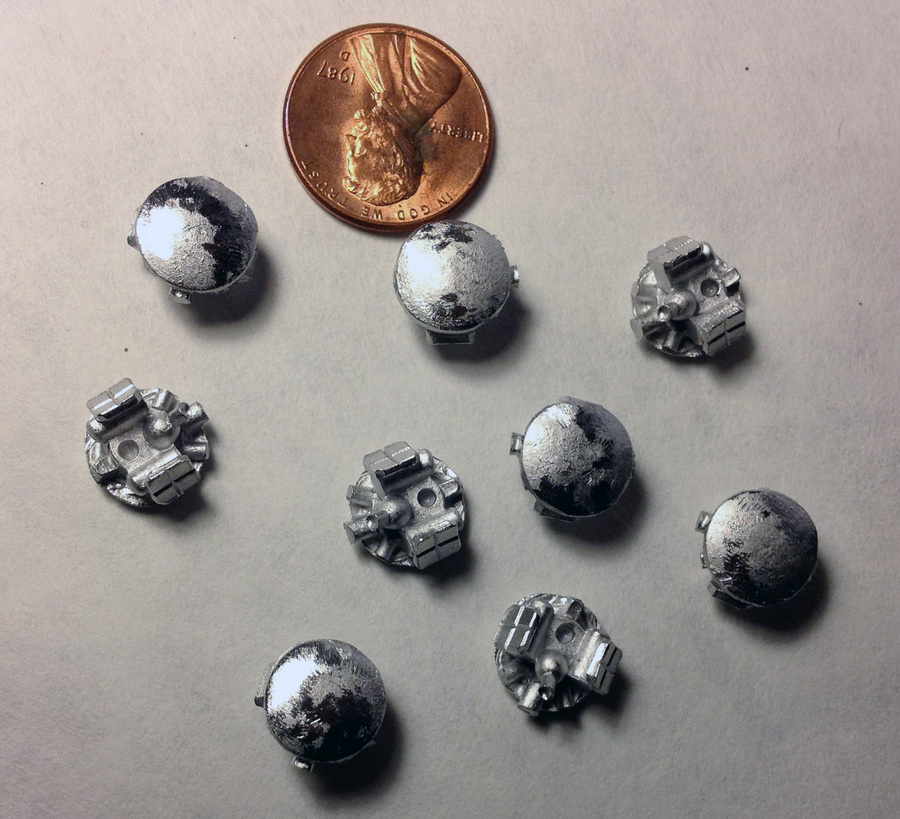
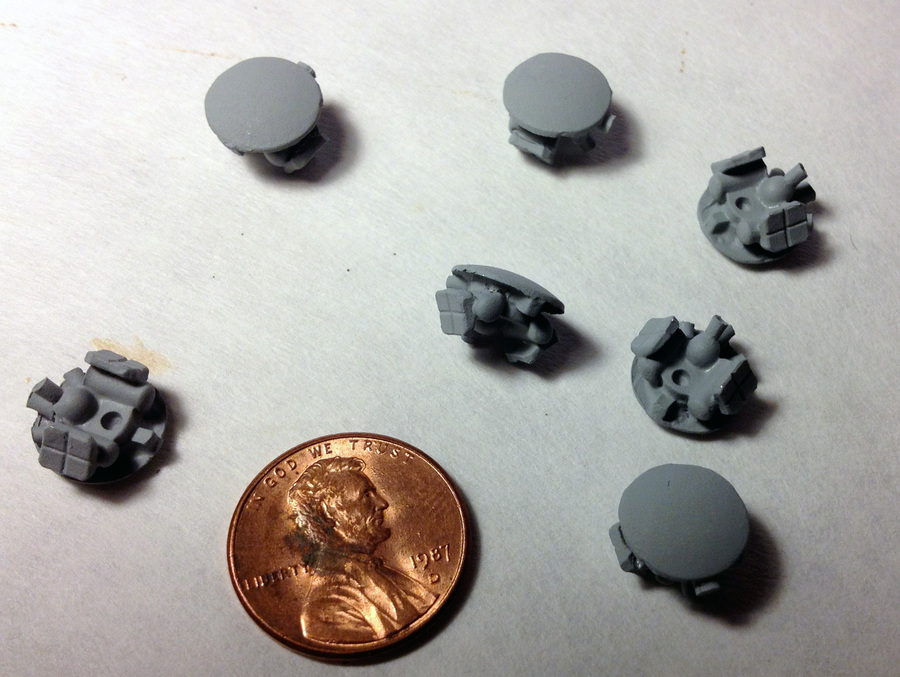
Cleaned up and ready for primer.  As you can see, they are pretty small.


primed_2_missing

Primed.  “But,” you ask, “There are only seven.  Where are the other two?”  Well, I primed these in the backyard at night, and when they were dry and I was bringing them back into the house, I dropped two in the grass.  The very long grass that I have not cut in too long.  I went back outside with a flashlight, but I could not find them.

The next morning, in the sunlight, I found them right away. 🙂


stands_attached

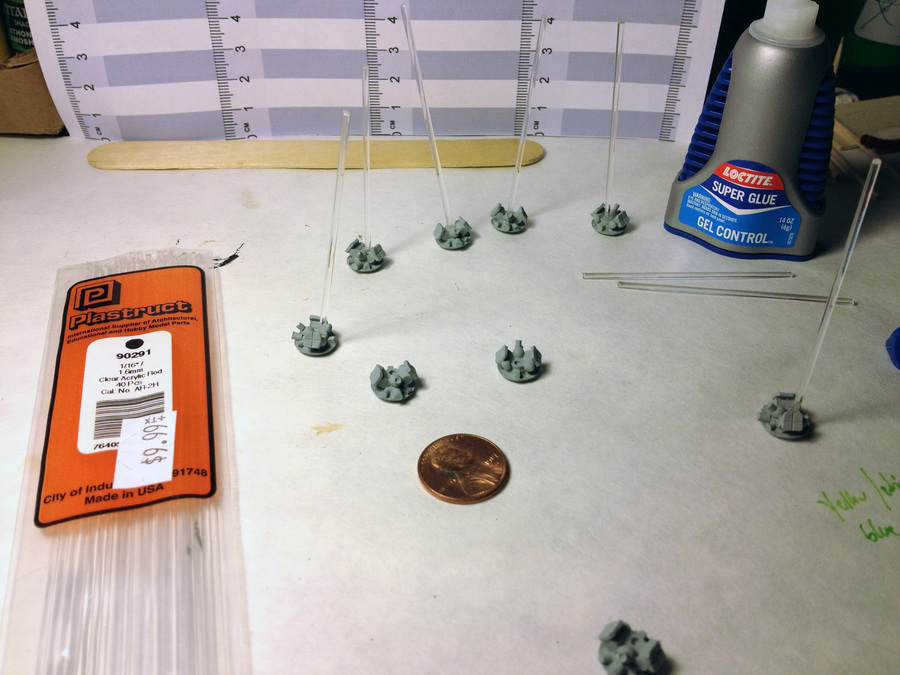
Attaching the “post”.  I got some acrylic rod at the local hobby store.  It cut easy with wire cutters, and super glue worked just fine on it.


Painted_wash_still_wet_1 Painted_wash_still_wet_2

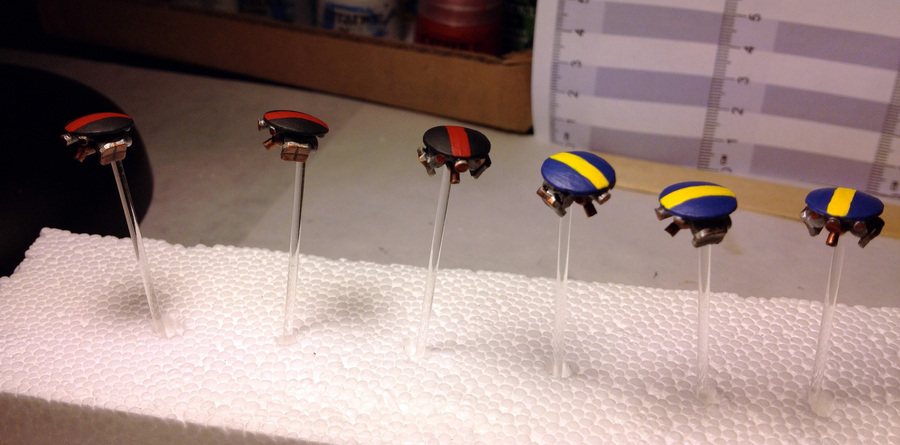
Painted.  Not the most realistic paint job, but a real drone would have been solid gray or dull black, and where’s the fun in that?  Most of the detail is in the bottom. which you really won’t see much of during game play, so I had to do something to give visual interest to the smooth top.

I painted the top first, then the bottom, and then washed the bottom in black.  If I was to do it over again, I would had painted and washed the bottom first, then painted the top.


fresh_made_bases

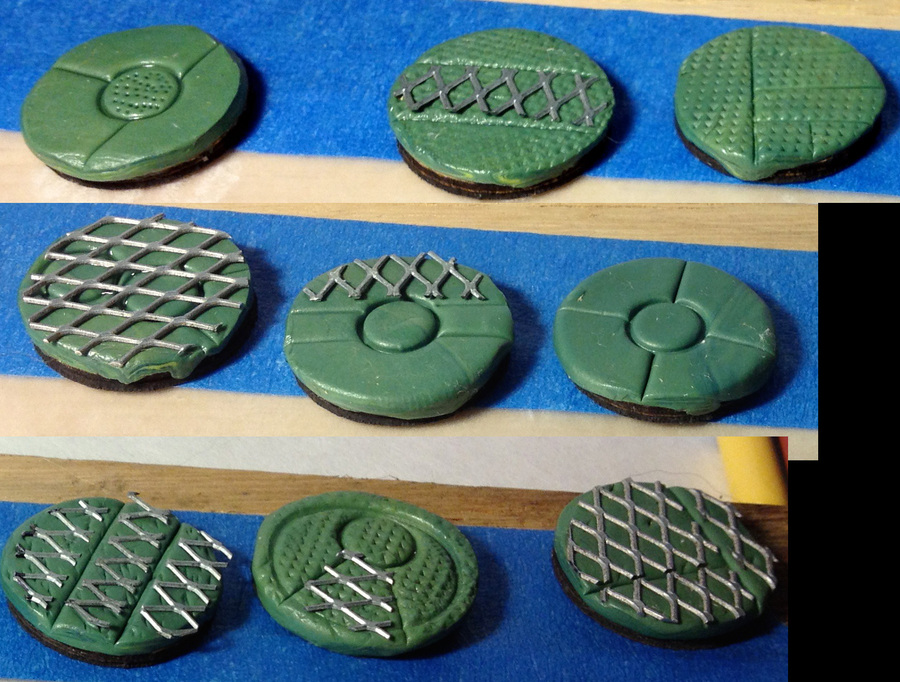
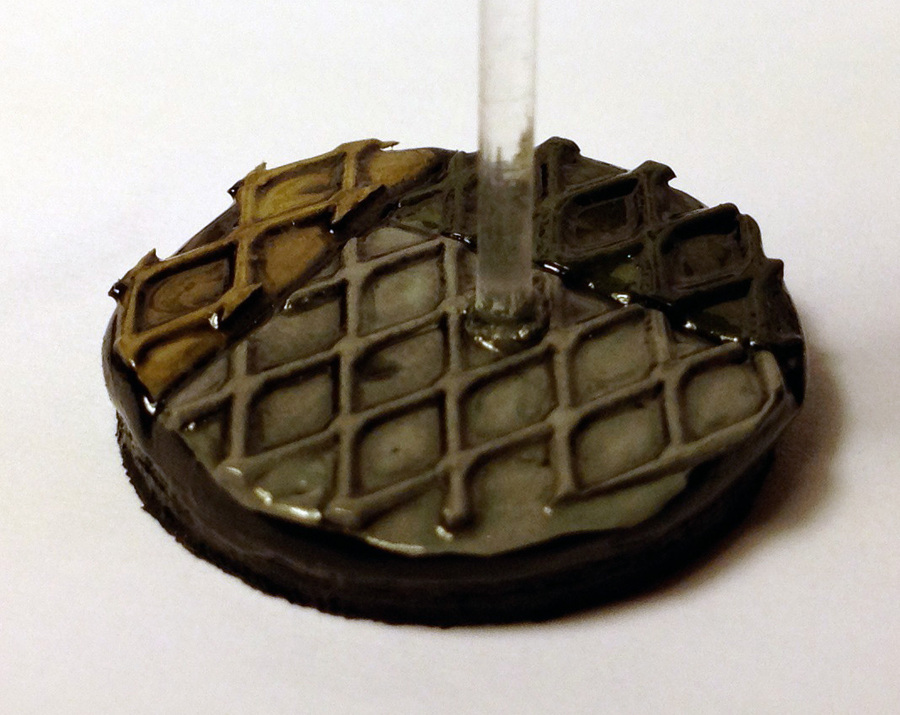
Making bases with Green Stuff.  This was the first time I didn’t have to work around the figure’s existing base, so I had a lot more freedom.


GZG Grav Mini Drones all_complete_front

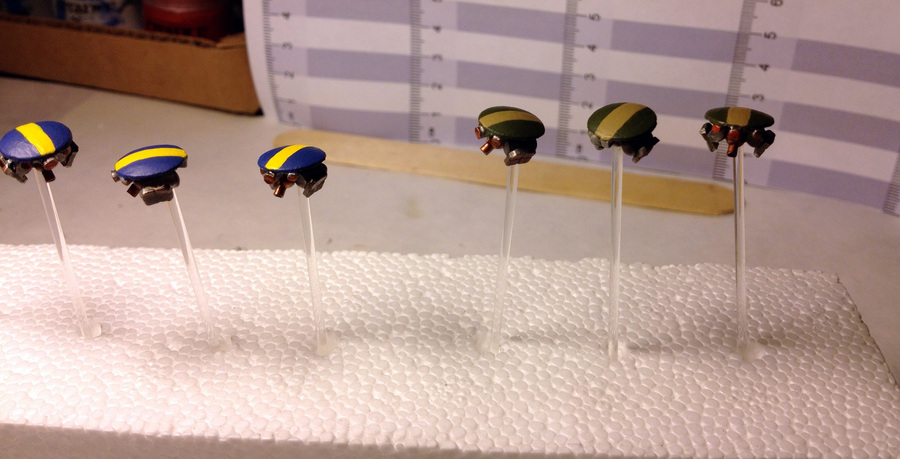
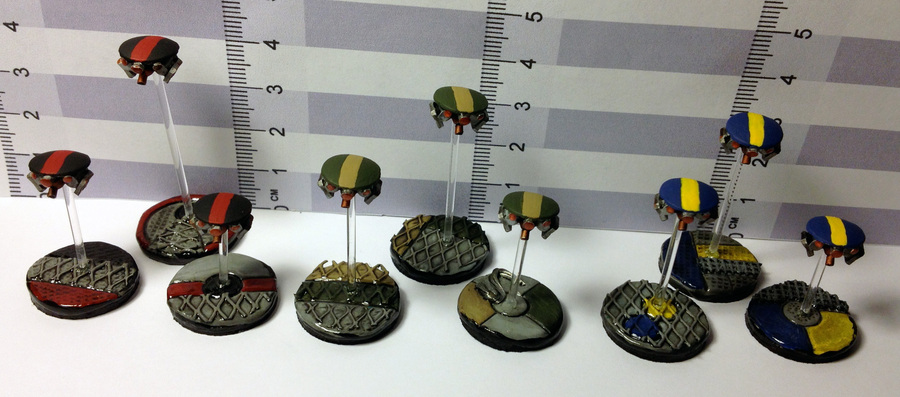
Complete.


complete_black_red complete_blue_yellow GZG Grav Mini Drones fave_base

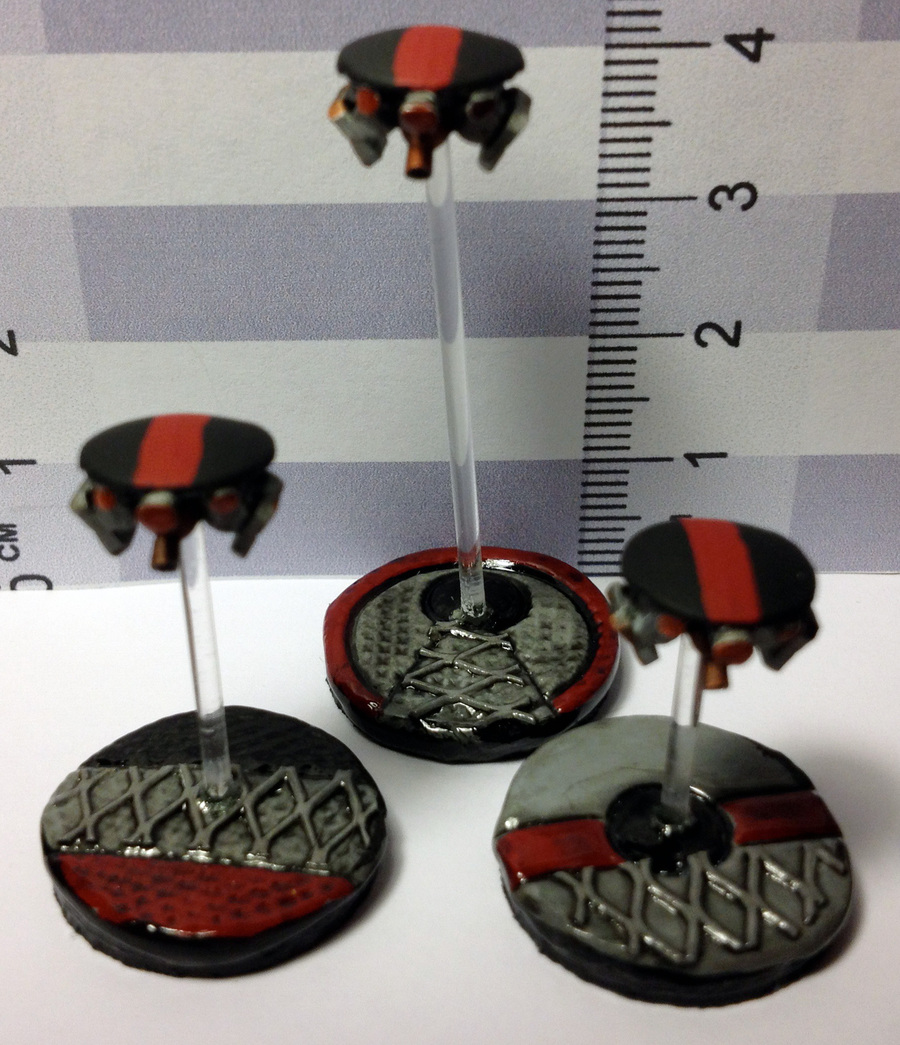
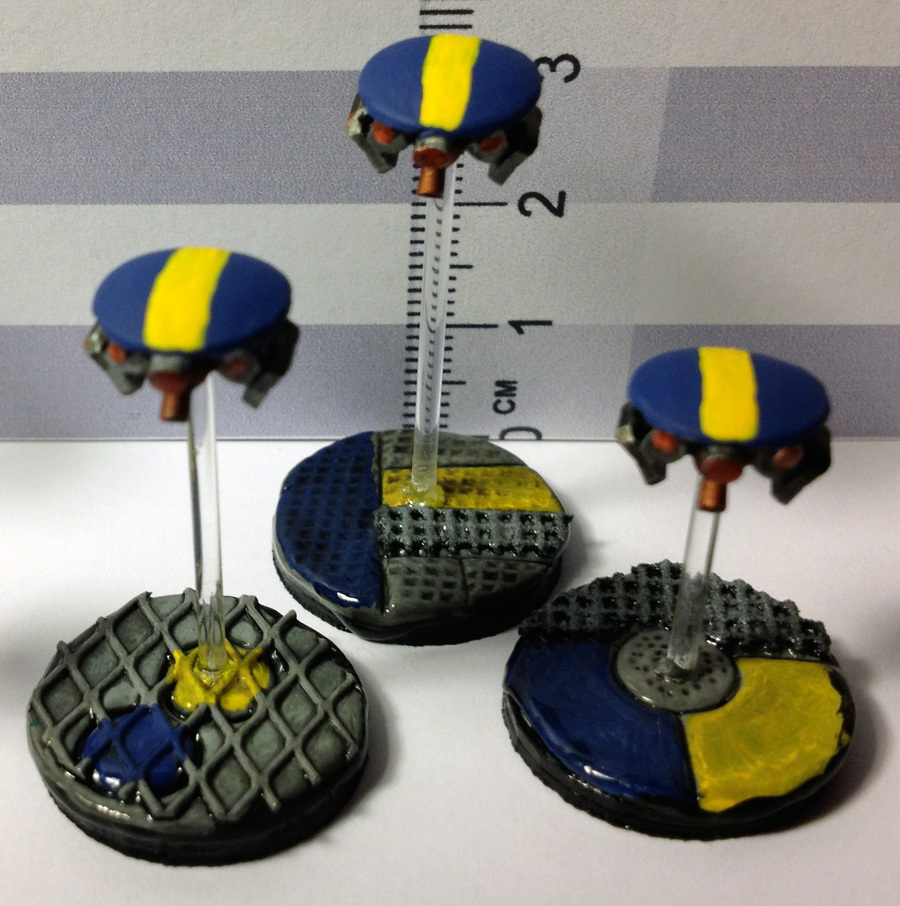
This base is my favorite.  I might go with variations of this base in the future.  It looks good, and was fairly easy to make and paint.


What would I do differently?  I would take more time making sure the base edges were flat.  Some of them had rounded bulges on the edges, and when I painted the edge black, it resulted in some sloppy looking paint jobs.

Reddit’s Monthly Painting Challenge

I’m a redditor.  Reddit has several excellent subreddits related to gaming and miniatures. http://www.reddit.com/r/wargames is an especially friendly place for 15mm Sci-Fi gamers.

Anyway, a new subreddit, http://www.reddit.com/r/taleofredditgamers has just been started, and each person states what they will paint, then posts progress reports.  The project must be done by the end of the month.

This month I am painting GZG’s Mini Grav Drones, and I’ve already run into problems. 🙁

Adventures in Basing

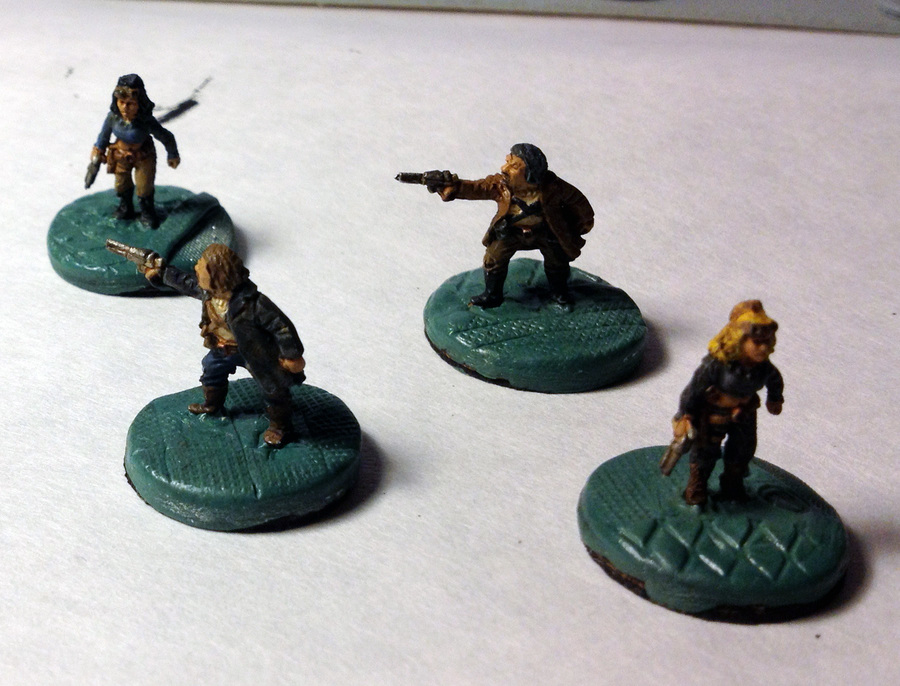
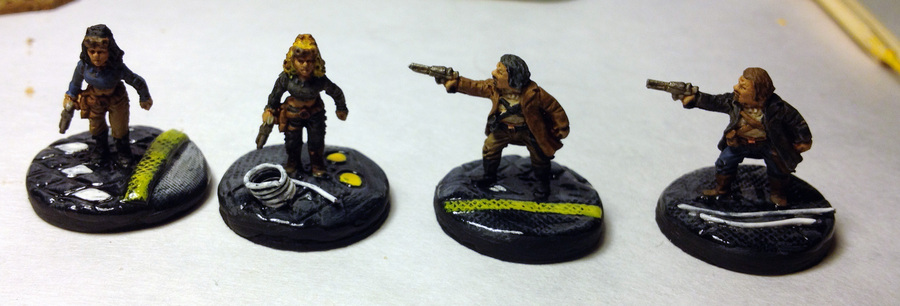
Last week I tried my hand at making bases with Green Stuff.  I was painting GZG’s 15mm Ravagers Pack A and I really wanted to make nice bases.  I had some Green Stuff freshly delivered from Amazon, and I decided to give it a try.

I hadn’t really planned ahead at all, so I was improvising.  All in all, I think it came out pretty well.

ladies_painted

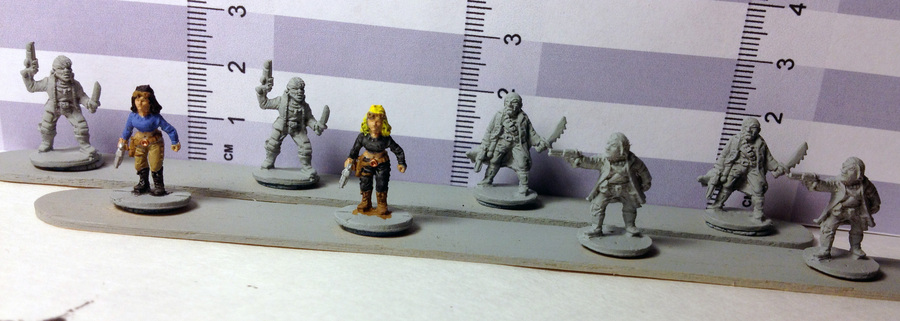
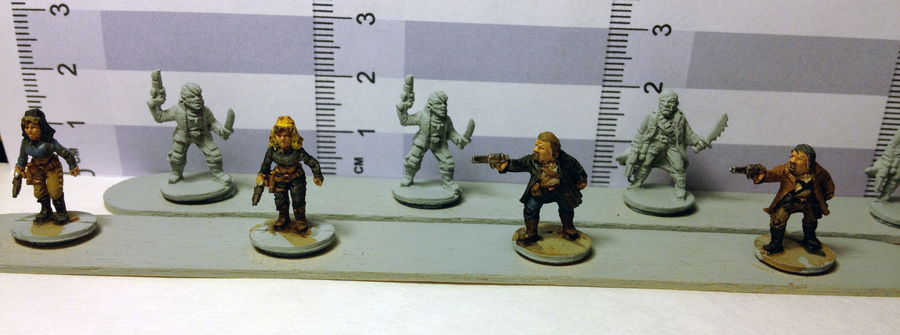
Here’s all 8 figures in Ravagers Pack A, 4 models, 2 of each.  I plan to use these for role playing, so I wanted to make them different – like the two women were different women, despite the same pose.


all_painted

Here’s the four figures I concentrated on painted and washed.


wet_pallette

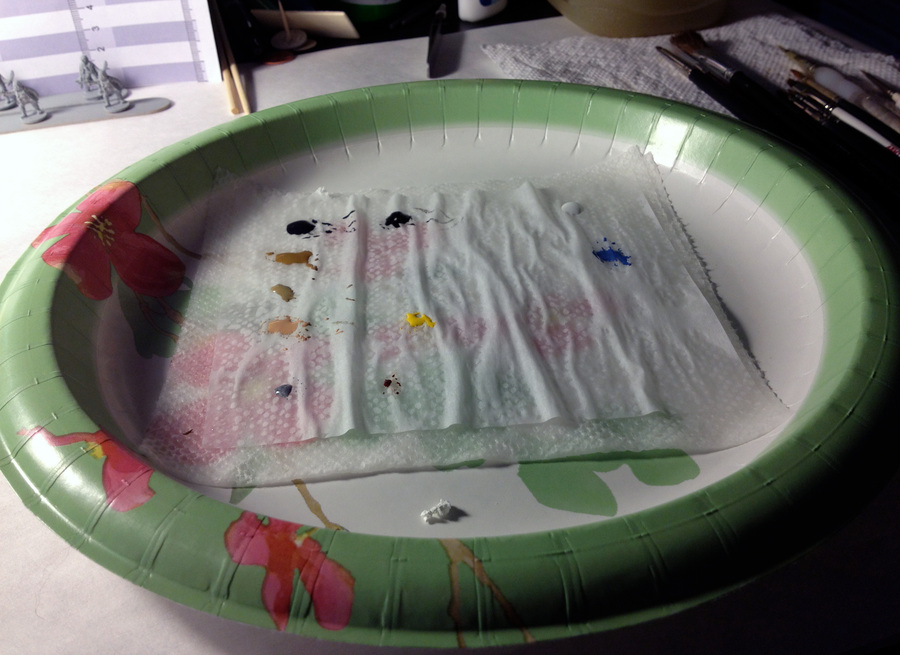
This is the disposable wet palette I use.  A paper towel, soaked in water, with parchment paper over it.  The kind of parchment paper I found in my kitchen, on a roll.  It will keep the paint wet and ready to use for hours.  Thanks to  Rottenlead and his excellent videos for introducing me to the wet palette concept.


wood_base_only

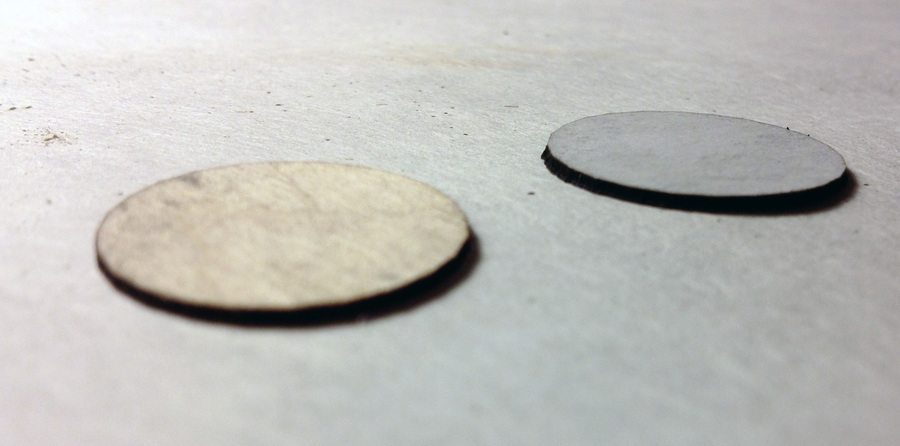
I use 0.8mm plywood bases, 20mm diameter, from Litko.net.  I put their “Heavy Duty Magnetic Base Bottoms” underneath them.  Above is the plywood base only.


ready_for_basing

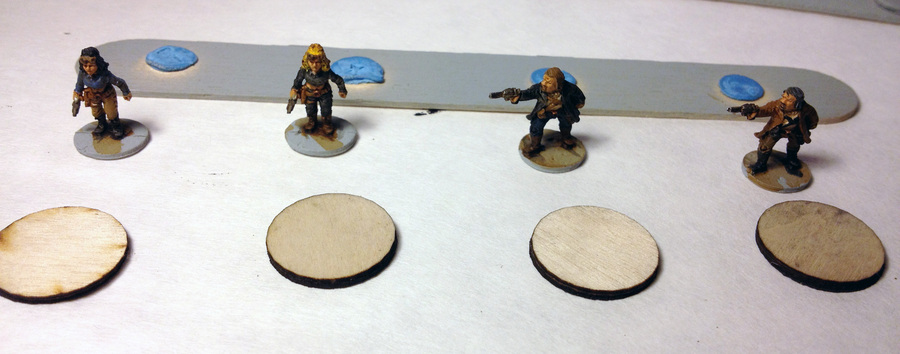
Those are the plywood base with the magnetic bottom attached.  Putting the minis on a stick with poster sticky stuff during painting is something else I learned from Rottenlead’s videos.


glued

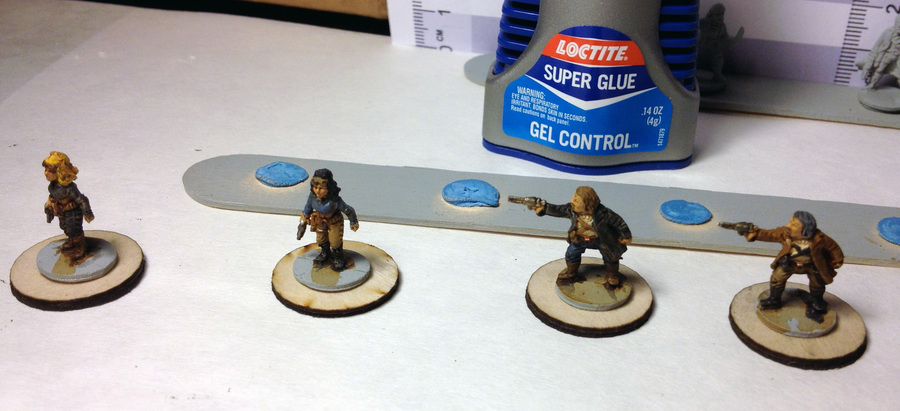
Glued to the base with super glue.  That glue in the picture is the best.  The glue is very thick, and the squeezable sides give great control.  “Gel Control” is a very good description.


green_stuff_base

Green Stuff on the base and textured.  I used some of the metal mesh I use for chain link fences (article coming soon), some sewing thread to press straight lines, and the texture from one of my metal files to press the details into the Green Stuff.  You can see on the black haired woman that some metal dust came off my file.  I later used some spare Green Stuff to clean my files to almost new.  🙂


file

The file.  You can see the textures I used.


GZG Ravagers Pack A

The finished bases.  I used Citadel’s ‘Ardstuff to make them glossy.  Two coats.  My drybrushing of the yellow could have been better.  🙁


I think it was a good first try.  I have a ton of ideas on what to do better next time.